Tuesday, October 31, 2023

Pumpkin Cream Pie

It was so not-hot this summer in my area that I never grew a pumpkin.  It was massively disappointing, especially after all the allergies I endured off the male flowers.  I had even bought new pumpkin patch signage last year on clearance, in anticipation.

All that, to say I have to crack open some cans for this fall's pumpkin creations, and no pumpkin martini jam.

It's too early for the pumpkin chiffon pie, but that doesn't use a whole can anyway.  I decided to scoop out what I was going to need for that and freeze it, then use the remainder in a recipe now.  But what to make?  What I really wanted was something like the peanut butter cream pie, but with pumpkin.  Took all of five minutes to find a recipe for it online, and yeah, it's a thing.

I'm altering the recipe on Lauren's Latest, mainly replacing some of the cream cheese with whipped cream.  A few of the other amounts are tweaked.  I happen to be using a chocolate nut crust I had in the pantry, but a graham cracker, cookie, or pre-baked flour crust are all fine.  I looked for pumpkin Oreos, because that would have been amazing.

Like the peanut butter pie, this will taste and feel like flavored whipped cream.  For something sturdier, either put back the other brick of cream cheese or use one of the recipes I saw that stirs vanilla pudding mix into the pumpkin.

*1 9" prebaked pie crust
1 8oz brick cream cheese, softened
1/2 C pumpkin purée
1/2 C granulated sugar
1/4 C lightly packed brown sugar
1 tsp vanilla
1 tsp cinnamon
1/2 tsp ginger
1/2 tsp nutmeg
1/4 tsp cloves
1-1/2 C whipping cream
2 Tb powdered sugar

1.  In a stand mixer with the paddle, cream together cream cheese, pumpkin, granulated sugar, brown sugar, vanilla, and spices.  To lower the sugar content, I subbed in erythritol for the white sugar, because I'm still trying not to eat a ton of refined sugar.

2.  Separately, beat whipping cream to soft peaks.  Add powdered sugar and beat to firm peaks.  If desired, set aside 1/2 C of the whipped cream for garnish.

3.  Stir together pumpkin mixture and whipped cream.  Pour into prepared pie crust and refrigerate, covered, until firm, about 4 hours.  If desired, garnish with reserved whipped cream.


Makes one pie, 8 servings

Difficulty rating  π

Saturday, October 28, 2023

Oven-Baked Tortilla Chips

I was going to make tostadas with some leftover corn tortillas, then remembered that I don't like corn tostada shells.  Rather than pick up some flour tortillas, I morphed the menu into nachos.  Still prefer flour tortillas for that, but corn isn't bad.

Originally, I was going to do a typical deep-fried nacho chip.  But diet guilt got to me and I researched how to bake them, which generally allows for olive oil.  Olive oil isn't good for deep frying, as it has a lower smoke point.  So, making chips in the oven is a real thing and I got a general idea of how it works.

I'm following the method on Healthy Nibbles, which is pretty much the same as all the other recipes I read.  Oil, lime juice, salt, bake until crispy.  You can add other spices to the topping if desired, but I kept it simple this time.  And I'm totally making them again, rather than buying a bag that will go stale before I can finish it.

6" corn tortillas
Olive oil
*Lime juice
table salt

1.  Prepare a baking sheet by lightly greasing, either with olive oil or pan spray.  A darker sheet will cook these better.  You can use parchment, but it might increase baking time.  It wasn't that hard to clean the pan.  Preheat oven to 375º, or 350º with the convection fan.

2.  In a small bowl, combine 2 Tb olive oil (to start) and a teaspoon of lime juice.

3.  On a work surface, lay the first tortilla.  Brush on olive oil mixture.  Set another tortilla on top and brush again.  Keep stacking up to about 6 high.

4.  Cut tortilla stack down the middle, then into wedges.  Six is more traditional, but I wasn't feeling coordinated and went for 8.  Arrange in a single layer on baking sheet.  If you run out of room, you can either grease another baking sheet or do them in batches.  I decided on batches in case I got the baking time wrong and burned the first tray.  Sprinkle lightly with salt.

5.  Bake until golden and crispy, about 12-16 minutes.  Every oven is different.  If you use the fan, it will happen sooner than without.  Start checking at 12 minutes and every few until you get the color you want. While they're in the oven, you can start another batch if desired, mixing up a new bowl of oil and lime.

6.  Remove chips to a serving bowl.  Alternately, cooled chips can keep in a sealed container roughly one week.

Roughly 2 tortillas per serving

Difficulty rating  π

Wednesday, October 25, 2023

Meal-Prepping Meatballs

I'm going to do a coupon brag.  I had an insanely good store offer for a 3 pound chub of ground turkey for 98¢ per pound, or $2.97.  What I forgot at checkout was that I also had a manufacturer coupon on the app, which stacked.  Net result, $1.88 for three pounds of ground turkey.

Next up was what to do with it.  I had originally planned to do some turkey sausage, but faced with that actual amount of meat, I decided to do another recipe, too.  I wanted to do something with the sweet and sour sauce I had just made, and thought meatballs would be great.

So, coupon brag #2, I had a pound of ground pork in the freezer that had been on clearance for 99¢.  I decided to cut the dryness of ground turkey by combining the meats.  Which is a thing, anyway.

What I did not want in my meatballs was any seasoning that tied them directly to a specific cuisine.  These were not going to be Italian, or Asian, or any other ethnic-leaning flavor.  I wanted them to be as at-home with the sweet and sour as with marinara, peanut sauce, mole, or curry.  Therefore, this recipe is very simply seasoned.

It also makes two pounds of meatballs, which is far more than my usual recipe.  The intention was to freeze half of them as pre-cooked meal prep.  Batch cooking just means making multiple recipes and preserving whatever you don't intend to use at the moment.  I can pull out the vacuum bag of meatballs whenever I want and use whatever sauce sounds good at the time.

*1 lb ground turkey
*1 lb lean ground pork
*1/4 C almond flour
*1/4 C matzoh meal or breadcrumbs
2 tsp kosher salt
1 tsp pepper
1/2 tsp paprika
1 tsp parsley flakes
1 egg
olive oil

1.  Line two baking sheets with foil or parchment.  Brush lightly with olive oil or use cooking spray.  Preheat oven to 375º.

2.  In a large bowl, combine turkey, pork, almond flour, matzoh meal, and spices until evenly distributed.  Lightly beat egg and add to the mix until everything is gooey.

3.  Make meatballs about 1-1/2" across, or a heaping tablespoon.  I used the smallest cookie scoop, which got me just short of 4 dozen meatballs.  With poultry, you don't want a huge meatball.  There isn't enough fat in them to avoid becoming solid rocks.  Arrange on prepared baking sheets.

4.  Brush tops of meatballs lightly with more olive oil.  Because, lean meats.  Bake until centers reach 165º, about 20-25 minutes.  Serve hot with sauce and go-with of choice, or freeze for up to 3 months.


Makes about 4 dozen, 6-8 servings

Difficulty rating  :)

Sunday, October 22, 2023

Mediterranean-Style Chunky Salad


This wasn't going to be a post, but it was a really good salad.  As summer turns to fall, I'm finding it harder to eat the way I'm supposed to.  Yes, I feel way better when I follow a Mediterranean diet, but I really want pastries and carb-laden foods.  Cutting out carbs is much harder than when I reduced salt and added fiber, even though both diets have improved my health.

Tarragon isn't specifically a Mediterranean herb, to my knowledge, but it created a floral note to the dressing that worked well with the artichokes.  Thyme is also more European, but it also happens to be one of the few things going gangbusters in my garden, and I need to use up what I have so I can rotate in the new batch.

1 head green or red leaf lettuce
*1 lb Roma tomatoes
*1 cucumber
*2 green onions
*1 can chickpeas
*8 oz frozen artichokes, thawed
1/2 C feta cheese
1/4 C olive oil
2 Tb white wine vinegar
1/2 tsp kosher salt
*1/4 tsp each dried tarragon, thyme, and oregano

1.  Coarsely chop lettuce and rinse well.  Dry, either in a salad spinner or in a colander, and set aside.

2.  Coarsely chop the tomatoes.  Peel cucumber and cut into chunks about the same size as the tomatoes.  Finely chop the green onions.  Drain and rinse chickpeas.  If artichoke package says they require cooking, tend to that.

3.  At this point, you can store everything separately in the fridge for later.  If you're not really caring about presentation, toss it together and store it that way.

4.  To make the dressing, whisk together oil, vinegar, salt, and herbs.  I know, glamorous to photograph.

5.  For a tossed salad, pour dressing over mixed bowl and toss again.  Top with feta and serve.  To plate it, start with the lettuce.  Top with other components, then drizzle with dressing and garnish with feta.  Serve either chilled or room temperature.

Difficulty rating  π

Thursday, October 19, 2023

Up-Potting Seed Starts


My first round of Fall seeds had a pretty poor germination rate, but some things did sprout.  A month later, those seedlings were ready for the next step.  Unfortunately, I was about to get a new roof and didn't want them all to get squashed by debris.  We compromised by giving them temporary homes in small pots.

Moving seedlings to gradually larger pots is a common practice. They start in seed-starting medium, which is full of the nutrients a baby plant needs.  When you get them at the plant store, they have been transferred to slightly larger containers with different nutrients.  And then you put them in your own garden, hopefully strong enough to deal with whatever native soil or garden bed they are given.

On this day, I chose to transplant two broccoli, a kale, an eggplant, and an over-achiever celery that decided to sprout every seed I put in it.  The process was very simple. Fill a pot with  moist dirt, make a deep hole, and pop out the cell from the tray.  The cell should be planted as deep as the plant can handle, especially if the seedling has gotten as leggy as mine did.

Once the roof is done, I'll start hardening these guys off on the patio.  Then, they will find permanent homes somewhere in the garden.

Oh, and while I was at it, I trimmed up the beefsteak tomato plant, which had grown too heavy for its cage.  I picked anything half blushed, to lighten the load, including one 10 oz monster.  No wonder the whole thing kept falling over.  I do expect the plant to die before winter.  It's had a hard time since the tropical storm.


Monday, October 16, 2023

Sweet and Sour Sauce for Canning

I got down to my last jar of tomatillo salsa for the enchiladas and realized it wouldn't be quite enough.  As long as I was making another batch, I looked for other things to put in the canner.  Sweet and sour meatballs were on the menu plan, so I searched for a sauce recipe that was canning-safe.

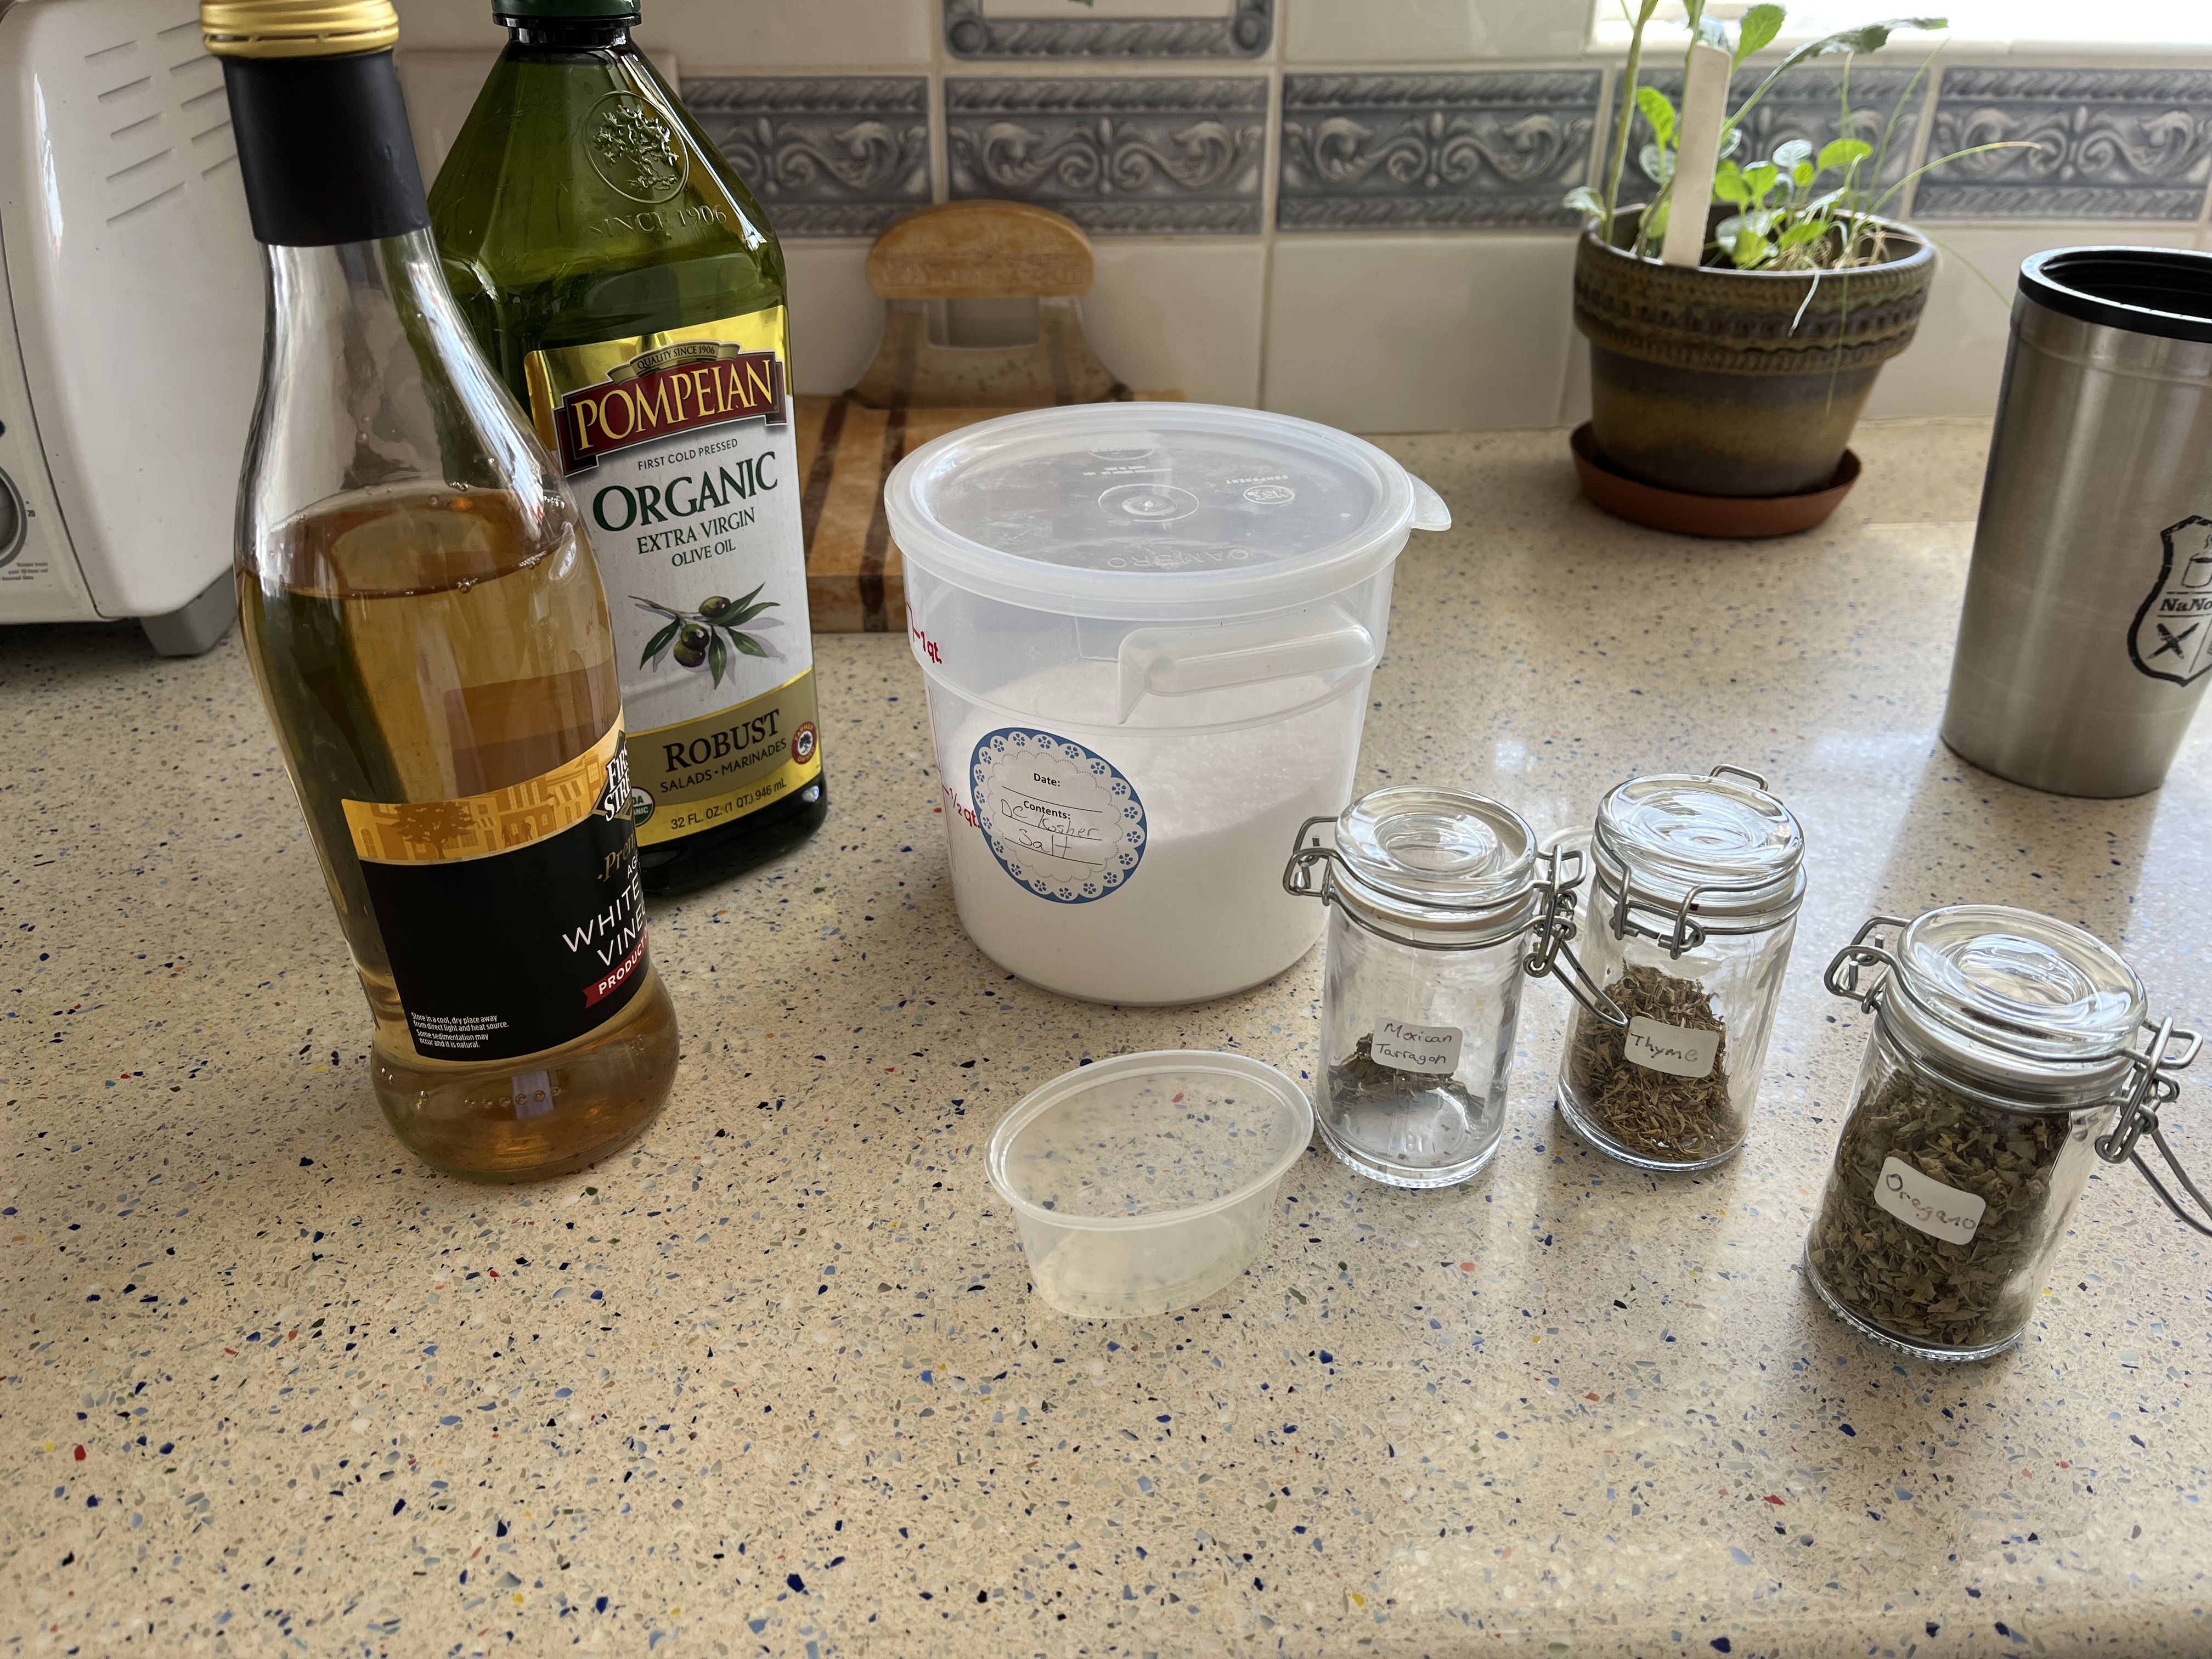
I actually wasn't thrilled with the Ball book's version.  It had you purée everything and was thickened by reduction, reducing the yield.  I found one on SB Canning that is thickened with Clearjel and leaves chunks in the sauce.  The main differences between it and my non-canning Sweet & Sour Sauce is using actual tomatoes instead of ketchup, ClearJel instead of cornstarch, and way more vinegar.

One thing about canning a sauce that's mostly tomato, bell pepper, and onion is that you're basically going to have to turn it into a sweet pickle.  That's the only way to get the acidity high enough for safety.  If you're making this to serve fresh or to freeze, you can cut down on the vinegar.  The recipe does allow you to increase the sugar to suit your taste, and I do recommend tasting it before putting it in a jar.

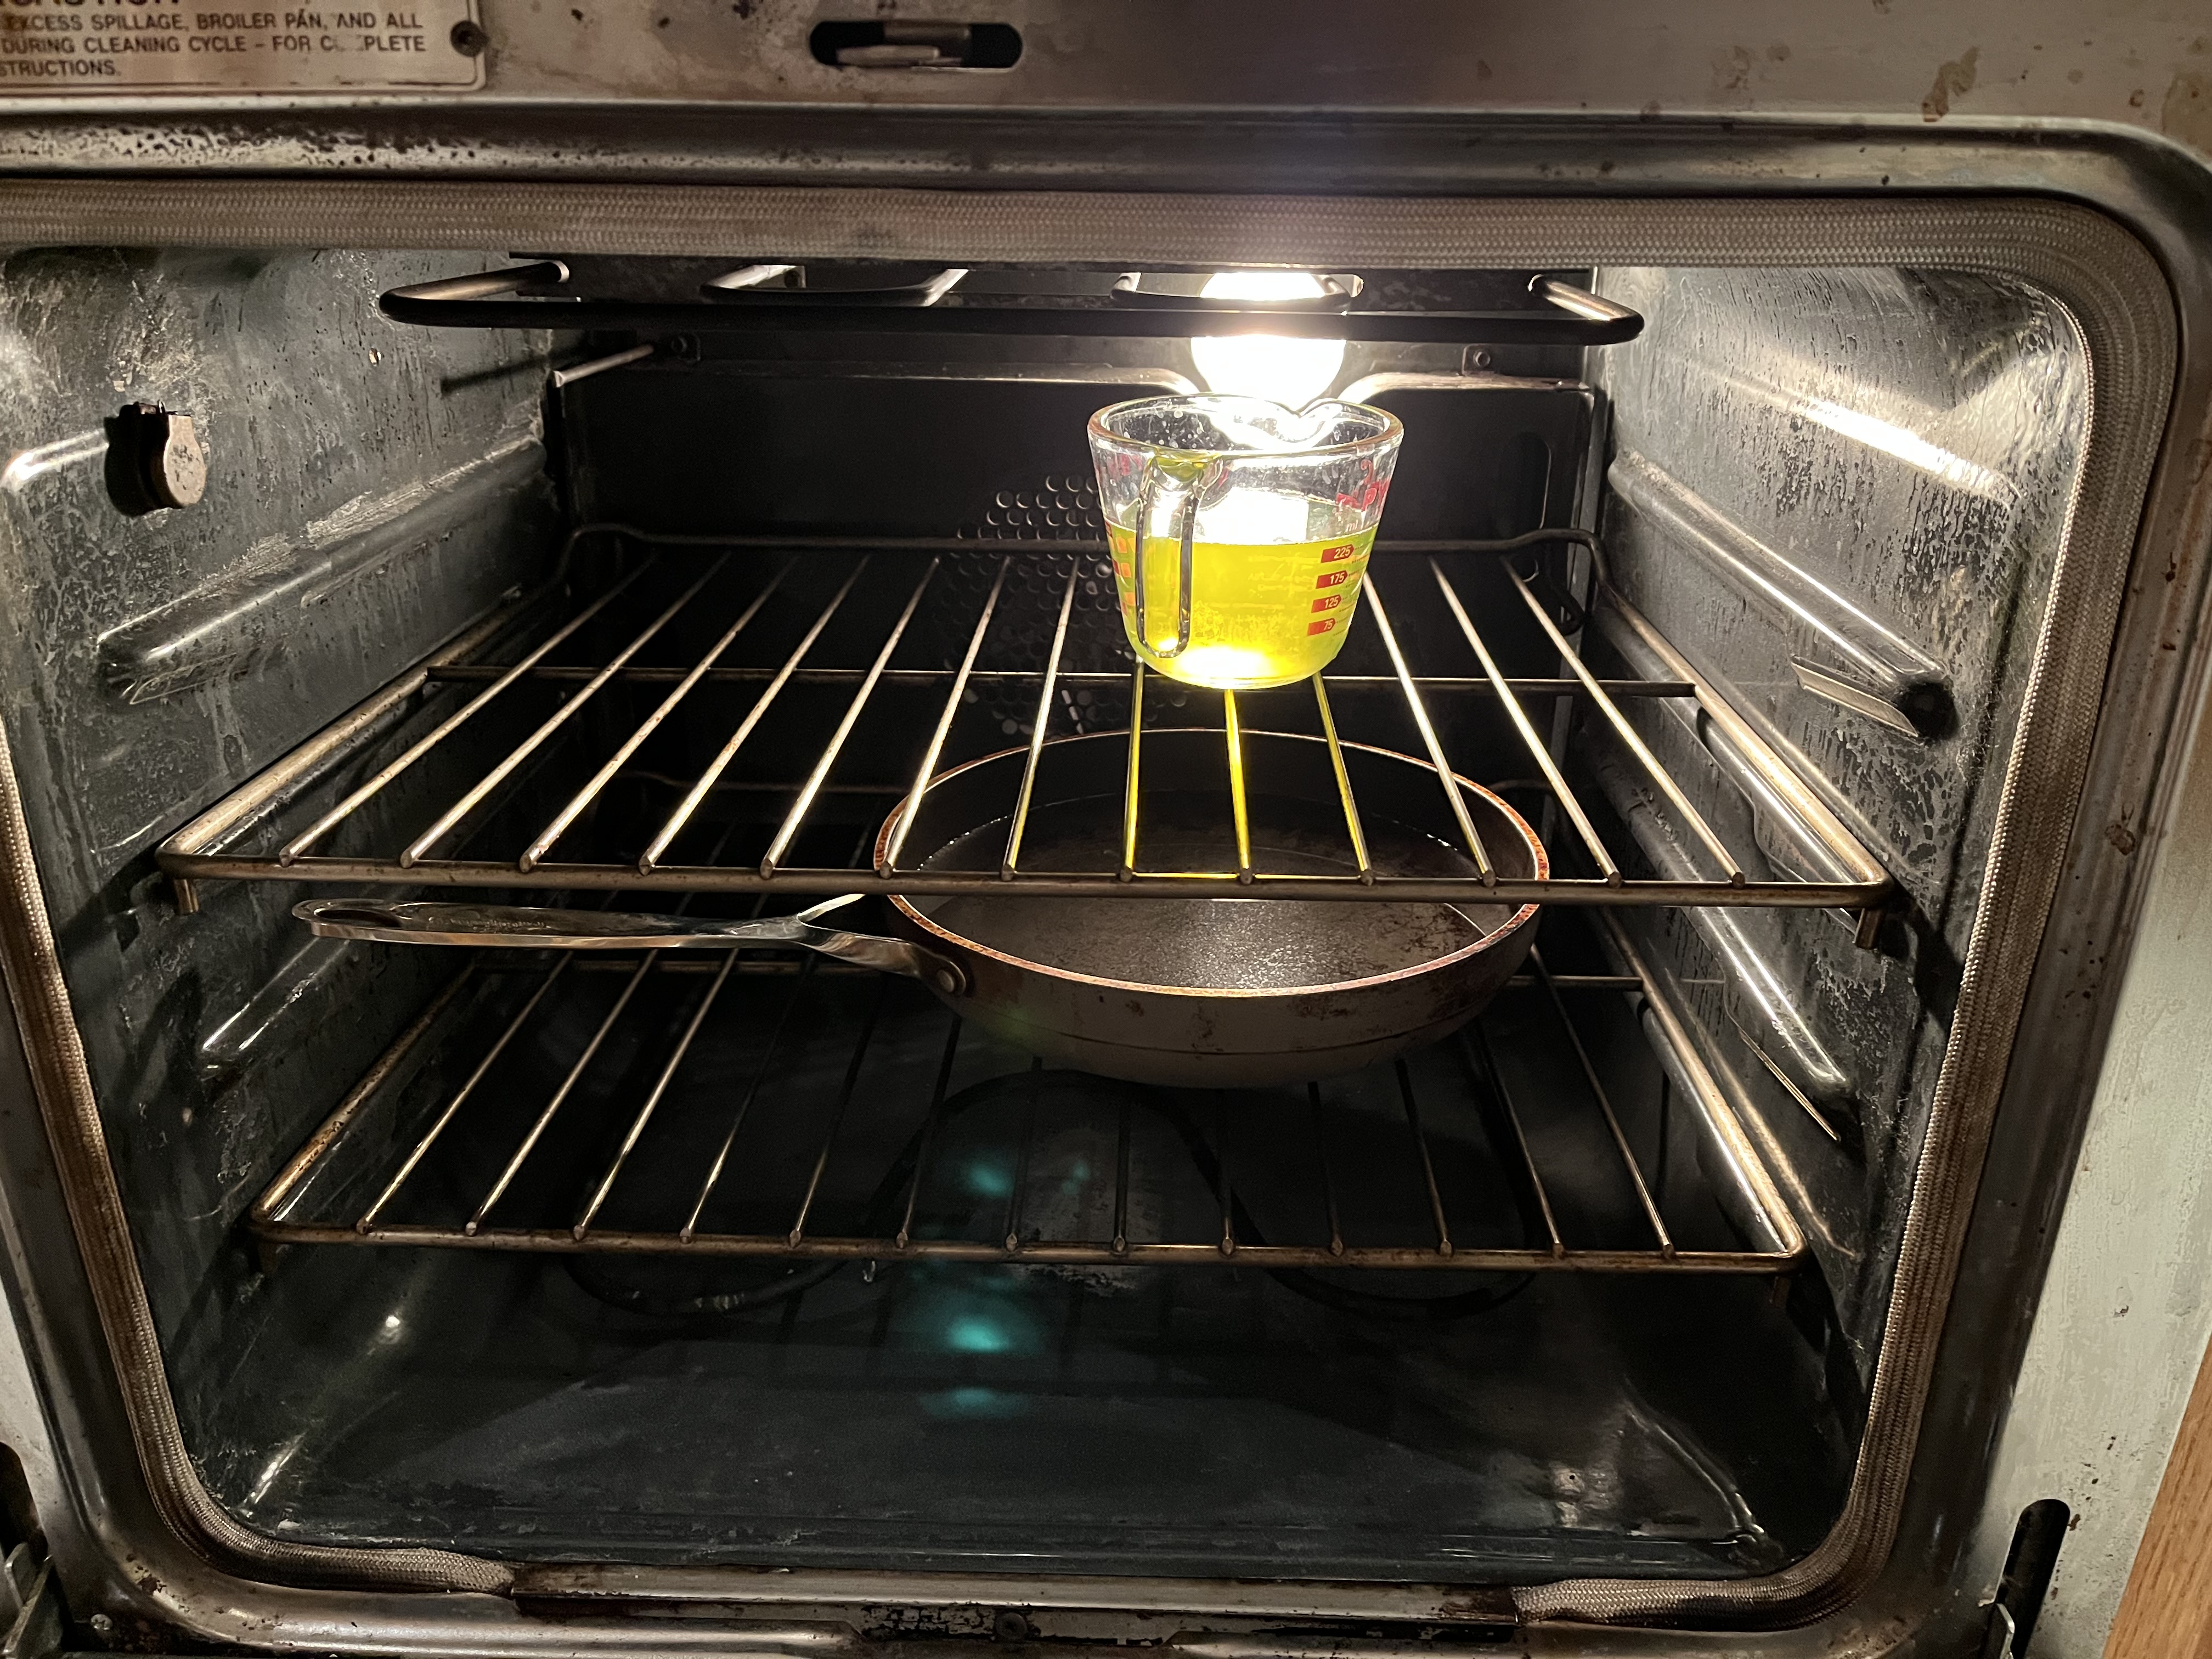
I tried a new method I saw for peeling tomatoes.  You core them, freeze until solid, then defrost.  The peel comes right off.  This should only be done if you're going to cook the tomatoes into a sauce, because it destroys the texture for anything else.  It also makes it very hard to remove the seeds, so I gave up and left them in.  For this sauce, it doesn't matter, but you might want to de-seed them before freezing if doing something smooth like marinara.  It was so much easier than blanching them in order to peel.

*4 C tomatoes, peeled and chopped
2 C onions, cut in chunks
2 C (about 2 medium) green bell peppers, seeded and cut in chunks
1 20 oz can pineapple chunks, drained & juice reserved
2 C sugar, or more to taste
*1/4 C soy sauce
2 C white or rice vinegar (5% acidity for canning)
1/2 C sugar
*1/2 C ClearJel

1.  Prepare jars and water bath canner for 5-6 pint yield.  I did 3 pints and the rest in half-pints, with a little left over, for a total of almost 6 pints.  Your yield may vary based on variety of tomatoes.

2.  Place tomatoes, onions, peppers, and drained pineapple in a large soup pot and bring to a boil, stirring often.  I actually gave my tomatoes a 10 minute head start because they were still a little frozen and I wanted the liquids to redistribute.  At this point, you're basically making a salsa with pineapple, and could probably can it as such with a bit of citric acid in a pressure canner.  I'm sure there are recipes out there.

3.  Add 2 C sugar, soy sauce, and vinegar and return to a boil.  While that is going on, stir together other 1/2 C sugar, ClearJel, and reserved pineapple juice into a slurry.

4.  Once the sauce is cooked and reduced to what you want, taste and decide if it needs more sugar, bearing in mind you have 1/2 C in the thickening slurry.  I found 2 cups sufficient, but you can add up to 3 more cups if you want it extra sweet.  I did find the taste a tiny bit flat and added about 1/4 tsp ground ginger to perk it up.  For a spicy sauce, half a teaspoon of red chili flakes would be a good addition.  Dry spices do not affect the canning math.

5.  While the pot is boiling, stir in the ClearJel slurry and keep stirring.  The thickening effect is subtle.  You're not making pie goo.  It will turn the liquid from thin to something that will stick to the spoon a little.  Remove the pot from the heat and get your jars out of wherever you were keeping them hot.

6.  Fill jars to 1/2" headspace.  I only debubbled the pints, because the sauce is still pretty fluid.  Wipe the rims well with vinegar.  Center lids, screw on rings finger-tight, and place in canner.  Bring to a boil, then process for 30 minutes.  Turn off heat and remove lid.  Let jars sit in canner 5 minutes, then remove to a towel to cool for 12-24 hours before removing rings and storing.  Any failed seals can be refrigerated for up to a week or frozen for longer storage.

Makes about 6 pints

Difficulty rating :-0

Friday, October 13, 2023

Pork Enchiladas with Salsa Verde


This was one of my do-ahead freezer meals when family was visiting.  Then we didn't eat at home except for one dinner of leftover takeout.  Does not negate the fact that you can prep this, freeze it, and thaw to bake at a later date.

I didn't have quite enough tomatillo salsa left to pull this off and canned a triple batch while I was at it.  That was a good way to multitask my time while the pork was slow cooking.  Once everything was done and the ingredients were laid out, this took less than five minutes to assemble.  There was far more meat on the bone than I needed, so the rest is now in the freezer, along with the one jar of salsa that didn't seal and the rest of the pack of tortillas.  I can easily make this again.

*1 lb pork butt or stew meat
1 tsp salt
1/2 tsp pepper
2 C tomatillo salsa or salsa verde
8 corn tortillas
1 C shredded mozzarella cheese

1.  Place the meat in a saucepan or soup pot with water to come up at least halfway.  Add salt and pepper.  If desired, add other broth-making flavorings like onion, celery, and spices.  Bring to a low boil.  Lower heat, cover, and simmer until meat falls apart, about 2-3 hours.  Drain.  Once cool enough to handle, shred with a fork and discard any fat or bones.  You can do this the day before, or even weeks before and freeze it.

2.  Pour 1 C of the salsa in the bottom of a 9x13 casserole.  Ignore my 8x8; it was too small, but I didn't want to get another pan dirty.  Soften tortillas by microwaving for 20 seconds.

3.  To assemble, spoon a strip of meat at the center of each tortilla.  Roll and place, seam-side down, in casserole.  Once all are in the pan, cover with remaining sauce.  Sprinkle evenly with the cheese, then cover with foil.  At this point, you have your do-ahead.  You can refrigerate to bake later in the day, or freeze for up to a month.

4.  Preheat oven to 375º.  Bake, covered, until hot and bubbly, about 25 minutes.  Remove foil and allow cheese to toast, about another 5 minutes.  Remove from oven and let sit 10 minutes before serving.

Difficulty rating  π

Tuesday, October 10, 2023

Cleaning the Oven

All those sheet pan dinners I've been making have done a number on the inside of the oven.  It's the oil splattering, and you really can't control that unless you cover the pans with foil.  That would cause the ingredients to steam instead of roast, which I could do on the stove if that was the goal.

Yes, I have a self-cleaning oven, but I try not to run it more than once a year.  The cycle is very hard on the heating elements and I don't want to blow them out.  Plus, you can't leave the racks in there while it's on, or it will destroy the finish.

I did a few runs with baking soda paste, which is the "before" photo, and why you're probably wondering why I think the oven is all that bad.  It got the door and glass very close to clean.  It was the inside and racks that still needed work.  At some point, I realized that it might be possible to use straight ammonia to soften the grease, as I do for the burner grates.  (I decided to wait until after a canning session to do the grates.)  Sure enough, it's a thing, so here we go.

The process is remarkably easy.  First, heat the oven to 150º.  My oven does that on a dehydrator cycle, or you can just turn it on for a couple of minutes and quickly turn it off.  At this point, if you have a gas oven, turn off the starter and pilot.  No reason for your kitchen to explode.  For electric, just shut it off.

Place an oven-safe bowl, skillet, or roasting pan with a quart of hot water in it on the bottom rack.  On the top rack, place an oven-safe bowl with a cup of ammonia in it.  Close the door and come back in 8-12 hours.

Open windows or run the vent hood, because this is going to smell.  Put on some dish gloves, so the ammonia doesn't dry out your hands, and maybe an apron or clothes you don't care about.  Pour the cup of ammonia into the bowl of water and add a teaspoon of liquid dish detergent.  Bonus, it will get your pan clean.  Use a soft scrubby to remove the grease that is now loosened from the surfaces.  I started with the racks in the utility sink before it could harden again, then moved to the oven walls.  Wipe with a clean sponge or damp rag until the residue is gone and leave the oven door open to dry.

Did all the grease magically dissolve and wipe away, like it does with chemical cleaners or the cleaning cycle?  No.  Was it way easier to scrub it off than using baking soda and/or Dawn?  Yes.  The first round got about 75% of the mess off.  Not bad for 25¢ worth of ammonia.  And I could probably use half as much ammonia and water to achieve the same results.  If I make this a regular part of my monthly cleaning routine, the oven should get and stay spotless before the end of the year.

Saturday, October 7, 2023

Everything but the Turkey Sheet Pan Dinner


Techie, Writer, and Melody Smurf  came for a visit.  We had a great time and saw a lot of the local sights. I more or less stayed to lower-carb options, as much as I wanted ice cream and pizza, but I ate far more meat and far fewer veggies than I'm used to.  The first dinner after they left was an attempt to even that out.

It's barely starting to feel like Fall.  I consider the transition to be when the humidity drops, which is not necessarily the same day it gets cooler.  It's often warmer because of Santa Ana winds, yet feels more comfortable and crisp.  Even so, I wanted a Fall-themed meal.

I did use a beef brown gravy packet for this because I had it.  A cream of mushroom or golden mushroom soup, or mushroom gravy, would easily make this properly vegetarian.  I wasn't shooting for that, just a vegetable reset.  That's also why I added a can of beans to the veggies after roasting.  If you're uncomfortable with the notion of having half your daily fiber in one meal, swap out the beans for brown rice, quinoa, or a nice steak.

1 medium, red sweet potato (about 12 oz)
12 oz fresh green beans
8 oz sliced mushrooms
1 medium yellow onion, French sliced
2 Tb olive oil
salt and pepper
*1/2 tsp dried sage
1 15 oz can kidney or canellini beans, drained and rinsed
*1 C gravy of choice

1.  Preheat oven to 375º.  Line two baking sheets with parchment for easier cleaning.

2.  Peel sweet potato and cut into bite-sized pieces.  In a bowl, toss potato and onion slices in 1 Tb oil.  Arrange on first baking sheet.  Sprinkle lightly with salt, pepper, and 1/4 tsp of the sage.  I made the mistake of putting the onions on the other sheet.  Didn't think they would take so long to cook.  Put the sheet in the oven to get a 5-minute head start.

3.  Trim the ends off the green beans and clean the mushrooms.  Toss in the bowl with the other tablespoon of oil and spread on the second baking sheet.  Again, season with light salt, pepper, and the rest of the sage.  Add to the oven and continue to bake until the potatoes are done, about 20-25 minutes.  Everything else in there doesn't actually require roasting, but will taste better.

4.  Toss together all cooked veggies and the rinsed beans.  If omitting beans, I would recommend plating the veggies on top of the rice.  Drizzle gravy onto each serving and have hot.

Difficulty rating  π

Wednesday, October 4, 2023

Spinach and Red Lentil Salad


This feels like a duplicate post, but I couldn't find a similar salad I thought I made with kale.  The closest I found was the sweet potato one from the beginning of the summer.  It's also possible I never blogged the one I'm thinking of.  I have been known to eat things and not write about them.  Apologies if this is too similar.

My cherry tomato plant died in the tropical storm.  So did one of my two floundering carrots.  The Pond pumpkin, however, found new life.  I still don't have any pumpkins growing, but the plants are trying.  For how much I've been ignoring them this past month, that's an accomplishment.  The last two cherry tomatoes I rescued are by this salad.  I'm suggesting significantly more in the recipe, just to add color and a bit of tang.

1 lb fresh spinach
1/2 C dry red lentils
*1/2 lb carrots
1 C cherry or grape tomatoes, halved
1/2 C feta cheese
2 Tb white wine vinegar
1 Tb lemon juice
1/4 C olive oil
*1/4 tsp sumac
salt and pepper to taste

1.  Wash and de-stem the spinach.  I don't care if the bag says "triple-washed".  Spinach can get very dirty. Dry in a spinner, towel, or drained in a colander over the sink.

2.  Rinse the lentils well.  This could take four rinses, depending on the brand.  Place in a small saucepan with water to cover by 1/2".  Peel carrots and dice or cut in rounds, as desired.  Add to pot.  Bring to a low boil.  Reduce heat to a simmer, cover, and cook until lentils are done, about 10 minutes.  Remove from heat and drain off all water.

3.  While the lentils are cooking, make the dressing.  Whisk together vinegar, lemon juice, oil, sumac, and salt and pepper to make a light and citrusy vinaigrette.  Chill until ready to use.

4.  To assemble salad, toss together spinach and cooled lentil/carrot mixture.  Garnish with tomato halves and feta.  Drizzle liberally with dressing.  Alternately, you can toss the dressing into the spinach/lentil/carrot mix before plating and garnish after.  I had it as a main-dish salad with a bit of pita.

Difficulty rating  π

Sunday, October 1, 2023

Shrimp and Cabbage Hot Pot

Tasting History recently did an episode on the Sumo Wrestler recipe Chanko Nabe.  Surprisingly, it's keto.  The ton of rice they have with it isn't.  It really put me in the mood for an Asian-style soup.

There's going to be a 99 Ranch Market near me!  I'll no longer have to trek up to 45 minutes with an insulated bag.  It's a little farther than Mitsuwa Markeptlace, and very close to the Persian grocery stores.  I can deal with that.  It should open by the end of the year.

I had actually put "shrimp" on the meal plan, intending to have pasta, then never used a cabbage I had bought for the week before.  A new package of miso paste, a few other ingredients, and this was good to go.

Shirataki is a new ingredient for me.  I've heard of it, but never bought any.  It's noodles made out of konjac starch, and essentially carb and calorie free.  And it tastes like udon noodles. If you don't feel like shelling out that kind of money on fresh noodles, really any spaghetti-adjacent pasta will do.

1 qt unsalted chicken or vegetable stock
1/4 C miso paste
1/2 lb carrots, peeled and sliced thin
*1/2 green cabbage, cored and thinly sliced
1 Tb oil
2 cloves garlic
1/2 tsp grated ginger
1/2 tsp pepper
1 package firm tofu
*2 green onions, thinly sliced white and 1" green pieces
*1 lb raw shrimp, shelled, deveined, tail off
12 oz package (4 serving) shirataki noodles

1.  In a large soup pot, cook the thinly sliced cabbage in the oil over medium-low heat until the cabbage is softened.  If you cover the pot between stirs, the cabbage self-steams and speeds up the process.  This could take half an hour and is the only time-consuming part of this recipe.  Stir every 5 minutes or so to keep the bottom from burning.

2.  Once the cabbage is reduced by at least half, add the garlic, ginger, and miso and cook until fragrant.  Add in the stock, carrots, pepper, green onion, and tofu.  Bring to a low boil over medium heat.  Reduce heat to a simmer, cover, and cook until carrots are softened, about 10-15 minutes.

3.  Before serving, drain and rinse noodles.  Drop the shrimp into the simmering soup, stir, and let sit 2 minutes for the shrimp to cook.

4.  Ladle hot soup into serving bowls and add a tong-full of shirataki for garnish.  Serve with a side of rice, if desired.

Difficulty rating  π