Saturday, June 29, 2019

Lavender-Lemon Vinaigrette

I was trying to think of something light to put on a greed salad with apricots and walnuts.  First I thought of white wine vinegar as a base.  There was half a lemon in the fridge.  Eventually, it turned into this.

Culinary lavender is getting increasingly easy to find.  I still have my bottle from TJMaxx that's going to last me a couple of decades.  Sprouts now carries it in their bulk spices section, so you don't have to commit to a full container.

When you think about how expensive some salad dressings are, then half bottles languish in the fridge for months, it makes much more sense to make half a cup of a unique flavor and finish it in a week.  Most of the time, I already have all the ingredients on hand.  Whether it's a vinaigrette or creamy dressing, you can have your own special flavor in about five minutes.


*2 Tb white wine vinegar
*2 Tb lemon juice
*1/2 tsp culinary lavender
1/4 C olive oil
1/4 tsp kosher salt (lavender salt if you have it)
*1/2 tsp honey
*1 tsp chia seeds (optional)

1.  The day before, combine lavender and vinegar.  Refrigerate.
2.  Whisk together all ingredients.  You can strain out the lavender buds before adding the vinegar to keep it from becoming too overwhelming.  I added the chia for nutritional value, but they did make the dressing look pretty on the salad.  Up to you.

3.  Serve immediately or refrigerate until needed.  It will separate, but can be re-shaken before serving.

Makes 1/2 C, four 2 Tb servings

Difficulty rating  π

Wednesday, June 26, 2019

Goat Cheese and Prosciutto Croissants

I haven't made croissants in a while.  Time to remind myself why not.

Really, it's rolling the butter into a sheet that's a pain in the butt.  The dough is just a normal yeast dough.  Folding takes a while, but only by the clock.  The vast majority of this project is passive time.  Bakeries don't mind spending 4-5 hours on croissants because they are turning out dozens and can do all sorts of projects during the rest and rising times.

You could easily skip the dough part of this recipe and buy a can of crescent rolls in the refrigerator section.  If I wanted to do these for a large party, that's how I would go.  Those tend to run smaller, so the filling could easily cover two cans.  I was just brushing up on my skills and decided to work from scratch.

And a quick reminder that croissant dough, unlike the sweeter Danish dough, is neutral.  Savory croissants exist all over the place.  This is just a fancier version of ham and Swiss.  And way more expensive.  There is no such thing as cheap prosciutto, but at least one 3oz package evenly tops this recipe.  You're going to have extra goat cheese spread, but no one is going to complain about that.  If it lasts until the croissants come out of the oven, I'll be surprised.

I only heard of "laminated" dough in the past few months.  I think of laminating as fusing something in sheets of plastic.  Apparently, the word also applies to anything sealed between two layers of something else.  In this case, we're talking butter inside dough.  Just a fancier term for a rolled dough.

1 tsp yeast
1 tsp sugar
*1 C milk at 100º
2 C flour plus more for dusting
1/4 tsp salt
4 oz unsalted butter, room temperature
1 3oz package prosciutto
1 4oz log plain goat cheese
1/4 C plain nonfat Greek yogurt (or sour cream)
1/2 tsp dried oregano, divided
*1/4 tsp dried rosemary
1 egg

1.  Stir together warmed milk, yeast, and sugar.  Allow to sit until foamy, about 5 minutes.

2.  In mixer with paddle, combine milk mixture with 1 C flour.  Beat into a smooth batter, about 2 minutes.

3.  Add another cup of flour and the salt.  I subbed in 1/3 C whole wheat flour to make this a little savory, and just that small amount colored the dough.  Beat 2 more minutes, into a soft dough.

4.  Turn out dough onto a generously floured surface.  Knead until smooth, about 5 minutes, adding as little flour as possible to achieve a softer texture.  Turn over in a lightly oiled bowl and set in a warm place to rise until doubled, about 1 hour.

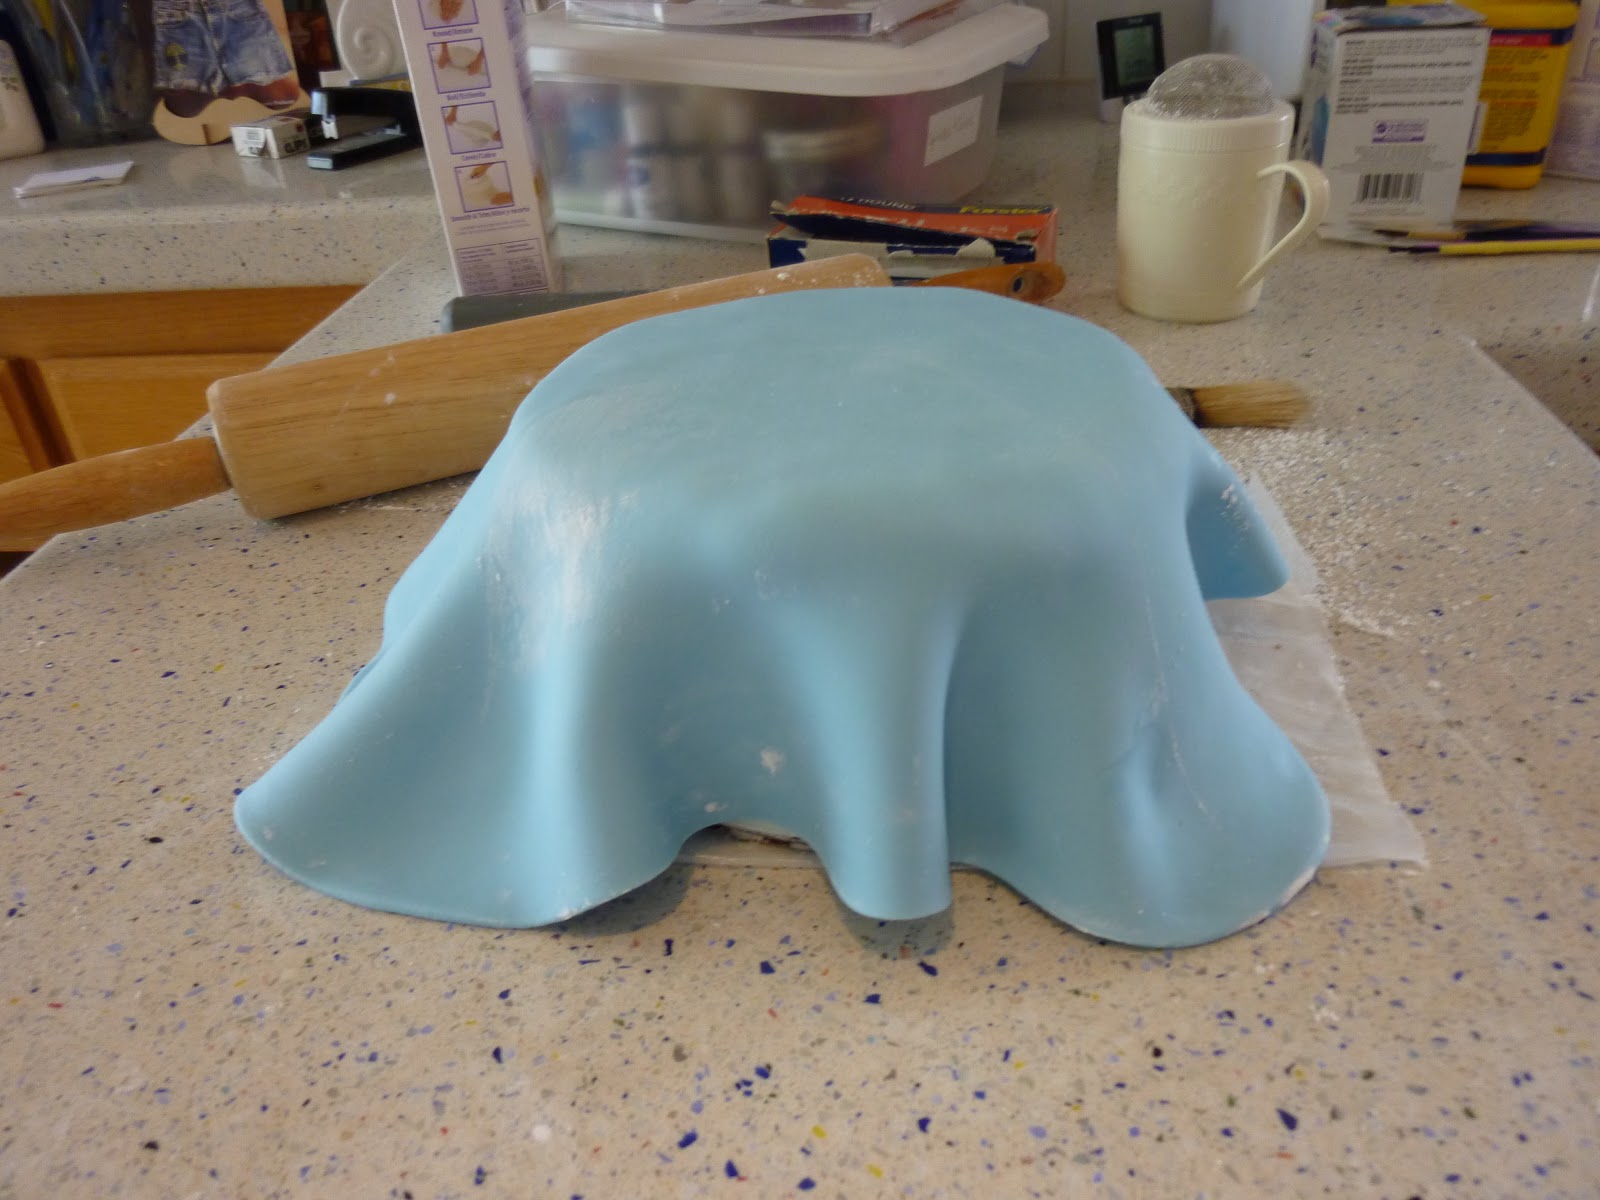
5.  Now for the annoying part.  Place a stick of butter between two pieces of plastic wrap.  Now attempt to roll it into a 7" by 12" rectangle.  The hardest part is the first press, to break it out of its shape.  Chill until firm.
6.  When dough has doubled, punch down and let rest on a lightly floured surface.  Roll into an 8" by 18" rectangle.  Remove the chilled sheet of butter from its plastic wrap and place against the left side of the rectangle.  It should cover 2/3 of the dough.  Fold over the right side to halfway across the butter, then the left side with its own butter over that.  You will have three layers of dough alternating with two layers of butter.  The new rectangle will be about 6" by 8".

7.  Roll out the rectangle the opposite way to about 8" x 12".  Do the tri-fold again.  This is your first "turn".  Chill for 20 minutes, to set the butter and relax the dough.  Roll and fold two more times, always extending the narrower side so you alternate.  At this point, you have laminated dough that can either be used immediately or refrigerated for up to 18 hours.

8.  During the last refrigeration, make your cheese filling.  Beat together goat cheese and yogurt.  Beat in 1/4 tsp of oregano and the rosemary.  I ground up the rosemary in the mortar & pestle a bit first.
9.  Roll out the dough into a 7" by 14" parallelogram about 1/4" thick.  Or a rectangle if you're going to make squares. Spread about half of the cheese mixture over the entire dough, then the prosciutto.  Save remaining cheese mix to serve on the side, like you would butter with plain croissants.
10.  Cut the dough into 8 triangles.  These actually came out bigger than I anticipated, like restaurant size.  Each was a meal with a salad.  If you want smaller, cut the dough in half across the center first, then make eight out of each half.  Stretch out the wide side of each triangle and roll into the point.  Shape into the crescent, pointy seam down, and place on a lined baking sheet with room to expand.  Proof until doubled, 45 minutes.
11.  Preheat oven to 375º.  Beat egg with 2 Tb water to make an egg wash.  Carefully brush rolls, then sprinkle with remaining oregano.  Bake 25-30 minutes if making eight, or 20 minutes for 16.  Because of the filling, they need to bake longer than you think they do.  They should be deep golden brown by the time you pull them out.
12.  Cool on the pan for 5 minutes, then move to a rack to cool fully.  If not eating within 4 hours, these can be frozen once fully cooled.  Store in a sealed ziplock freezer bag.  Allow to come to room temperature, then crisp up in the oven at 300º for 5 minutes.

Makes 8 large croissants

Difficulty rating  $@%!

Sunday, June 23, 2019

Gone to Seed

With fruits, including tomatoes and gourds, you want the plant to bloom.  With vegetables and herbs, however, flowers generally mean you might as well pull the plant.  It will no longer produce tasty leaves.

In the current nose-to-tail mentality of restaurants and home gardening, I intentionally let one of my fennel and all of the cilantro bolt.  I was very happy with my pot of cilantro, something I don't say every year, but the season is short in zone 11a.  As soon as the temperature hit 75º, away they went.

It takes a lot of patience to grow your own seeds.  First, you were growing the plant for a couple of months for its intended purpose.  Then you have to wait a month or two for the flowering part.  Finally, you have to keep the plant alive until the seeds form and dry in the summer sun.  Then you pick them, but they still have to stay in a paper bag for several weeks to finish drying before you can store them for the winter.
When all this is done, though, I'll have at least a year's worth of fennel and coriander seeds.  They'll end up in soups, stews, pickles, and breads.  Some of what's left in January will be planted.  I haven't really saved any money, and I'm not a fanatic about being organic.  For me, it's about appreciating where your food comes from.  It's the "I made that" factor.

Thursday, June 20, 2019

Wedgwood Cake

I've always loved Wedgwood's style.  The simple white cameo designs over a pastel matte finish are an understated elegance.  I was surprised to find the only piece I have is a clock that no longer works and really needs to be cleaned.  When I googled this idea, all the cakes that came up were for weddings.  I'm not the only one who thinks that way.
There are two or three ways to go about this idea.  I'm going with the "buy a fondant mold" version, as it's the one absolutely any skill level can pull off, including a child who has mastered Play-Doh.  For those skilled with a piping bag, royal icing designs are an option.  One site I visited, the decorator made her own resin mold of an actual Wedgwood plate's design, then used it as a fondant mold.
One thing I found from scanning several dozen images of this concept is that you're pretty much stuck with using fondant for the base color if you want the matte look.  Buttercream just won't hold up well enough and will look shiny.  I put a decent coat of buttercream under it, since I had some sky blue left in the freezer from the painted cake.

1.  Bake a cake.  Any size, shape, or number of tiers is acceptable.  No limits on the flavors.  I used the chocolate chip layer cake.

2.  Fill, crumb coat, and frost in a frosting you actually like.  Let's be honest: everyone peels off the fondant.  I recommend a frosting roughly the color of the fondant coat, but the filling can be anything.  I had just barely enough Oreo frosting left to fill a cake.  Unlike most buttercream jobs, you don't want the top edge sharp.  Keep the lines soft and slightly rounded.  Chill the cake to harden the frosting while you work on the fondant.
3.  Make your molded decals out of white fondant.  Doing them first gives them a chance to firm up a bit so they're easier to handle.  You don't have to make a lot.  This design is more striking the simpler it is.  Your mold or roller will come with instructions.  I ended up making my own system of using a fondant roller to press it in tightly and make the edges so thin they simply tore off.  Then I could pop out the pieces and trim any strays with a sharp knife.
4.  Color your fondant with gel food coloring, not water-based.  Wedgwood comes in nearly every pastel shade, but blue is the most common.  There's a reason that cake videos don't show the decorator coloring fondant in real time.  It takes a while.  You're kneading, pulling, and twisting for at least five minutes.
I thought that three drops of Navy Blue was too much when I started, but the cake ended up lighter than my actual piece.
5.  On a surface dusted with powdered sugar or cornstarch, roll out the fondant like you would a pie crust.  Drape over the cake and coax down the sides until it drapes evenly.  Something else they don't show you in real time.  Don't expect it to take less than 5 minutes.  You'll only tear the fondant.
6.  "Glue" the fondant decals on with clear piping gel, royal icing, or pasteurized egg whites.  I did this on a humid day, so the water beading up on the fondant from the frozen cake inside was enough to stick everything together.  Once the fondant is on, do not freeze the cake again, but it can be refrigerated.  Bring to room temperature to serve.
Difficulty rating :-0

Monday, June 17, 2019

Chocolate Chip Layer Cake

I liked the Oreo Cake recipe so much, I decided to see how it would taste with mini chocolate chips instead.

I did alter Preppy Kitchen's recipe more than the first time, though.  Reading over my notes, I attempted to reduce the doming by subbing in half cake flour.  It did work some, and the cakes developed fewer large holes.  Next time, maybe I'll use all cake flour.

And I avoided the cinnamon chip mini-disaster by coating these in flour.  Still lost a few on the paper, but they're evenly distributed.

The two layers above are 6".  I didn't do the full recipe because I'm getting tired of all these tall cakes.  Sometimes, you need height for a specific design.  The rest of the time, you just end up with a lot of cake.  There were only two desserts at Melody Smurf's party, a 9" two-layer cake and a trifle.  (I made another Painted Cake, since Melody Smurf liked that it had a British Garden theme.)  That was plenty for 40 people who had been snacking all evening.  Maybe this is why I don't like cake; I always feel like there's too much.  Or, because I'm not partial to frosting.  It's a tossup.

1 C all-purpose flour
1 C cake flour
1 C sugar
1/4 tsp baking soda
1/2 tsp baking powder
1/4 tsp kosher salt
3/4 C margarine
3 egg whites (boxed ok)
1 tsp vanilla
1/2 C sour cream or Greek yogurt
*1/2 C milk
*1 C mini chocolate chips

1.  Grease and line with wax paper three 6" cake pans.  Start soaking baking strips.  Preheat oven to 340º.

2.  Stir together 1/4 C of the flour and the mini chips.  Set aside.  Sift together remaining flour, cake flour, sugar, baking soda, baking powder, and salt.

3.  In mixer with the paddle, beat margarine until smooth.  Beat in flour mixture until crumbly (reverse creaming method).  Scrape bowl and mix a few more seconds.
4.  Combine wet ingredients.  That coffee looking concoction is what happens when you spill the vanilla a little into the mix.  It was maybe double what it was supposed to be.  Stir into flour crumbles until just combined. This batter is a little more forgiving because of the two different flours, but you still don't want to over-mix.  Add floured chips and stir until distributed.

5.  Divide batter between pans, using a scale to check for evenness.  Fit wet baking strips around cake pans and bake for 25-30 minutes, until a toothpick comes out clean.  Cool on a rack in the pan after removing baking strips for 10 minutes.  Turn out and remove wax paper.  Cool fully before icing or wrapping and freezing for another day.

Makes 3 6" layers or 2 8" layers, about 16 servings

Difficulty rating  :)

Friday, June 14, 2019

Brown Rice and Veggie Bowl

I went to visit Melody Smurf for her high school graduation.  It was actually a very nice, grown-up garden party.  Writer Smurf's parties are kind of epic.
While the food at the party was what you would find at a tea, everything else I ate that week was yummy crap.  Wawa makes macaroni and cheese bowls with even worse stuff on top like bacon or fried chicken strips, and then you can put BBQ sauce on it.  Ok, they make healthy options too, but really?

My last night there, we went for sushi.  I decided to get the healthiest version on the menu, which turned out to be the Paleo/Keto option.  I could have ordered a side of rice, but we were having leftover trifle for dessert and I was still vaguely attempting to honor my new lower-portion diet.  Feeling rice-deprived, I made this the day after I came home.

This wasn't intentionally vegan and gluten free.  I just wanted a Japanese-style salad over a mound of brown rice.  By the nature of Japanese cooking (and because I had accidentally bought GF soy sauce), that's what I got.

1 C dry brown rice
1-1/2 C water or unsalted vegetable stock
1 C frozen peas
1 batch Ginger-Sesame dressing
*1 carrot, peeled and julienned
1/2 cucumber, peeled and julienned
2 stalks green onion, cut on a bias
1 package firm tofu
pickled ginger for serving (optional)

1.  Preheat oven to 325º.  Start boiling water or broth.  Place rice and frozen peas in a casserole with a lid.  Pour boiling liquid over, stir, cover, and bake for 50 minutes, until water is absorbed and rice is fluffy.
2.  While the rice is cooking, make the salad dressing.  If you make it ahead, keep it in the fridge.  For one hour, it can stay on the counter.
3.  And you still have half an hour to slice all the veggies.  Cube the tofu.  Get your mise en place ready.

4.  Once the rice is done, stir again to re-distribute the peas.  You can make four individual bowls or one large communal dish.  Start with the rice.  Arrange remaining components evenly.  Pour dressing over all, then garnish with a side of pickled ginger.  Serve while the rice is still hot and veggies cold.

Difficulty rating  :)

Tuesday, June 11, 2019

Gelo di Melone

I bookmarked this recipe from Yummly for Sicilian Watermelon Pudding so long ago, I'm relieved the link still works.  I meant to make it last year with one of my home-grown watermelons, but ended up eating the melons instead.  This time, I was determined to save enough of the one I got at Sprouts for a dollar to make it.

Despite the name, there isn't any gelatin in this dish.  It is thickened entirely by cornstarch.  It isn't as firm as Jell-O either.  More like a very thick soup, or runny pudding.  It can support the whipped cream on top, but that's pretty much it.

For something so simple, this generated a lot of dishes to wash.  Blender, sieve, saucepan, cutting board, little dishes, measuring pitcher.  At least I had canned whipped cream, or it would have been the stand mixer as well.

This recipe can be made with any light melon.  Your juice yield may differ with something firmer like  honeydew.  Just cut and purée more until you get close to 3 cups.

4 C chopped, seeded watermelon (about 1/2 of a mini)
2 Tb sugar
2 Tb cornstarch
*1/2 vanilla pod, seeds scraped
*2 tsp lemon juice, strained
whipped cream and nuts for garnish, optional
1.  Taste a small piece of the watermelon.  If it's not very sweet, double the sugar in this recipe.  Run the rest of the watermelon through the blender until smooth.  Strain through a fine-meshed sieve and discard the solids.  You will end up with maybe 3 C juice.
2.  Stir together 2 Tb of the juice and the cornstarch.  Set aside.

3.  Bring remaining juice to a boil in a medium saucepan over medium heat.  Boil for about 5 minutes to reduce a little.  For a thicker result, reduce by 1/3.  Whisk in sugar and vanilla seeds.

4.  Stir up the cornstarch slurry and add to the pot.  Whisk until it returns to the boil and thickens, about 3 minutes.  Whisk in the lemon juice.
5.  Strain the hot mixture into something that's easy to pour out of.  I actually did catch some more watermelon solids, and a bit of vanilla pod that had come off with the seeds, but no clumps of cornstarch.  Pour into four serving dishes.  I recommend clear cups or white ramekins.  Maybe half-pint jars.  One serving is a little over half a cup.
6.  Chill until serving time, at least 3 hours.  Can be refrigerated up to 2 days before it starts to get a thick skin on top.  Garnish with whipped cream and crushed pistachios.  I don't like pistachios and went for pine nuts instead.  The idea is a little crunch against the smooth pudding, but it's optional.

Difficulty rating  π

Saturday, June 8, 2019

Fettuccine Alfredo with Lobster and Vegetables

Don't cook hangry.  This got a bit more decadent than I was planning.  You can skip the bacon and extra cheese to make it lighter.  This recipe does go easy on the sauce, because I was using the homemade recipe.  Out of a jar, you might need more.

So there was leftover (fake) lobster and Alfredo sauce after the pizzas.  I picked up pasta and started tossing odds and ends into this dish until it equalled a meal.

And for those who are especially observant, this is actually linguine and not fettuccine.  I bought what was available.  The pasta shape selection at Sprouts is not very large, but they do have an extraordinary diversity of what the pasta is made of.  I'm not spending $5 a box on some flax/corn/quinoa mashup when the regular wheat pasta is $1.29.  Which I still consider a bit much for what's not much more complex than matzoh.

8 oz fettuccine
2 strips thick-cut bacon
*4 oz lobster (or fake lobster) meat
*1 C Alfredo sauce
*1 C cut green beans
*1 C carrots, cut in strips
*1 rib celery, thinly sliced
*sliced shallot, grated parmesan, and pine nuts for garnish, optional

1.  While the pot of salted water for the pasta is heating, cook the bacon.  I just did it in a skillet so I could save the fat for greasing omelet pans.  Get the bacon crispy enough to chop into large bites.  Drain and chop.
2.  Add pasta to the pot and return to a boil.  Add the beans, carrots, and celery.  Cook until pasta is al dente.  If lobster meat is raw, add for the last minute of cooking.

3.  Drain pasta pot, reserving a touch of the water in case you need it.  Return contents to the pot and add sauce and chopped bacon, plus the lobster if you bought pre-cooked.  If necessary, add a few tablespoons of pasta water to make everything come together.  Toss until sauce evenly coats.

4.  Plate pasta, garnishing with cheese, shallots, and/or pine nuts as desired.

Difficulty rating  :)

Wednesday, June 5, 2019

Alfredo Sauce

I bought too much milk.  Looking for something to make, I stumbled across the idea of making a white-sauced pizza.  As it turns out, I don't have an Alfredo recipe yet.
Traditional Alfredo uses heavy cream.  The recipe I picked from Coco and Ash intentionally uses a roux base and milk for a lower fat content.  I did put more cheese on the pizza, so it isn't like I was going lite.  The point of this was to use up the milk.

This sauce comes together in roughly the same amount of time it takes to cook pasta, making it ideal for a weeknight meal.  Richer than the stuff out of the jar, it definitely tastes home-made.  I happened to have extra parmesan in the fridge, or this would have gotten a tad expensive.  It's worth it for the taste.

1/4 C butter
*2 large garlic cloves, minced
1/4 C flour
*3 C milk, warmed to 100º
*2 C grated or shredded parmesan cheese
1/2 tsp each salt and cracked pepper
*2 Tb chopped fresh parsley

1.  In a medium skillet, melt the butter over medium heat.  Add garlic and cook until fragrant, one minute.  Add flour and stir into a garlic-scented roux.  Cook 1 or 2 minutes to develop flavor.
2.  Add milk half a cup at a time, stirring or whisking in until smooth and thickening.  Once all milk is added, cook 5 minutes to thicken fully and remove any flour taste.  Make sure to stir frequently to avoid scorching.
3.  Remove from heat and stir in cheese, salt, pepper, and parsley.  As soon as the cheese is fully melted, serve.  Can also be refrigerated and brought back in a saucepan with a little more milk.

Makes about 3 cups, 6 servings

Difficulty rating  π


Sunday, June 2, 2019

Foil-Baked Swordfish

There was a swordfish steak for half off at Sprouts.  I've never cooked it before, and only had it a few times, so it was off to Chef Google for ideas.

There is an entire subcategory of "swordfish cooked in foil" when you scroll to the bottom of the "Swordfish recipes" page on Google.  Seasoning, fat, and acid are the main ingredients.  Wrap, bake, and reveal.  It seemed easier than sticking it under the broiler and hoping nothing burned.

This method will work with pretty much any fish.  Thinner cuts just cook for less time.  You can do it as single servings, either with foil or parchment paper, and let the diner open the packet.  Change up the seasonings as needed for type of fish or what else is being served.  You can also substitute butter for the oil or lemon juice for the vinegar.

1 thick-cut swordfish steak (about 1 lb)
olive oil
white wine vinegar
salt and pepper
1.  Preheat oven to 375º.  Tear off a piece of foil about the size of a rimmed baking sheet.  Lay it on the baking sheet and sprinkle with salt and pepper.
2.  Place steak in the middle of the foil.  Dust again with salt and pepper.  Drizzle lightly with oil and vinegar.  If desired, add an herb and/or slices of citrus to coordinate with your meal.  Wrap fish tightly in the foil, but leave enough of an air pocket for it to steam itself.
3.  Bake for 18 minutes.  When cool enough to handle, open foil.  Slice and serve.

Difficulty rating  π