Tuesday, April 30, 2019

Italian Dressing

It takes me forever to go through a bottle of salad dressing.  For Passover, finding a bottle that does not contain cornstarch/corn syrup is next to impossible without shelling out big bucks.  This recipe is easy to knock out with ingredients on hand, and is ideal for any time of year.

My vinaigrettes are always heavier on the vinegar and lighter on the oil than the traditional ratios.  You can't taste most oils, just the vinegar and spices.  They're unnecessary calories and only there to make the vinegar part adhere to the salad.

*1/4 C white wine vinegar
*1 Tb lemon juice
*1/4 tsp dried oregano
*1/4 tsp dried basil
salt and pepper
*1/8 tsp crushed red pepper flakes
*1 clove garlic, minced
1/2 C olive oil
sugar, if needed

1.  Stir together vinegar and lemon juice.  Add oregano, basil, salt, pepper, red pepper flakes, and garlic and allow to sit 10 minutes, for the herbs to hydrate.
2.  Whisk in olive oil.  Taste and adjust seasonings, including adding a touch of sugar if too sour.
3.  If not using immediately, refrigerate.  Allow to come to room temperature for 30 minutes and re-whisk as necessary.  Depending on the freshness of the oil you use, it may separate in only a few minutes.

Makes about 3/4 cup

Difficulty rating  π

Saturday, April 27, 2019

More than one way to Slice an Artichoke

On the cruise I took in March, one of the egg dishes had artichoke on it.  When it arrived, the artichoke was sliced in a crescent, down the middle.  I'd never seen it presented that way.  I've only had it either steamed whole or baby ones cut in quarters.  This struck me as a great way to slice them for salad, as you would an avocado.  Bit more work, but similar idea.

Like an avocado, you have to take precautions to avoid discoloration.  I did it by steaming the flower first, then removing the inedible parts.  You get a better yield that way anyway.  A quick bath through lemon water after slicing gave them a shelf life of a couple hours, until the salad was served.

1.  Trim off top 1/3 of artichoke and cut the stem end flat.  Place in a saucepan with water to cover.  Bring to a boil, then turn down heat to a simmer.  Cover and cook until tender and leaves have darkened, about 15 minutes.  Large buds will take longer.
2.  Turn upside down on cutting board and remove leaves with a sharp knife, taking off as little of the "meat as possible.  When you get down to the most tender leaves, turn the bud right side up and pull them off, exposing the choke.

3.  With a tomato corer or melon baller, scrape out choke hairs.  What remains is the heart, a disappointingly small disc compared to what you started with.
4.  Slice thinly, straight across.  Except for a couple of slices on the outside, you'll get crescents.  Drizzle with lemon juice if not serving immediately, and use to garnish salads or other dishes.

Difficulty rating  :)

Wednesday, April 24, 2019

Passover Biscotti

A google search of "passover biscotti" will bring up tons of mandelbrot recipes.  Since that translates into "almond bread", and this recipe does not have any almonds in it, we're just calling them biscotti. You can definitely add some sliced or slivered almonds to this, but the other dessert at Seder was a store-bought almond torte, so I skipped it.

This recipe is from The Monday Box, which does call them mandels for the sake of identifying their texture.  I cut this in thirds to make a dozen, which only looks weird when you see the amount of cake meal.

I don't think I've bought potato starch before.  I've had Manischewitz noodles made with it, but I'll have to figure out how to use the half a can after the sponge cake and this.  Probably in a potato bread once Passover is done.  You should see me at work trying to explain to GF people that potato bread does have wheat flour in it.  They expect what's essentially powdered mashed potato flakes to magically rise into a loaf without any gluten for support.

2/3 C sugar
*1/3 C butter
2 eggs
*2/3 C + 1/4 C matzoh cake meal
dash of salt
1/4 C potato starch
*2/3 C chocolate chips
*1 tsp cinnamon sugar (optional)

1.  Preheat oven to 350º and line a baking sheet with parchment paper or a silpat.

2.  In a bowl, whisk together cake meal, potato starch, and salt.  Set aside.

3.  In mixer with the paddle, cream together butter and sugar.  Add eggs and beat until incorporated.  Scrape down sides and beat again until fluffy.
4.  Stir in cake meal mixture until well combined, then stir in chips.  No concerns about gluten here.  The consistency was like Tollhouse cookie dough.

5.  Pour cookie dough onto baking sheet.  Wet hands and form into a log about 1/2" high and 4" wide.  I used the bench scraper to get the edges sharp.  Dust with the cinnamon sugar.
6.  Bake for 30-35 minutes.  Full disclosure, I ran out of cake meal 1/4 C short and figured I could make it up in potato starch.  Apparently you can't.  It spread out and the edges that ran for it got very dark.  I just cut it back into a rectangle and proceeded according to recipe.
7.  While still warm, cut into 12 slices roughly 1/2" thick.  Remove slices to a cooling rack, cut side up.  Once fully cooled, wrap in plastic for storage.  May be frozen.

Makes 1 dozen

Difficulty rating  :)

Sunday, April 21, 2019

Matzoh Lasagna

I was determined to go with an Italian/dairy theme for Seder.  I had to look up how to do lasagna with matzoh because I've only done gluten-free.  Not the same thing.

And that brings up a good point.  Matzoh is not gluten-free, just tastes that way.  It is still made with wheat flour.  Gluten-free matzoh is available in many markets and online if that is a concern.  There are fewer strands of gluten in it because of how it's made, but there is some.  If you need ideas for a Seder, opening a gluten-free cookbook is an easy start.  Then you have to filter out anything with corn, rice, legumes, grains, oats, and mustard.  The mustard one surprised me, too.  Mustard greens are fine, just not the seeds.  I give up most of the time and just google an ingredient if I'm not sure.

No posted recipes had exactly what I was looking for, but most agreed on a general layering procedure and ingredient amounts.  I decided on the amounts for an 8" square pan.  It's easy because it's slightly larger than the matzoh sheet and you don't have to cut and paste, plus it makes about six servings.  You aren't going to end up with lasagna for 18, which was common because most people have way larger seders than mine.

2 C cauliflower florets
2 C sliced mushrooms
1 Tb olive oil
*1 clove garlic, minced
1 C ricotta
1 egg
1-1/2 C frozen spinach, thawed and drained
1 24 oz jar pasta sauce (check ingredients for corn anything)
1 C shredded mozzarella (check that potato starch is the anti-caking agent)
1/4 C grated parmesan
*3 sheets matzoh

1.  Cut the cauliflower and mushrooms into small pieces.  They're replacing the ground beef, so that's the texture and size you're going for.  In a medium skillet, heat the oil over medium.  Add the vegetables and garlic.  Cook, stirring occasionally, until reduced and most of the water has cooked out.  About 10 minutes.
2.  While that's cooking, combine ricotta, egg, and spinach.  Set aside.  Separately, combine mozzarella and parmesan cheeses.

3.  Preheat oven to 350º.  Pour about 1/2 C sauce into bottom of 8" square baking pan.  If you skip this step, the bottom matzoh will stick to the pan.

4.  Run a sheet of matzoh under hot water until it starts to soften.  I actually got out a rimmed baking sheet and poured boiling water over it, like it was a sheet of rice paper.  If you forget this step, the matzoh will remain crunchy.  That may be what you're going for.  I was trying to get it to act like a noodle.
5.  Set the softened matzoh in the bottom of the pan.  Top with half the ricotta mixture, then half the vegetables, another quarter of the jar of sauce, and a third of the shredded cheese.  Soften another sheet of matzoh and repeat.

6.  Soften the third sheet of matzoh and place on top.  Press down slightly to make sure everything is evenly distributed.  Top with the last of the sauce, followed by the last of the shredded cheese.  Cover with foil.
7.  At this point, you can refrigerate the lasagna to bake later if you want to get the prep out of the way early in the day.  Keep in mind that letting it rest means you won't get crunchy matzoh.  That wasn't my goal, so I prepped several hours in advance.  Bake for 30 minutes with the foil on, then another 10 without the foil to toast up the cheese.  Allow to cool until it isn't bubbling before serving.

Serves 6-8

Difficulty rating :)

Thursday, April 18, 2019

Passover (and Gluten-Free) Sponge Cake

As most Jewish Aries and a few Tauruses know, having a birthday during Passover sucks.  You can't even go out for dinner.  And all of the available birthday-style desserts are pretty horrible.  I usually just celebrate early or late when it falls on mine.  It's going to be a couple more years before I have to deal with the scourge, but I thought I'd develop a layer cake recipe for the rest of you April-ites who do have this problem coming up.

I really tried to find something resembling a proper, fluffy layer cake.  The best I could do was a three-ingredient sponge, care of Food52.  I really didn't want to use matzoh cake meal because you can always taste it.  Doesn't matter so much for cookies, but come on, this is a birthday cake.  Found one that uses potato starch instead.

Being a sponge, it needs a little help.  We're going to brush it with flavored simple syrup, layer some frosting and berries in the middle, and frost it with a version of stabilized whipped cream frosting, this one using some butter and potato starch.  I was going to do 
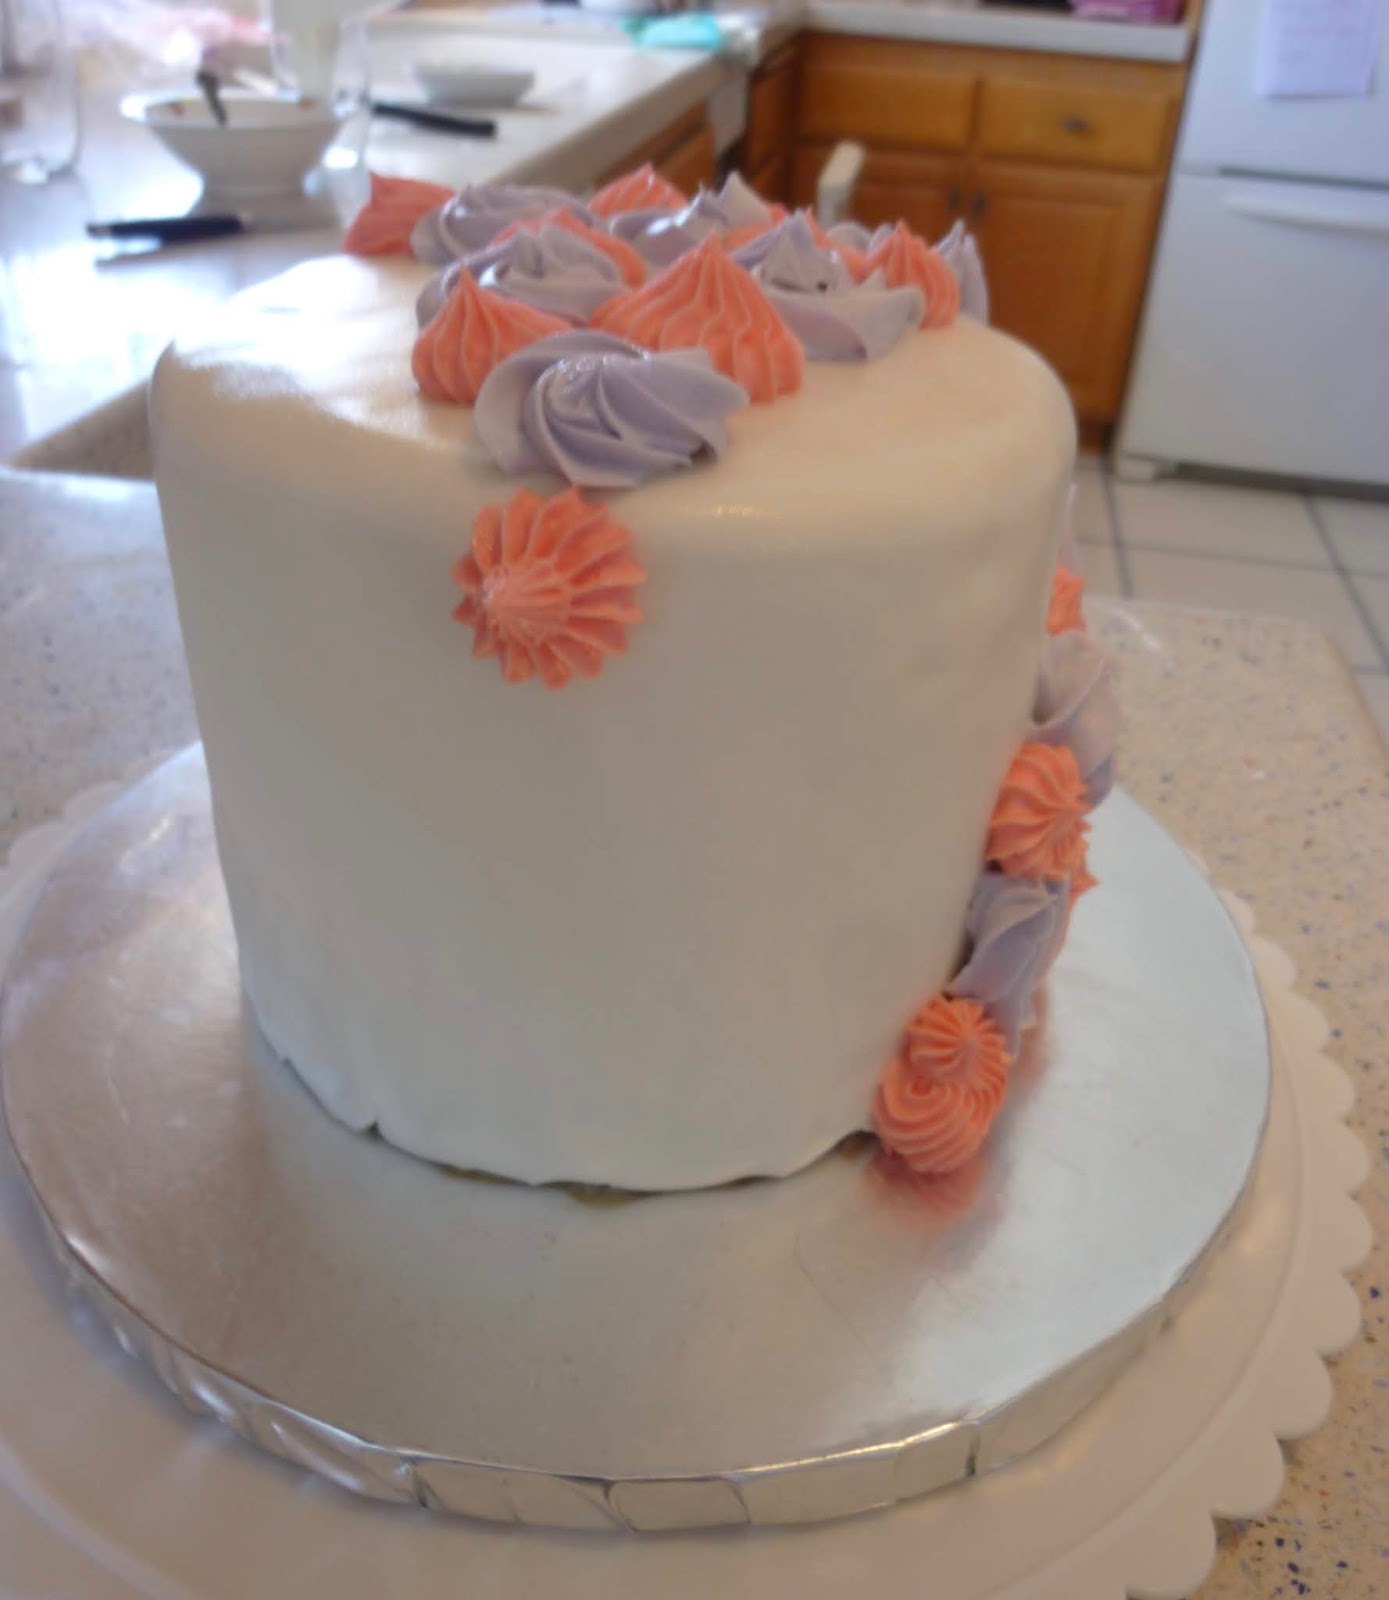
Swiss Meringue Buttercream, and even bought the butter for it, but really didn't feel like separating two more eggs.  To minimize the whipped cream drooping, I did a naked cake design.

Aside from all the sugar and half a dozen eggs, this is actually a relatively healthy cake.  Much less fat in it than a basic layer cake.  It will resemble a layered shortcake.

This recipe does make a lot of batter.  I got three fluffy 6" layers, and the resulting cake scraped the top of the carrier.  You would get two 2" high 8" or 9" cakes.  Fortunately, the recipe is easy to cut in half if this feels like too much cake for you.

6 eggs, room temperature and separated
2/3 C sugar
1 C potato starch

1.  Prepare 2 8" or 9" round pans by lining bottoms with parchment, greasing with butter, and dusting with cornstarch.  Soak baking strips, if using.  Start preheating oven to 350º.

2.  Beat yolks and 1/3 C of the sugar in a large bowl until pale yellow, smooth, and fluffy.
3.  In a different bowl with clean beaters, beat the egg whites to soft peaks.  I reserved the stand mixer and whisk attachment for this one, and a bowl and hand beater for the yolks.  Drizzle in the remaining 1/3 C sugar and whip to firm peaks.  Check yolks and re-whip if they're starting to un-fluff.

4.  Fold potato starch and whites into the yolks in alternating amounts.  Portion into cake pans.  Place wet baking strips around pans.  Smooth tops and bake about 25 minutes, until springy and pass toothpick test, but not too firm.
5.  Allow to cool in pan 5 minutes, then turn out onto racks to cool completely.  Remove wax paper.

Once cooled, the cakes need a dousing of simple syrup to stay moist.  It's hard to find a KLP extract, so I used rosewater instead and gave this a floral theme.

*2 Tb rosewater (or other scented water)
2 Tb water
1/4 C sugar

1.  Stir all ingredients together in a small pan.  Heat until boiling, and boil just until all sugar grains have dissolved.  Cool to room temperature or store in refrigerator.

2.  Brush onto cakes, allowing each layer to soak in for a few minutes before going at it again.  Use all the syrup.

Frosting

1 Pt whipping cream
1/4 C sugar
*2 Tb butter, room temperature
1 Tb potato starch

1.  Stir together starch and sugar until combined.  This will keep the starch from clumping in the mixer.

2. Whip cream to soft peaks.  Drop in softened butter in tiny pieces, or the cold cream will turn them into chunks.  Drizzle in sugar/potato starch mixture.  This will help to break up those pieces.  Whip to firm peaks, which will happen very quickly once the starch is introduced.

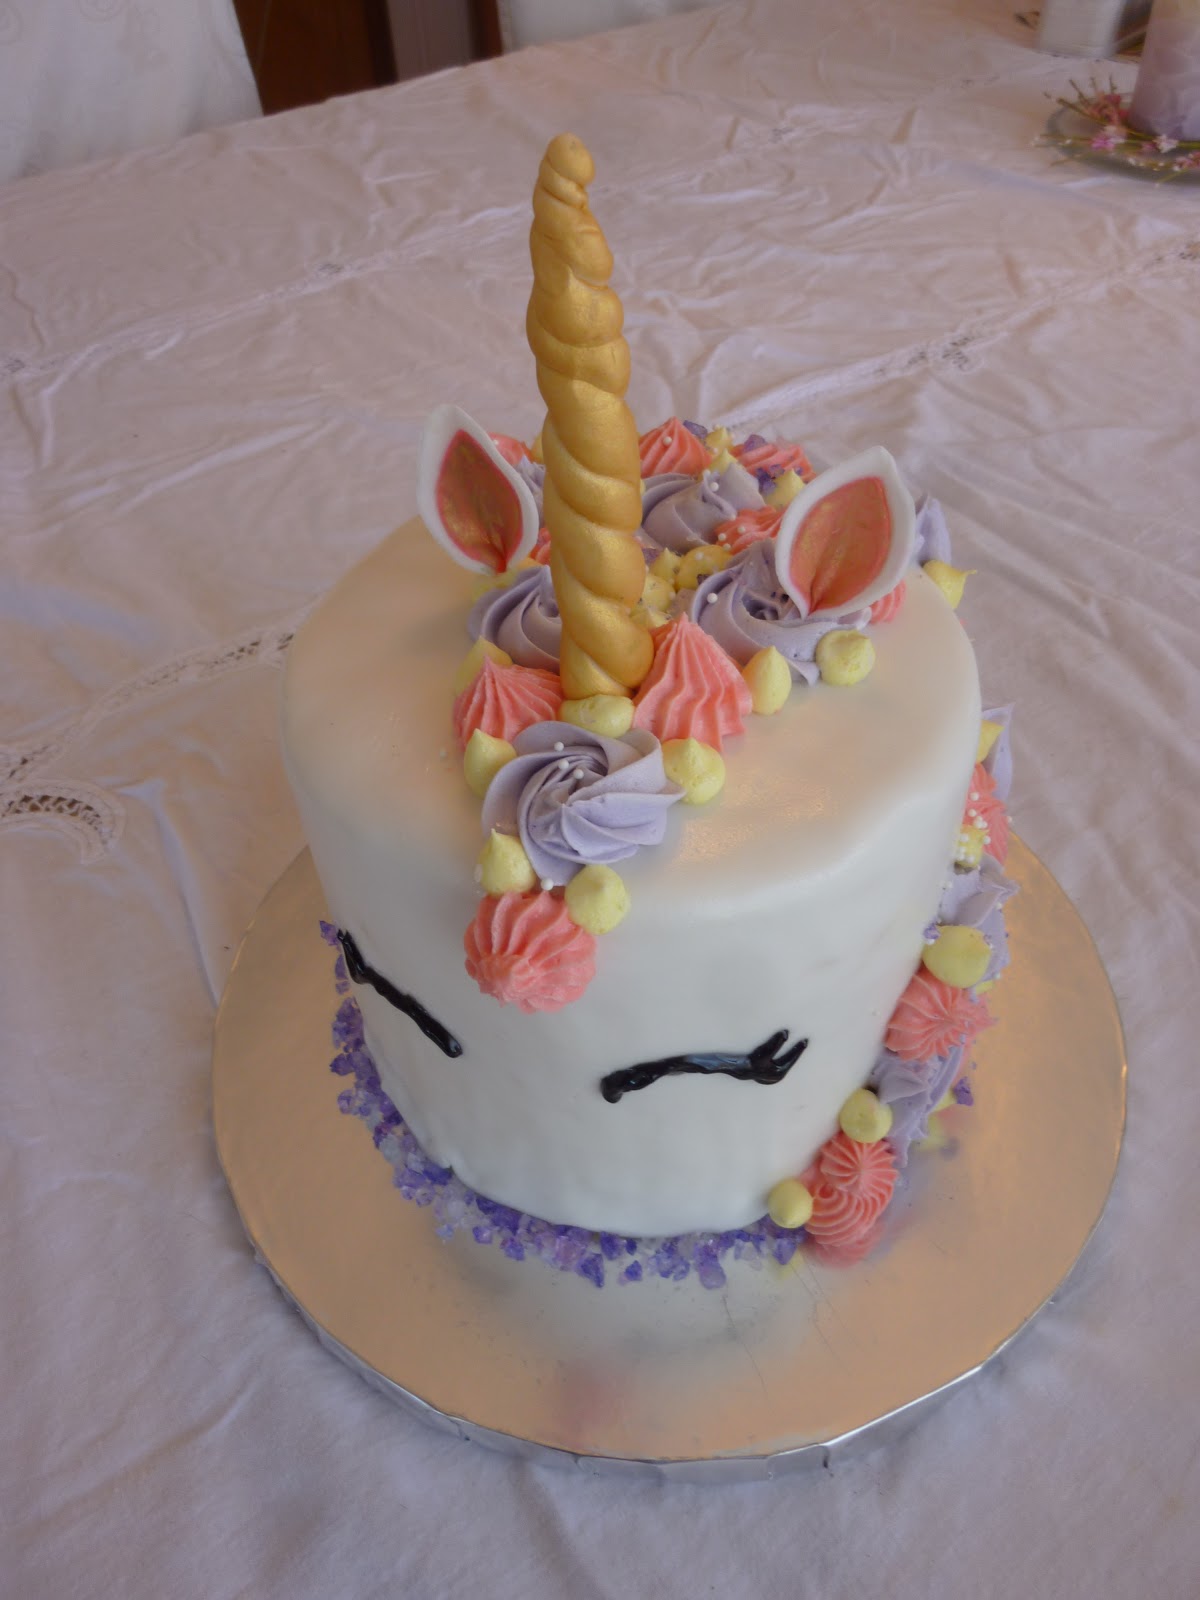
3.  I found out that gel food color is corn syrup based, and had to go find the old-school drops, which are water based.  I wasn't thrilled with the result, and it may be better to decorate with plain white whipped cream frosting.

Makes 1 cake, 8-12 servings

Difficulty rating :-0

Monday, April 15, 2019

Wine-Braised Lamb Shanks

I'm doing a Dairy seder this year, but still need the bone for the seder plate.  I jokingly call this week-before-Passover lamb meal my zeroa stew.

This year, I kept it simple and didn't make a sauce.  Instead, I dumped a picnic bottle of wine in the pot.  It provided a gentle infusion.  After, I strained the broth through a cheesecloth and had it as lamb consommé.

What you get from the shank is very tender lamb that is so simple to make.  You do have to simmer it for three hours.  Passive cooking time, but you have to allow for it before starting.

2 large (1 lb each) or 4 small lamb shanks
*1/2 onion, sliced and quartered
1 Tb olive oil
kosher salt and pepper
*1/2 tsp dried rosemary
1 C red wine
water as needed

1.  Heat oil in a soup pot over medium.  Add onion and sauté until tender.  Add salt, pepper, and rosemary.

2.  Add lamb shanks to pot, arranging to fit flat.  Sear on both sides.
3.  Add wine, then enough water to cover the shanks at least halfway.  Bring to a low boil, cover, and reduce to a simmer.  Cook for 2-1/2 to 3 hours, turning meat every hour, until the meat is falling off the bones.
4.  If desired, reduce some of the broth in a skillet to use as sauce, or strain out particles to use as lamb broth.  Serve one shank per person or remove meat from bones and serve as pieces.

Difficulty rating  :)

Friday, April 12, 2019

Wheat Berries with Roasted Vegetables

This was a bit of chometz and garden clearing, but it also makes a refreshing spring meal or side.  This is the time of year I want to eat healthy, rather than cooking lean out of habit.  It's also the time of year that such a diet becomes economical.

As I was spooning the grain/bean portion onto the plate, I realized the presentation was a bit like the way the cruise did it.  This is slightly more than you would get on their plate, but the same general idea of arranging the dishes on top of each other, but not completely hiding the other components.
Feel free to change up the veggies to suit your personal tastes and the season.  This is what sounded good to me at the time.

*1 Fennel
*1 Carrot
1 Parsnip
1 Eggplant
*4 radishes
1 red onion
1 lb brussels sprouts
*1 can chickpeas, drained and rinsed
1 C red wheat berries
1/4 C olive oil
1 tsp kosher salt
1/2 tsp black pepper
1/2 tsp dried thyme
*1/2 tsp dried basil
1 Tb butter
*1 Tb gin (optional) or 2 Tb white wine
1 C water
*1/4 C grated parmesan

1.  Preheat oven to 375º.  Peel or trim veggies as necessary, and cut into chunks no more than two bites large.  Remember, some of the pieces will shrink or get very soft.  Place in a large bowl and drizzle with oil.  Sprinkle with salt, pepper, thyme, and basil and toss to coat.  Spread out on a rimmed baking sheet and bake for 45 minutes, stirring them every 15-20.
2.  While veggies are baking, make the grains.  In a medium saucepan over medium heat, melt the butter.  Toast the wheat berries until fragrant.  If using, add the alcohol and simmer to burn off.  Add water and a pinch of salt.  Bring to a boil, cover, and lower heat to a simmer.  Cook until the veggies are ready, at least 30 minutes.
3.  When the vegetables are getting soft and a little browned, sprinkle with the parmesan and cook for ten more minutes.

4.  Add the chickpeas to the grains when they are looking swollen and ready to split.  Simmer for 5 final minutes to warm the chickpeas.

5.  Serve a generous portion of roasted vegetables on top of spoonfuls of grains.

Serves 4-5

Difficulty rating  :)

Tuesday, April 9, 2019

Unicorn Cake

Why weren't these a thing when I was a teenager?  I was obsessed with unicorns.  Posters, stickers, and even a sculpted glass unicorn on a geode fragment.  Not sure what happened to that.  I still use the unicorn keychain I got for my 16th birthday.  Anyway, I was determined to make myself a Unicorn Cake for my birthday this year.

There are dozens of YouTube videos for every trendy cake, but I think this has twice as many as most.  One of my co-workers said he saw one at a shop for over $100.  I found one online near me that was $85 for the size I made, with a buttercream coat instead of fondant and a less intricate mane.  Forget that, they're not that hard to make.  They're mainly time-consuming.  It takes a day for the fondant ears and horn to dry so they can be painted, but actually making them was about ten minutes.  You have to make several colors of icing and get a few bags and tips dirty.  Aside from that, it's just fill, crumb coat, and either top in buttercream or drape in white fondant.  You don't have to know how to make buttercream flowers, although if you do they would look great.  All the extra bling was leftover crushed rock candy from the geode cake and some pearl sprinkles.
I did stress about the eyes.  I didn't want to buy eight ounces of black fondant to use a teaspoon.  You can do them in gold, but black makes a striking contrast against the pastel and gold you've already used.  Then one of the videos used black gel icing from the tube.  Perfect.  However you choose to do the eyes, in whatever shape, just make sure to draw them on the cake first.  This is black.  You only get one shot at it.  It isn't that hard to get a toothpick and make yourself a stencil to paint over.  Practice on a vertical sheet of paper.

Needed
3 or 4 layers of round cake.  Taller looks better.  With filling, my 6" diameter 3-layer cake was 5" high.
*24 oz box of white fondant (more if it's a huge cake)
gel food coloring
Spray metallic color or luster dust
sprinkles or edible glitter in coordinating colors for bling
toothpicks and a wood skewer or cake pop stick
buttercream or swiss meringue buttercream frosting
Black piping gel or a small amount of black fondant

Day 1

1.  Bake cake.  It will be easier to do the rest of the project if the cake is cooled, then frozen overnight.

2.  Make ears and horn

Horn:  Pull off a few ounces of fondant.  Roll into a rope that is very thin in the middle.  Fold in half and twist into the horn, cutting off the bottom where you want it to end.  Mine was about 4", and the length should be determined by the diameter and height of your cake, as should the width at the base.  Impale with the skewer, which will be used to support it when placed on the cake.  Place in styrofoam or a cake pop holder to dry, with about 4" of stick protruding from the bottom.  It won't get dented as easily if it hardens for at least 24 hours.

Ears:  Use either two heart-shaped cutters or two round cutters, one smaller than the other.  For the rounds, roll out some of the remaining fondant thinly on a cornstarched surface.  Cut a circle, then offset the cutter to make a leaflike shape.  Make two of those.  Knead pink food coloring into scraps and roll out again.  Cut two smaller leaves to be the middles of the ears using the same process.  Dampen pieces and press together with a toothpick inbetween.  Pinch bottoms together to make an ear shape and stick in the styrofoam to dry.  For heart cutters, roll and cut out, layer, and pinch into ear shape.

Day 2

1.  Trim cakes flat.  Place bottom layer on a cardboard cake circle to make it easier to move later.  Fill as desired, crumb coat with a white or cream cheese icing, and chill.  If the cake is a color other than white, add a second coat to make sure no dark or bright colors come through.  Try to do a good, smooth job, but you're coating this with fondant and a billion swirls of frosting.  As long as a 1/3 wedge of it is "perfect", you can call it a job well done.

2.  To finish the ears and horn, spray (or paint with a brush) horn with gold or silver metallic food color.  Allow to dry for half an hour, then repeat.  I got the color I wanted in two coats.  If you spray over a plate, you can use some of the gold to paint a thin layer of glitter onto the inside of the ear pieces.  The pink will still show through.  Allow to dry while you work on the cake.
3.  Roll out remaining fondant and drape onto cake.  Slowly coax fondant until cake is evenly covered.  Trim base to fit and place onto serving plate if you haven't already, securing the base with a dollop of icing.  You can no longer freeze the cake because of the fondant, but refrigerator is fine.
White: A blank page or canvas.  So many possibilities
~ Sunday in the Park with George

4.  Make a half-batch of buttercream or SMB and divide into a bowl for each color you want to use.  I intentionally did not mix mine perfectly, to get a highlighting effect.  You can go either pastel or saturated.  Keep in mind that bright colored frosting will not be as firm and may lose its shape in warm weather.  Select tips and fill bags.  I used an M1 rosette for the lavender, 4B for the pink starbursts, and plain round 12 for the yellow drops.
5.  Decide what part of the frosting/fondant job is the best and call that the face and uncovered side.  Everything else is going to get decorated.  Start with your largest star tip and make staggered swirl rosettes.  Fill in with the next largest in another color and design, and finally fill in any gaps with a small star or plain round drops.  You want a widow's peak at the front, then a cascading mane down one or both sides and the back.  All this decoration frosting is why you went skimpy on the undercoat.

6.  Figure out where you want your eyes, roughly halfway up the cake and 20º-30º apart, the width of one slice.  There are templates and suggestions all over the internet for designs.  I used the typical closed smile eye with a couple of outside eyelashes.  A downward curve is more of a bashful look.  Either make fondant eyes, which are fragile but easy to remake if you don't like them, or pipe on directly with piping gel.  I made a stencil on paper with the small round cookie cutter I used on the ears, then traced it with a toothpick on the fondant, flipping it over for the mirror image other eye.  One was better than the other.
7.  Place your horn and ears.  The horn goes in the forward third of the top of the cake, between the eyes.  The ears go about the diameter line, halfway to the middle, and curved slightly toward the horn for a perky expression. Turn out for a more relaxed look.  Once you set them into the buttercream, the bases will disappear and no one can see the sticks.
8.  Bling it up.  Sparkle sprinkles, candy pearls, painted on fairies, candy butterflies, you name it.

Difficulty rating :-0

Saturday, April 6, 2019

Chocolate Peppermint Cake

After the holiday season, I absconded with some peppermint chips from work before they landed in the trash.  I've been feeding several each day into my coffee pot, and decided to add enough to a chocolate cake to give it a hint of freshness without hitting you over the head with too much mint.  You can make your own by putting a leftover candy cane from Christmas in a ziplock baggie and whacking it with a rolling pin.  They dissolve pretty fast in the batter, and have less of a bite than peppermint extract.

I'm basing this on my Double Chocolate Buttermilk Cake.  There are a few changes to make it match what I have on hand and to avoid buying buttermilk.  Same volume of batter.

*2 C cake flour
*1/2 C cocoa powder
1/2 tsp baking soda
1 tsp baking powder
3/4 tsp salt
3/4 C margarine
1-1/4 C sugar
3 eggs, room temperature
2 tsp vanilla
1-1/2 C milk
1 C chocolate chips
*2 Tb crushed peppermint or chips

1.  Preheat oven to 350º.  Start soaking cake pan strips, if using.  Grease 2 9" or 3 6" cake pans, line bottoms with wax paper, grease again, and dust lightly with cocoa powder.  I realized I never took a photo of how I cut out the wax paper, so here's a three-stage shot.  You press the paper onto the bottom of a cake pan to get the general size and shape, then cut it.  It doesn't have to be exact.
2.  Sift together cake flour, cocoa powder, baking soda, baking powder, and salt.  Set aside.

3.  In mixer with paddle, cream together butter and sugar until light and fluffy.  Add in vanilla and eggs one at a time.  Beat until fluffy and emulsified.
4.  Alternate adding in flour and milk.  Beat until smooth, 2-3 minutes.  Stir in chocolate and peppermint chips.  They're going to sink to the bottom because this is a thin batter.  When filling the cake pans, try to distribute.

5.  Divide batter between pans.  Weighing provides the most accurate amounts.  Place wet baking strips around pans.  Bake 30-35 minutes, until toothpick comes out clean and the cakes start to pull away from the edges of the pans.
6.  Cool in the pan on a wire rack for 10 minutes, to allow the chips to firm up slightly, then turn out and remove paper.  Allow to cool completely before icing or freezing for another day.

Makes 1 cake, about 12 servings

Difficulty rating  :)

Wednesday, April 3, 2019

Cilantro Soup

Ok, I know not everyone likes cilantro, but I managed to grow a lot of it and it's getting warm.  The plants are going to start bolting any minute now.
The original recipe I found used zucchini as the filler.  Yeah, not happening in this house.  As much as I like eggplant, I can't stand zucchini.  No idea how that works.  Instead, I decided to turn this into a vichyssoise-like concoction using turnips for their tang.  Bear with me here, the result is creamy and flavorful.

1 Tb butter
*1/2 C diced onion
1 qt low-sodium chicken broth
1 lb turnips, peeled and cut in 1" chunks
*1 bunch cilantro, thick stems removed
salt and white pepper to taste
creme fraiche or plain yogurt for serving

1.  Melt the butter over medium in a soup pot.  Add the onion and sauté until softened.  Add broth and diced turnips.  Bring to a low boil, cover, and lower heat to a simmer.  Cook until turnips are very soft, about 30 minutes.
2.  In batches, purée soup with handfuls of cilantro, keeping a few sprigs for garnish.  For a very smooth result, strain out the reluctant bits of cilantro on the return trip to the pot.  (I chose not to do that, and it really wasn't that big a deal.)  Return to a simmer, adding salt and white pepper to taste.  If you plan to serve the soup cold, it will require more seasoning.

3.  Serve either hot or chilled, garnished with cilantro and creamy product of your choice.

Difficulty rating  :)