Monday, September 30, 2019

Carrot Rice

I'm sure this does have an Indian name.  The high school cookbook just calls it "Carrot Rice", so that's what I googled for comparative recipes.  Of all the recipes I've double-checked out of that book, this is the one that has changed the least.  Rice cooked separately from the spices and carrot, then everything folded together.  It's an Indian version of Chinese fried rice.

Because most of the onion base from this and the dhal overlapped, I cooked it in one pan, then split off the dhal's half into a smaller skillet and added the carrots to the larger one.  Two blog recipes going at once is still a bit much to coordinate, but these took the same amount of time with similar ingredients.  I've done worse.

The recipes I found generally call for basmati rice.  I used the Jasmine I had at home.  You can get away with regular long-grain if no one can tell the difference.  The real key is to rinse the rice first to get rid of the milling starch.  After that, you're home free.

3/4 C basmati rice
1 Tb butter or ghee
1 Tb oil
1/2 onion, diced
3 cloves garlic, minced
1/2" ginger, grated
1/4 tsp ground cumin
1/4 tsp black mustard seed
2 carrots, grated
salt to taste

1.  Rinse rice well and place in a medium saucepan with 1 C water.  Bring to a low boil, cover, and reduce heat to a simmer.  Cook until water is absorbed, about 15 minutes.  Fluff with a fork.
2.  While rice is cooking, grind garlic, ginger, and mustard seed into a paste.  Cook in a skillet over medium in the butter and oil with onion, cumin, and salt until onion softens.  Add carrot and simmer until cooked.

3.  Combine carrot mix and rice.  Serve immediately.

Difficulty rating  :)

Friday, September 27, 2019

Dhal

After the tomato mac, I was only in the mood for light foods.  Beans and rice were sounding pretty good.  There were still a couple of Indian recipes I wanted to try out of the high school cookbook, both vegetarian.  I picked up some red lentils and opened the spice cabinet.

Indian food has a lot of spices, but they're on a theme.  The garlic and ginger paste is in nearly everything.  You can get a pre-mixed garam masala instead of measuring out 1/4 teaspoons of half the spices you own.

I do tend to find lentils bland.  The red ones are less muddy.  You can use any color of them for dhal.  All the spices in the recipe are there to brighten up the lentils, so don't balk at what appears to be heavy spice levels.

As usual, I'm not putting a chili in this.  Feel free to add a finely diced serrano, hatch, or jalapeño.

3/4 C lentils of choice
salt to taste
1 Tb butter or ghee
1/2 medium onion, diced
*3 cloves garlic, minced
1/2" length ginger, grated
*1 Roma tomato, diced
1/4 tsp ground cumin
1/4 tsp black mustard seed
1/4 tsp turmeric
Cilantro for garnish (optional)

1.  Rinse lentils and place in medium saucepan with 2 C lightly salted water.  Bring to a low boil, lower to a simmer, and cook until softened.  This will be about 15 minutes for red or yellow lentils, but at least 30 minutes for green.
2.  Grind garlic and ginger together into a paste.  Cook with onion in butter on medium heat until softened, about 5 minutes.  Add spices and tomato and continue to cook until tomatoes have completely broken down.

3.  Drain any water from the lentils.  Add cooked onion mix and stir to combine.  Serve garnished with cilantro, parsley, or Thai mint.

Difficulty rating  π

Tuesday, September 24, 2019

Baking Day

The tea party is rapidly approaching, and I know I won't have as much time as I'd like to get everything done.  Sure, I could do shortcuts like store-bought cookies and frozen hors d'oeuvres, but that's not my style.  I tend to make everything myself, probably to stoke my own ego.  Also, because this kind of cooking is my specialty.

Baking day comes at least a week before the actual party.  Nearly all baked goods can be frozen, defrosted, and refreshed in a low oven until no one can tell the difference.
The key that I've learned from restaurant baking is to make the lowest temperature items first.  It's much easier to preheat an oven than to wait for it to drop a hundred degrees.  So I planned my afternoon around that.  There weren't any yeast items to time; I made pastry crust first to refrigerate while everything else was being made, but the rest of it was mix and bake.
There will be a similar prep binge the day before the party, when I slice, mix, and boil ingredients so they're ready to assemble.  This will minimize the time it takes to set out everything that afternoon, but it also hides the mountains of dishes you washed.

This is why people hire caterers.

Saturday, September 21, 2019

Macaroni and Cheese with Tomatoes

Ok, what I actually wanted was a a Wawa bowl with either bacon or fried chicken on it.  No Wawas where I live, so this came in second.

The tomatoes were because I had a lot of them again.  The bush in the front yard isn't doing all that great, but it produced a bunch of them before the first vine growth died.  The back yard, by contrast, turned all leaves.  I admit, I was ignoring maintenance of the Pond.  Everything got a deep water once a week, but that was about it.  A major trim later, it was still overgrown.
Anyway, this is an herbed-up, moderately healthy version of baked Mac'n'cheese that hits all the comfort food buttons.

3 C elbow macaroni
2 Tb butter
1/2 C diced onion
1 Tb flour
1 C milk, plus more for thinning
1 C shredded cheddar
1/2 tsp paprika
*1 tsp dried parsley
*1/2 tsp dried basil
black pepper to taste
1 Tb sherry or 2 Tb white wine (optional)
*2 Roma or 8 grape tomatoes, sliced in wedges
1 slice stale or toasted bread

1.  In a large pot, boil about 3 quarts water.  Add macaroni and cook according to package directions.

2.  Preheat oven to 350º.  Butter an 8"x8" casserole.

3.  While pasta is cooking, sauté onion in butter until softened.  Add flour and cook into a paste.  Gradually add milk, allowing mixture to thicken every 1/4 C or so.  Add spices, herbs, and sherry.

4.  Sprinkle in shredded cheese, then decide if sauce is too thick to blend with pasta.  Add one tablespoon milk at a time until desired thickness is achieved.  Remember that the tomatoes will give off a little water as they cook.
5.  Drain pasta, but do not rinse.  Stir tomato wedges into pasta to distribute.  Add pasta to sauce and turn to coat.  Pour into casserole.  Tear bread and sprinkle pieces over the top.  Bake about 15 minutes, until casserole is bubbly and topping is crisp.  Allow to stop boiling before serving.

Difficulty rating  :)

Wednesday, September 18, 2019

Yogurt Fried Chicken

Ok, so this isn't really different from buttermilk fried chicken.  I happened to have some yogurt in the fridge and didn't want to buy a new ingredient.

Honestly, I can't remember the last time I made fried chicken.  It's so much easier to pick it up at the deli counter.  You go through a lot less oil that way, too.  Still, it's nice to remember sometimes that this really isn't hard to make.

The power in the neighborhood went out while these were frying, which was when I was grateful for a gas stove.  The stuffed peppers in the oven were close enough to done that I let them sit in there with the residual heat while these were going.  Until I moved away, I never knew that frequent power outages did not happen everywhere.  My neighborhood is special that way.  One car into a light pole on the major cross street and we can be in the dark for hours.

I'm allowing for chicken tenders in the ingredients list, but this really does taste better skin-on.  The flour fries the skin up nice and crispy and it seals in the juices.  You can't really get that effect from skinless or tenders.

8 pieces chicken or 1 lb chicken tenders
2/3 C flour
1 tsp salt
1/2 tsp paprika
1/2 tsp pepper
*1/2 C plain yogurt (regular or Greek)
1/4 C milk
oil for frying

1.  Whisk together milk and yogurt.  Add chicken pieces, turning to coat.  Marinate 2-4 hours, turning every hour or so.
2.  In a deep fryer or high-sided skillet, heat at least 1/2" oil to 350º.  If using a skillet, it should be just large enough for all the pieces.

3.  Combine flour and seasonings in a shallow pan.  Turn chicken pieces over to coat in the flour, then  carefully place in the hot oil.  Cook to a medium golden brown, about 5 minutes per side, or 6-8 minutes in a deep fryer.
4.  Drain on paper towels and serve while still hot and crispy.

Difficulty rating  π

Sunday, September 15, 2019

Coconut Saffron Rice

I wanted to make a coconut rice, but I don't like curry.  It has a muddy flavor to me.  And yet I like cumin, which also can be muddy.  Kind of like my eggplant/zucchini difference of opinion.

I found a recipe at Big Oven that was pretty much what I had in mind.  It makes more rice than I normally would, but that's how big a can of coconut milk is.  I used "light" milk and still ended up putting in water because I like my rice mushy.  The liquid amounts are probably right for how most people like their rice.

This is a savory recipe.  It's intended to work as a base for a meat, fish, or vegetable entrée.  Spicy shrimp would taste good with it.  Since I can't have that, I put fake crab on it.

1-1/2 C Jasmine rice
1/4 tsp saffron threads
1 (13 oz) can coconut milk
1/2 C vegetable broth
dash salt
olive oil

1.  Drizzle a few teaspoons of oil in a medium saucepan over medium-high heat.  Add rice and coat with oil, toasting for about a minute.  Add saffron and toast another minute.  The rice should not brown.
2.  Add coconut milk and broth and bring to a low boil.  Stir in salt, reduce heat, and cover.  Simmer for 12-15 minutes, then fluff with a fork.  If too dry, add 1/4 C water and put the lid back on with the pot off the heat.  Check in about 4 minutes.

3.  Serve either hot or cooled as an accompaniment.

Serves 4-6

Difficulty rating  π

Thursday, September 12, 2019

Freezer Marinara

By the time the last of my pint of oven-dried tomatoes went into the frittata, I had another kilogram of Romas ready to be used.  And I'm using metric because this recipe is based on Food in Jars' marinara sauce for canning, which in turn is adapted from the Ball Blue Book of Preserving.  The closest I could adhere to Marisa's recipe was to quarter it by metric.

Her recipe is also a little bland because it is specifically for canning.  The idea is that you doctor it up once the jar is opened before using.  This has to do with low-acid ingredients and boiling water canning.  The jars of pasta sauce you get in the market are usually pressure-canned.

That's why I'm calling this "freezer" sauce.  You can certainly use it immediately.  If you do have a bounty of tomatoes in your garden and don't want to go the canning route, this sauce can go in any freezer-safe container (including a plastic baggie or frozen in ice cube trays) and go straight into a saucepan for defrosting when needed.

There are two ways to attack the tomato skin issue.  You can do the blanch-and-peel method, or Marisa's idea of cooking everything and running it through a food mill on medium or a regular-mesh sieve.  There are the same number of dishes each way, and probably the same amount of time.  Because I have never tried it before, I'm doing the food mill version today.

*1 kg (2.2 lbs) Roma tomatoes
2 tsp olive oil
*1/4 C chopped onion
*1 rib celery, chopped
*2 cloves garlic, finely chopped
1 tsp salt
*1/4 tsp dried basil
*1/4 tsp dried oregano
*1/4 tsp dried parsley
*1 Tb lemon juice

1.  Heat the oil in a large saucepan over medium heat.  Add onion, celery, and garlic and sauté until the onion is translucent, about 5 minutes.

2.  While onions are cooking, core and chop the tomatoes.  Add chopped pieces and any juices to the pot.  Sprinkle in salt.  Bring to a boil.  Reduce heat to a simmer and cook for 15 to 20 minutes, until the tomatoes have broken down.
3.  Pass the mixture through a sieve or food mill to strain out the skins, seeds, and anything stringy.  Discard solids and return sauce to the stove.  Add basil, oregano, and parsley.  Simmer uncovered until reduced by one-third to one-half, about 40 minutes.  I wanted a thicker sauce and kept going until it was a 2 cup yield.
4.  Stir in lemon juice a couple of minutes before the end, to brighten the flavors.  If storing for later, first allow to cool until no longer steaming.  Then refrigerate until cool, about 4 hours.  Transfer to freezer container, if necessary, and mark a 3-month expiration.
5.  To use, either defrost at refrigeration for 24 hours or dump straight into a saucepan.  If you use a microwaveable container, you can defrost in that.

Makes about 1 pint

Difficulty rating  :)

Monday, September 9, 2019

Dried-Tomato and Brie Frittata

I was joking at work that if I didn't go grocery shopping on the way home, I'd end up having a tomato and cheese omelet for dinner.  By the time I actually got to the store, it didn't sound like a bad idea.  I was going to have some kind of cold or tapas dinner anyway.

I love having breakfast for dinner.  Frittatas are an easy way to do that without telling anyone that's what you're doing.  They look fancier than a baked omelet, which is all they are.  Of course, if you want to outright serve breakfast for dinner, go ahead.  Who's going to stop you?
This year's tomato crop has been excellent.  I had to finish off the last of a batch of oven-dried tomatoes because I had another bag of Romas ready for their turn under the convection fan.  A little onion and brie from the fridge, and I had a main dish in the works.

This is a half-sized version compared to what I usually make.  Just for two, in the 8" skillet.  This isn't something you can cook ahead for the whole week.  I only wanted one day of leftovers.

3 eggs
3 Tb milk
*1/4 tsp dried basil flakes
salt and pepper
*2 Tb diced onion
2 Tb olive oil, divided
*1/4 C oven-dried tomatoes, chopped
*2 oz brie cheese, thinly sliced

1.  In an 8" oven-safe skillet, heat 1 Tb oil over medium.  Add diced onion and cook until soft, 5-8 minutes.  Start preheating the oven to 350º.
2.  In a small bowl, whisk together eggs, milk, basil, salt, pepper, and tomato pieces.  Beat until just mixed and not frothy.
3.  Add remaining oil to the pan and swirl to coat the base and about halfway up the edges.  Add egg mixture and cook until it starts to set, about 3 minutes.  Dot top with cheese slices and put the pan in the oven until fully cooked, about 12-15 minutes.
4.  Allow to cool slightly, then coax out of the skillet with a wooden spoon.  Cut into wedges and serve at any temperature.

Serves 2

Difficulty rating  π

Friday, September 6, 2019

Cookbook Casualty

I tried to love the Treasury of Country Cooking, I really did.  It's three cookbooks in a single volume, the oldest one from 1975.  The day I decided to flip through it and tab possibilities, I only found one.  It was for cornbread with cooked breakfast sausage in it.  I don't need a recipe for that.

Maybe I just wasn't in the mood.  These felt like historical recipes.  I like that kind of stuff.  But there were steps missing, or "add the water" when no amount was specified.  Some of the recipes assumed you knew what the finished product was supposed to look like.  And all the canning recipes assumed you knew how to can and didn't need specifics like time or what size jar to use.  The most promising recipes I already have on the blog in some form or have already marked in another cookbook.

My biggest issue was with the editing.  Yes, this is three small books bound together, but each section had page numbers from the original volume.  You couldn't just go to "page 43", you had to find the correct of three possible page 43s.  And the index was per book, not the volume as a whole.  It was too much work to find whatever I wanted.

So, onto the garage sale pile it goes.  That's a big part of this project anyway.  I need to separate useful sources from ones that are taking up space.  I'll thank the cookbook for its service, and move on.

Tuesday, September 3, 2019

Chicken a la King

Sometimes, I can't remember what I've made for this blog and what I created in cooking school for final exams.  I was very surprised to find that I haven't made this since a final, possibly because I thought I had put it in the blog.

There are a couple of steps to this that make it seem harder than it is.  For the final, I had 4 hours to make a complete meal, and this was only part of it.  I roasted the chicken instead of using pre-cooked and took my time making the choux shells.  The real trick was keeping everything warm until grading time.

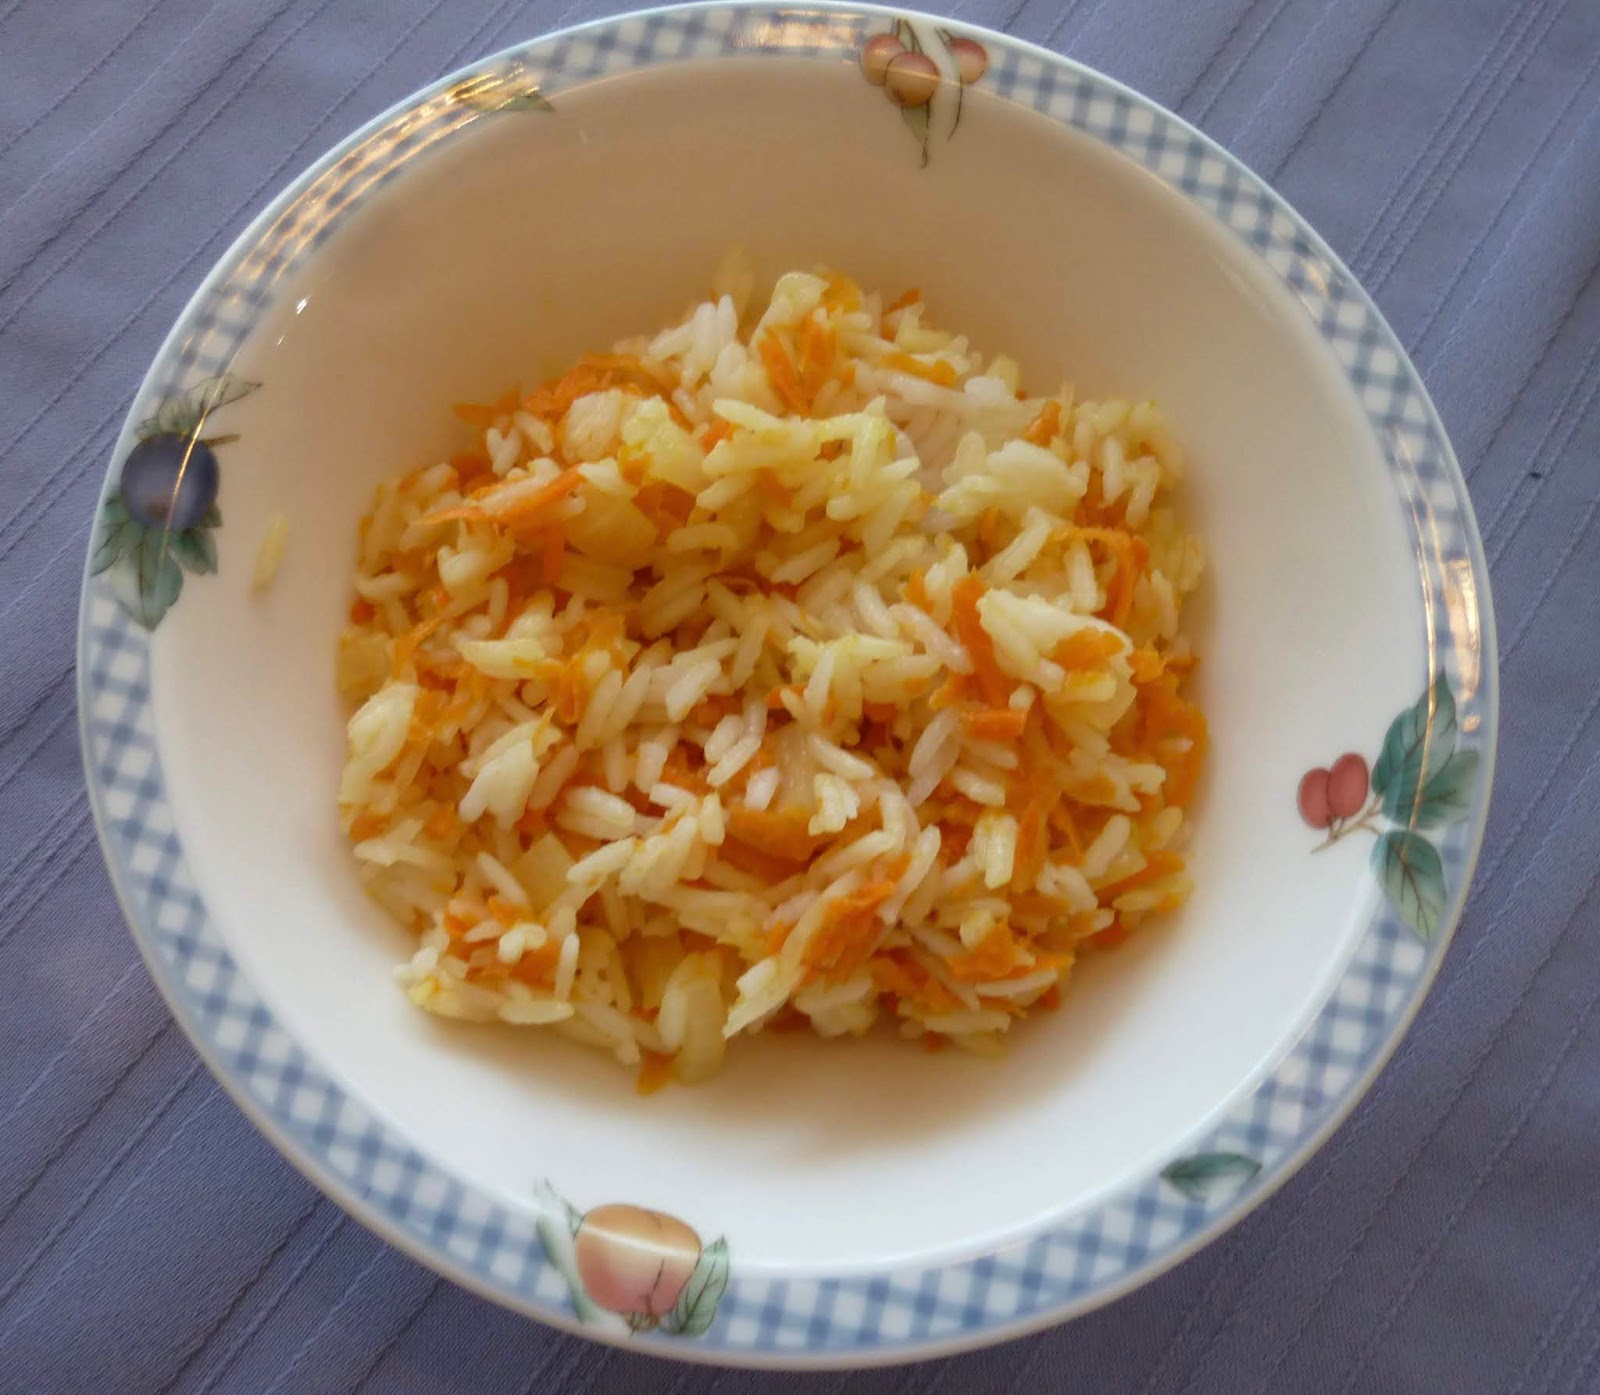
The Bible has a version of this using those pre-shaped pastry shells they sell in the freezer section.  You bake them yourself, then fill with whatever.  In the same amount of time and only slightly more work, you can have these.  Or, you can serve it over white rice like my mom used to.  Not even brown or wild rice, just plain old white.  It was the 80s.  She probably also used cream of mushroom soup instead of making a sauce.

I'm calling this the Target version, since everything is canned or frozen except the sauce.  You're expending enough effort making the shells.  Everything else can get drained and thrown in the saucepan.

Shells
1/4 C butter
1/2 C water
1/4 tsp salt
1/2 C flour
2 eggs

1.  Preheat oven to 375º.  Grease a baking sheet or line with a Silpat.

2.  In a saucepan over medium heat, bring butter, water, and salt to a boil.  Remove from heat and stir in flour all at once with a wooden spoon until flour is cooked and mixture forms a pasty ball.

3.  Add eggs one at a time, mixing the first in thoroughly before adding the second.
4.  Spoon or pipe into rounds on the baking sheet.  I was aiming for eight and got my portions a little off.  They did puff up fantastically in the oven at that size, but I didn't want to risk making four huge ones.
5.  Bake 50 minutes, or until crisp and lightly browned.  Split open once slightly cooled, turn off oven, and let sit another ten minutes in there to dry out the insides.  Can be stored in the freezer for later use.  Bring to room temperature, then pop in toaster for a couple of minutes.

While the shells are in the oven...

Filling
2 Tb butter, divided
*1/4 C diced onion
1 C frozen mixed veggies, thawed
1 can sliced mushrooms, drained
2 (3 serving) cans chunk chicken, drained
1 Tb flour
*1 C milk
*1/4 C white wine or 2 Tb dry sherry
salt and pepper to taste

1.  Melt 1 Tb butter in a saucepan or medium skillet over medium heat.  Cook the onion until soft.

2.  Add remaining butter, veggies, mushrooms, and flour.  Stir together until everything is slightly pasty from the flour.  Gradually stir in the milk, allowing it to thicken as you go.  Add the chicken and wine or sherry.  Cook until filling is heated through.
3.  Taste sauce and add salt and pepper as necessary.  I didn't add any salt because of the pre-packaged ingredients, then changed my mind and put in a dash.

4.  Serve hot, spooned into opened shells.

Difficulty rating  :)