Tuesday, February 26, 2019

Oreo Cake

This cake recipe is almost a direct copy from Preppy Kitchen for the cake batter, with a modified Wilton buttercream for the icing.  I'm even preparing the pans his way, instead of my I-don't-have-time-in-case-this-doesn't-come-out wax paper method.  My single alteration is using margarine instead of butter in the batter.  It alters the density of the finished cake when you use oil or margarine instead of butter, and I prefer the margarine texture.  The cakes did dome a bit, but I needed some trimmings for decorating anyway.  More about that in the next post.

Also in the next post, why this is a very boring icing job.  This cake is so fantastic, I did not want to combine its post with the decorating method.  The cake base is not too sweet, and the crumbly texture of the icing brings just enough interest without overpowering the cake itself.  I may have to try this recipe with other kinds of cookies to see if it holds up.

Cake batter

2 C all-purpose flour
1 C sugar
1/4 tsp baking soda
1 tsp baking powder
1/4 tsp kosher salt
3/4 C margarine
3 egg whites (boxed ok)
1 tsp vanilla
1/2 C sour cream
*1/2 C milk
1 C coarsely chopped Oreos

1.  Butter 3 6" round cake pans and dust with flour.  Start soaking baking strips if you have them.  Preheat oven to 340º.

2.  In stand mixer, beat margarine until fluffy.  While that's happening, sift together dry ingredients.  Sugar counts as dry in this recipe.  Beat dry into margarine until it resembles breadcrumbs.  This is the reverse-creaming method.
3.  Whisk together wet ingredients.  Add to mixer and stir on medium until just combined.  Stir in Oreos on low.
4.  Pour batter into prepared pans, preferably weighing them to get an equal amount.  It was about 12 ounces per pan, slightly heavier than most cake batters I make.  Slide on wet baking strips and bake cakes for 25-30 minutes, until they pass the toothpick test and spring back when touched.

5.  Cool in pans for several minutes, then turn out onto a cooling rack.  Allow to cool completely before decorating or storing in the freezer for another day.  Trim tops level if necessary.

Filling and Frosting

1/2 C unsalted butter
1/2 C shortening
1 lb powdered sugar
1 tsp vanilla
milk as needed
2/3 C finely crushed Oreos (freezing them first helps)
1/4 C semisweet chocolate chips

1.  In stand mixer with paddle, beat together butter and shortening until smooth.

2.  In stages, beat in powdered sugar.  Add vanilla and enough milk to achieve desired consistency.  If you want any plain white icing for decorating, reserve it now.  Stir in the Oreo crumbs, then decide if you need a little more milk.

3.  Melt chips in the microwave on half power in 30-second increments.  Stir in milk to make a ganache.
4.  Secure bottom layer of cake to a cardboard circle or platter with a dab of frosting.  Fill each layer with frosting, followed by half the ganache.  Top the whole cake with a thin layer of crumb coat.  Smooth and chill.

5.  For the top layer, start by filling in all the holes made when you dragged the larger bits of cookie across the cake.  I had a lot of stripes.  Even out the frosting, but don't put it on too heavy.  The cake doesn't need it.
6.  Decorate as desired, maybe with a border of white icing, more crumbs, or whole Oreos stuck in icing swirls.  This looks very nice as a drip cake, with the smooth texture of the chocolate against the rough icing.

Makes one 3-layer 6" cake, about 10 servings

Difficulty rating :)

Saturday, February 23, 2019

Pao de Queijo

If you've ever gone for Brazilian food, you know these little cheese rolls.  Made with tapioca flour, they're gluten-free, and even KLP-dairy if you eat tapioca during Passover.

Analyzing the version at Favorite Family Recipes, this is basically a tapioca-based pate a choux, or "cream puff" dough.  Raised by steam and held together with egg, these chewy balls of goodness are best eaten hot out of the oven.

1/2 C milk
1/4 C oil
1/4 tsp salt
1 C tapioca flour
1 egg, lightly beaten
*1/3 C grated parmesan
1/2 C shredded mozzarella

1.  Preheat oven to 350º.  Line a sheet pan with parchment or a silpat.

2.  In a saucepan, heat milk, oil, and salt to a low boil.

3.  Remove pan from heat.  Add flour in all at once and beat with a wooden spoon until smooth.  This step can be done in a stand mixer with the paddle attachment.  My batch was a little lumpy, and it would have come out smooth in the mixer.  Allow to cool until you can touch it without burning yourself.  Beat in egg.
4.  Beat in cheeses until evenly distributed.  The mozzarella is going to start to melt and get stringy, and the whole batter will be goopy.

5.  Scoop or spoon out generous tablespoons onto baking sheet.  Bake 25-28 minutes, until dry looking and some spots of cheese are turning golden.  Do not bake until the whole roll is golden, or it will be overdone.  Serve immediately.

Makes 1 dozen

Difficulty rating  π


UPDATE: 4/20/19

I made them in the stand mixer for Seder.  The batter came out so smooth, I ended up adding a couple more tablespoons of tapioca so they wouldn't run on the baking sheet.  It's definitely a superior way to make them.


Wednesday, February 20, 2019

BBQ Chicken Salad

Part of planting lettuce is that you put it in the garden so you can eat healthier.  It's an incentive to make salads.  Otherwise, it's just a bush.

The problem is that salads can get fattening really fast.  The biggest culprit is the salad dressing itself.  Then there's anything fried you throw on top or mix in.  Pretty soon, you're well over 600 calories and climbing.  This is why you rarely see a salad on the lower calorie menu in a restaurant.
This salad isn't a whole lot better.  Ranch dressing, cheese, and avocado pretty much negate the raw veggies and skinless chicken.  Don't be deceived by "healthy fat" claims.  It's still fat and calories.  The best you can do is control the amount of the offending ingredients.  A light drizzle of dressing tastes just as intense as a puddle, and there are light ranch options.  I picked up one with a Greek yogurt base because it had the lowest fat and salt per serving.  Cheese makes everything taste better, and you have to control the impulse to do more than garnish.

When did chicken get expensive?  I've been having plant-based proteins roughly half my dinners, but went back to meat when I got the second cold.  At that point, I was trying anything to get better.  That was when I noticed how much cheaper it is to not eat meat.  What really surprised me was that chicken cost at least as much as mammal cuts.  An added incentive to anyone considering trying out vegan/vegetarian diets.

The point of this recipe is portion control, not denial.  Denying foods leads to bingeing on "cheat" days.  You should never feel like you need a cheat day.  You should enjoy foods that are good for you in proper amounts and not miss anything so much you gorge on it.

*8 C chopped Romaine lettuce
12 oz boneless, skinless chicken (either raw or canned is ok)
*1/4 C bbq sauce
1/4 C diced red onion
1 C frozen corn kernels
1 Roma tomato, diced
*2 Tb fresh cilantro leaves
1 C cooked black beans (if canned, well-rinsed)
*1 avocado, diced (I defrosted some frozen chunk avocado)
*1/4 C grated cheddar cheese
1/4 C light Ranch dressing

1.  Preheat oven to 350º if starting with raw chicken.  Coat with bbq sauce and roast until done, about 45 minutes.  For canned, drain and rinse, then toss with bbq sauce.  You can also use two cups of leftover shredded chicken from a previous meal.
2.  Simmer frozen corn for 5-8 minutes or microwave to package directions.  Drain and set aside.

3.  When chicken is done, dice or shred into a bowl and set aside until ready to assemble salad.

4.  To assemble:  Either in a salad bowl or on serving plates, portion out chopped lettuce.  Top with chicken, onion, corn, beans, tomato, and avocado.  Garnish with cilantro, cheddar, and dressing.

Difficulty rating  :) for the number of ingredients to prep

Sunday, February 17, 2019

Portion Downsizing

Now that I'm not baking at work, my metabolism has slowed down a lot.  Apparently, every job at work combined is not as strenuous as the one job of baking.  The current 2-day baker was a bit overweight when she took on the job and has been losing ten pounds a month from the increased activity.  It's really nice not being hungry every few hours, and when I am I'm not ravenous.  But I've put on a couple of pounds and have decided to control it by eating less.

The portions on this blog are already small by American standards because I'm using true recommended allowances and not what everyone actually eats.  Plus, I'm a small person and don't need as many calories as someone of average height and build.

I'm going to try to continue to post four-serving recipes, but don't be surprised if you need an extra side dish to make it come out right.  Or, I might make what four people tend to eat and spread it out for myself over five or six days.  That could result in fewer posts per week.

Now, if we lose yet another two-day baker, all this is going to get thrown out the window once I'm back in shape and eating like a linebacker again.

Thursday, February 14, 2019

Rosewater Cake

Until this year, I'd never heard of Galentine's Day.  I didn't watch Parks and Recreation.  The show may be gone, but the V-day version of Friendsgiving has blossomed until there's even merchandise for it.  We're mostly ladies at work, so I figured this would be a decent celebration.

As for the flavor of the cake, I stole the inspiration from someone at work.  A Google search produced a few variations of cakes flavored with rosewater.  I decided on the one from Chelsweets, but cut the recipe in half so I wouldn't end up with enough batter for a 4-layer 8" cake.  I appreciate the trend in tall cakes, but that is huge.  This is a basic layer cake recipe with floral notes, using the reverse-creaming method.  We'll go into a different recipe at a later date; it's already bookmarked.  I'm also posting less sugar than I used.  The cake was far too sweet, and even sparkled slightly in the oven.
For the rosewater, I went to the Middle-Eastern grocery store near my work.  The prices are reasonable and you know they'll have what you want.  A 10 oz bottle produced by Sadaf was only $2.  Ten ounces will go a long way.  You can add it to cocktails, but I'll probably put some in my next batch of strawberry jam.  It can even be used as perfume.  The hard part was not also buying the other scented waters like orange blossom, thyme, and rosemary.  There were at least ten kinds of herbal and floral infusions, many of them less expensive than buying the item as a dry spice or extract.
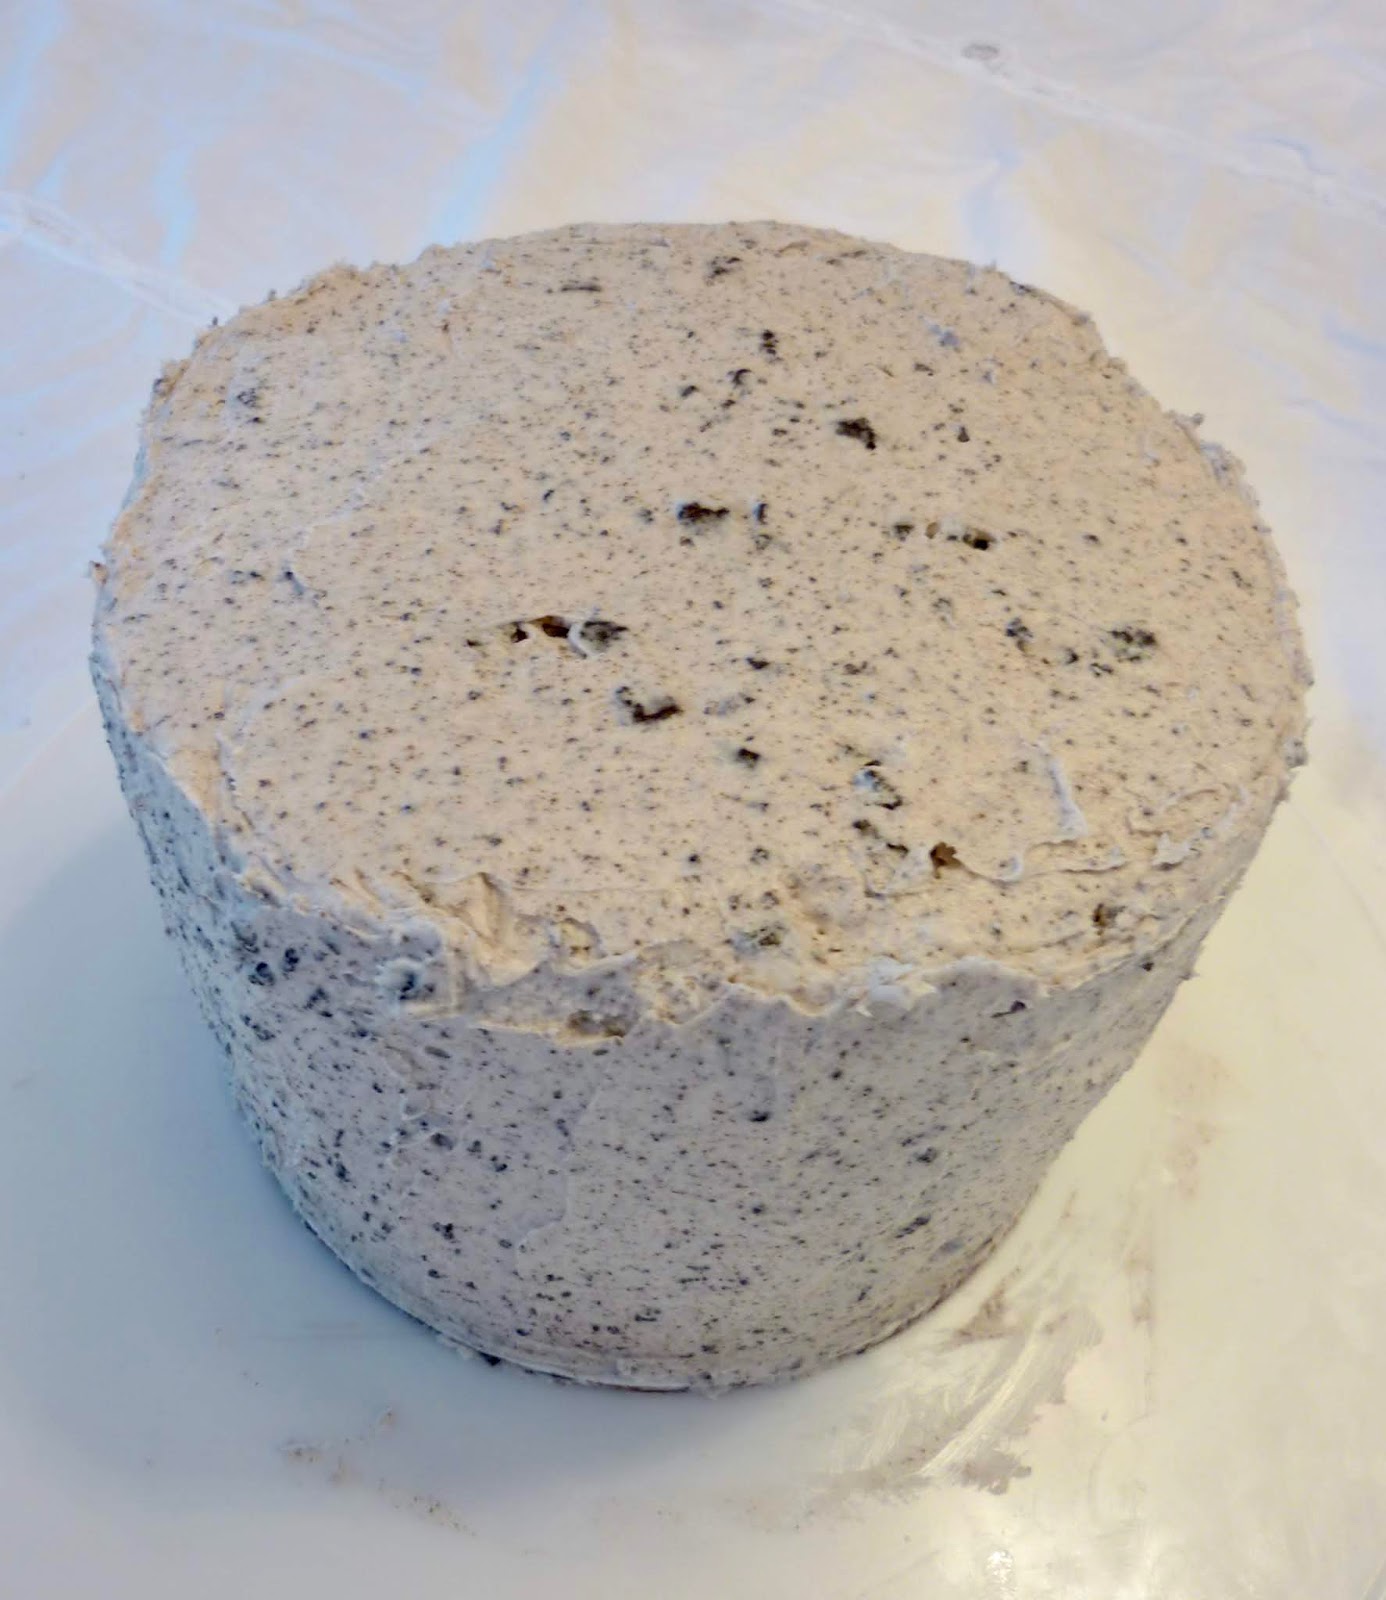
The original plan was to make eight roses in my rose cupcake pan, and a small cake with the remainder.  I sprayed the hell out of that thing, and couldn't get any out intact.  One was close.
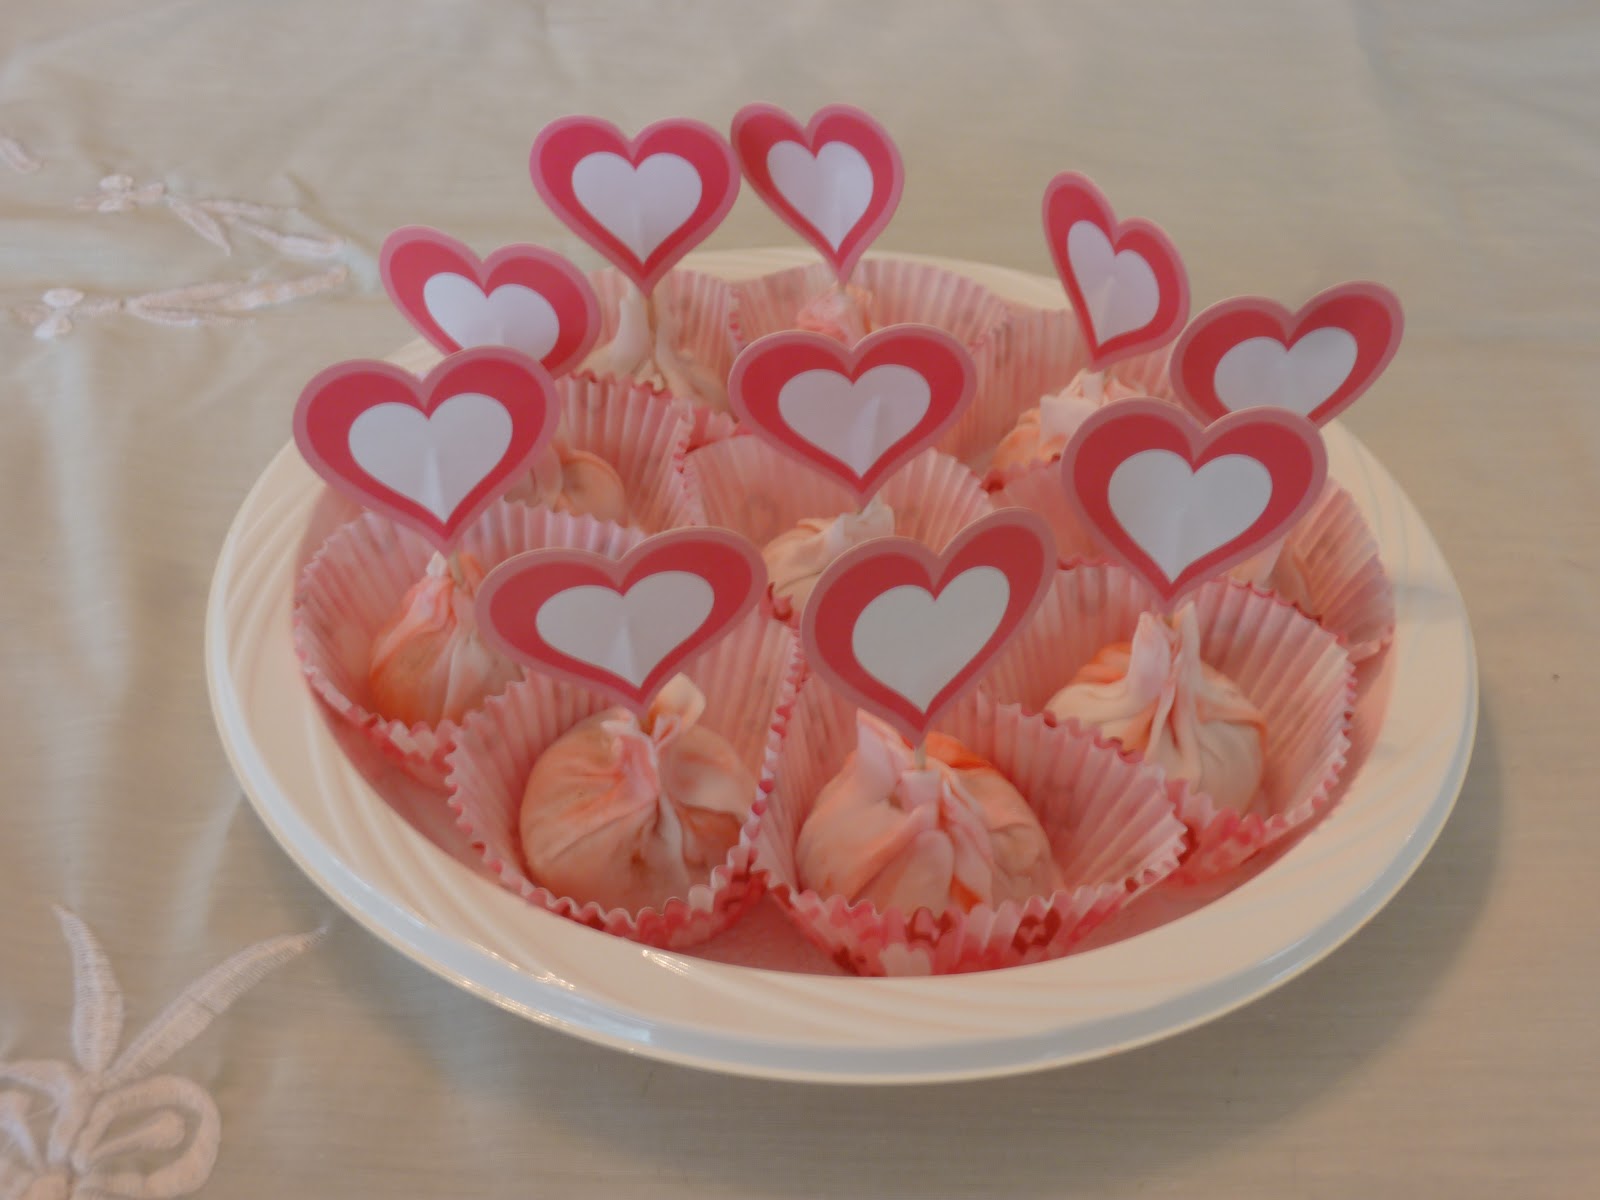
So the pan is going to be donated if I ever get it clean, and the cupcakes turned into cake pops.  (Beat together crumbled cake and enough frosting to make it look like cookie dough.)  I hadn't bought any candy coating and made little marbled dumplings with fondant instead.  I had bought the cupcake liners, which came with the heart toothpicks, to line the base of the roses when they were on a stick.  It's all about making it look like you meant to do that in the first place.


1-1/2 C + 2 Tb A.P. flour
1-1/4 C sugar
1-1/4 tsp baking powder
1/4 tsp salt
1/2 C (one stick) margarine
1 tsp vanilla
1/2 C egg whites (carton is fine; you're not whipping them)
*3/4 C milk or buttermilk
1 Tb oil
2 tsp rosewater
pink gel food color (optional)

1.  Preheat oven to 350º.  Grease two 8" cake pans.

2.  Sift together flour, sugar, baking powder, and salt.  Separately, whisk together vanilla, egg whites, milk, oil, and rosewater.

3.  In stand mixer with the paddle, stir margarine into flour mixture until coarse crumbs form.  Add liquids in three stages, scraping down the sides and bottom after each addition.  The first will look like cookie dough, the next like a thick batter, and the last a thin batter.  Beat on medium with a few drops of pink food coloring (optional) to make the batter pink.
4.  Portion batter into cake pans and bake 30-35 minutes, until a toothpick comes out clean.  I used cake strips, and they were completely flat.  The failed cupcakes domed as much as I hoped they would.  They just didn't come out of the pan that way.  Grrr.
5.  Let cakes cool in pans 5 minutes, then turn out onto a rack to cool completely before icing.

Rosewater Icing

1/2 C unsalted butter
1/2 C shortening
1 lb powdered sugar
2 tsp rosewater
milk as needed
gel food coloring (optional)

1.  In stand mixer with paddle, beat shortening and butter until smooth.  Gradually add powdered sugar until incorporated.  Scrape sides regularly.

2.  Beat in rosewater first, then milk to desired consistency.  Add food color if desired and use to fill and decorate cake.

To make a heart-shaped cake, I followed the technique on a random YouTube video instead of buying a heart-shaped pan that will rarely be used again.  After seeing the new Lego movie, I realized they used Duplo hearts as the inspiration.

Fill layers first and chill to keep them from sliding around.  Mark a + through the center of the cake with a knife.  This will get covered by icing later.  It's very easy to make a right angle this way.  Cut the curves between two of the edge marks to make a straight line, then do the same on the other side to create the point.
Crumb coat the remaining balloon shape, then attach the removed pieces and crumb coat over those as well.  Cut a notch in the middle for the V shape at the top (snack).  Finish the crumb coat, smooth into the heart shape, and chill the cake to set the base coat.  I've decided that crumb-coating a cake is the hardest part of the whole process.  Once you get that right, even piped decorations aren't that difficult.
Finish cake with top coat and decorations.  If you get a heart-shaped cardboard, or even cut it yourself, do it out of the next size up.  I used an 8" for a 6" cake.  This one was staying at home, so I didn't bother to make the display company-perfect.

Makes one 2-layer 8" cake, about 12-16 cupcakes

Difficulty rating  :) for cake and frosting,  :-0 for frosting it heart-shaped

Monday, February 11, 2019

Kibbeh

Ok, I know the idea of stuffing meat with more meat is kind of weird.  I get it, though.  It's like a Scotch Egg, where you cook the inside separately so you can quickly fry the outside and not have to overcook it so that the middle is done.  I countered my frying guilt by having them with an eggplant and artichoke salad.

I find most recipes referring to kibbeh as Lebanese, with a few crediting Iraq, Jordan, or Syria.  Spell-checker surprisingly has no trouble with the name, unless maybe it thinks it's a Yiddish word.

If I had realized how much of a frying project this was, I would have used the deep fryer.  I could only fit three at a time in the saucepan.  It does destroy the oil with spices, so you can't use it again unless it's for something highly spiced like falafel or samosas.

This is a slightly scaled down recipe from Olivia's Cuisine.  I was trying to make this dinner for four instead of appetizers, so we're using a total of 1-1/4 lb of 80/20 ground beef.

Filling
1/4 lb ground beef
1/3 medium onion, finely chopped
1/2 Tb olive oil
*1/4 tsp ground allspice
dash cinnamon
salt & pepper to taste
1/4 C toasted pine nuts (or chopped walnuts)

Meat "dough"
1 lb ground beef
*3/4 C fine bulgur
2/3 medium onion, chopped
*1/3 C fresh mint leaves (I need to do a de-minting)
1 tsp cumin
*1/2 tsp allspice
salt & pepper to taste
Vegetable or Peanut oil for frying

1.  Place bulgur in a bowl.  Pour 3/4 C warm water over it and allow to sit for at least 30 minutes, until the water is absorbed.
2.  Make the filling:  In a skillet, cook onion in oil over medium heat until soft.  Add meat and spices and continue to cook until beef is done and crumbly.  Remove from heat and stir in nuts.  Set aside.
3.  Place the bulgur, onion, and mint in the food processor and run until smooth.  You especially want the onion invisible, as any intact pieces will make your kibbeh crack open.  Add spices and meat and process into a paste.

4.  Form the croquettes.  Scoop up an egg-sized amount of meat dough and form into an oval.  Add a scant tablespoon of cooked filling and enclose in the raw meat.  Make sure no filling is poking out, or the meatball will crack open.  Form into a football-shaped croquette.
5.  Heat at least 1" of oil in a fryer, dutch oven, or saucepan to 350º.  Drop in however many croquettes comfortably fit and cook until browned and crisp, about 4-5 minutes.  Drain on paper towels and continue until all are fried, adding more oil as necessary.  Serve hot or room temperature.

Makes about 12

Difficulty rating  :)

Friday, February 8, 2019

Chickpea and Cheese Crisps

I wanted to have some kind of beans with my dinner, but didn't actually want to put them in the roasted eggplant.  I wanted them on the side of it somehow.  Then I had this idea in the shower and rewrote the grocery list.

Maybe I'm calling them the wrong thing, because I couldn't find a recipe online to match my idea.  Most of them used chickpea flour, and I'm avoiding buying another bag of that until after Passover so I don't have to put it in the chometz box.  These are basically like making a parmesan crisp, but with chickpea purée so you can use a soft cheese.  Not exactly a falafel, more like a cheesy hummus cracker.

And since it's like hummus, I used canned beans.  Soaking and cooking from dry would have made these chunky.  To get a smoother texture, canned is most effective.

1 can chickpeas
4 oz log goat cheese
1 stalk green onion
*2 cloves garlic
2 tsp-ish olive oil

1.  Drain chickpeas and drain well.  Roughly chop green onion, peel garlic, and put the three ingredients in the food processor.  Process until well on their way to an aromatic paste.
2.  Drop cheese into the processor and run until smooth.  It should be paté-like.  If still too chunky, add oil a teaspoon at a time until the consistency of soft-serve ice cream.  This mixture is safe to eat as-is, if you want to use it as dip.
3.  Preheat oven to 375º and line two sheets with parchment or a silpat.  Scoop out rounded tablespoons of mix and pat down into pancakes.  These won't spread, so you only have to leave about 1/2" between.  And the fingerprints will disappear when they're flipped.
4.  Bake for 15 minutes.  Flip with a spatula and put back in the oven for another 10 minutes, until crisp.  Serve alongside salad or with an hors d'oeuvre platter.  Unfortunately, these got soggy when I tried to use them as canapés, and the gluten-free nature allowed them to crumble when I tried to use them like a normal cracker.  Broken shards would be good as croutons.

Makes about 18

Difficulty rating  π

Tuesday, February 5, 2019

Inverted Teriyaki Bowl

A lot of people are still trying to cut down on carbs for the new year.  I'm already starting to decrease my supply of grains and beans, even though Passover isn't for two months, so I can do it slowly and not have a carb-o-rama at the beginning of April.

As I was looking at the giant skillet of vegetables and much smaller pot of rice, I decided to reverse the normal arrangement.  Having a cup of rice disappear below a mound of veggies would be simply too disheartening.  This way makes you feel like you're getting twice as much rice as you actually are.

1 small head green cabbage
pinch kosher salt
*1 C frozen peas
2 C frozen broccoli florets
1 Tb vegetable oil
2 stalks green onion, sliced on the bias
1 lb sliced steak for stir-fry
*1/2 C diced yellow onion
1 C dry rice
teriyaki sauce for serving

1.  Thinly slice cabbage and place in large, deep skillet with the salt.  Cover and cook over medium heat until about half wilted.

2.  Stir together rice, diced yellow onion, and 1-1/2 C water in a medium saucepan.  Bring to a low boil, cover, and reduce heat to a simmer.  Cook for about 15 minutes while you finish the veggies.

3.  Add frozen veggies to cabbage skillet and cook until defrosted and cabbage is thoroughly wilted, about 10 minutes.

4.  Stir in oil, then add steak and green onion.  Move around ingredients (stir-fry) until steak is medium-rare.  It will continue to cook in the heat of the veggies until served.

5.  Check rice for doneness.  When ready, plate veggie mixture first, drizzle with teriyaki sauce, then spoon rice on top.  Serve hot.

Difficulty rating  :)

Saturday, February 2, 2019

Cake Tacos

It's my 1,000th post!  We're celebrating with a Man About Cake creation.

So your cake didn't turn out very flat and you have to trim off the top to get it even close to level.  What to do with the "garbage cake"?  Cake pops and ice cream bars work if there's enough to share.  What if there really isn't that much cake cut off?

Cake tacos!  There's always a little frosting left after decorating.  If you estimated your batch right, it isn't a lot, or it's a color you never plan to use again.  Simply spread it on your cake disc trimming like it was cream cheese, fold or roll, and snack!