Tuesday, October 31, 2017

Pear and Blueberry Pie

So of course, once I'd made a new pie crust, I had to come up with a pie to try it out.  I had a pint of blueberry pie filling in the freezer and chose to mix it with pears to make enough for a pie.

All the work in most pies is the crust.  Even a custard pie comes together pretty quickly.  In this case, using half pie filling meant there was less fruit to cut and fewer ingredients overall.  You get the homemade label with half the work.  I'm conveniently ignoring the work to make the can of filling.

crust for double-crust pie
*1 can (15 oz) blueberry pie filling
1 lb (3 or 4) pears, ripe but still a little firm
3 Tb sugar
1 Tb cornstarch
1 Tb lemon juice or apple cider vinegar
egg white or milk for brushing crust
sanding sugar for decorating

1.  Roll out bottom crust and place in fridge.

2.  Peel pears if desired.  Cut in half and remove cores and stems.  Chop into bite-sized pieces.

3.  In a bowl, combine blueberry filling, pears, sugar, and cornstarch.  Stir in lemon juice.  I didn't add any spices, but half a teaspoon of ginger or cinnamon would be a nice addition.  I was just in the mood to let the fruits speak for themselves.  Get the crust out of the fridge and fill with the mixture.
4.  Roll out top crust and cut vent holes or slits.  You'll see how much bubbled out.  Place on top and create a sealed border.  Trim off excess.  Chill filled pie for at least half an hour.

5.  Preheat oven to 375º.  For a glossy look, brush crust with egg white.  I opted for a matte finish and used milk.  Avoid brushing the edges, or they'll darken too quickly.  Sprinkle top with sugar for a sparkly look and added flavor.  Place on a baking sheet, to catch anything that boils over.  Bake until crust is golden, about 1 hour.  If it still isn't darkening at that point, raise oven to 400º and check after 10 minutes.
6.  Cool pie on a rack for at least 30 minutes, and preferably to room temperature.  The filling takes a while to set up.  Meanwhile, all that goo on your baking sheet will come right off if you start soaking it as soon as the pie pan comes off.  To store the pie past the first day, refrigerate.  Just pull it out half an hour before serving so it isn't so cold.  It can survive 15 seconds in the microwave without changing texture.

Makes 1 pie, about 8 servings

Difficulty rating. :)

Saturday, October 28, 2017

Pie Crust #2

There was a new pie crust recipe in the L.A. Times that was substantially different from any I've made, so I had to give it a try.

This recipe follows the basic concepts of using cold ingredients to prevent the fat from melting prematurely.  It merely adds every special, secret ingredient that bakers use.

The recipe also allows you to use the food processor if you want, and that's the version I'm posting here.  The trick with that is to put in the liquid when the fat pieces are twice as large as when you would have done it by hand.  As the liquid is incorporated, the processor is still cutting the fat smaller and smaller.

I liked the result.  I think I processed the dough a few pulses too long.  It wasn't very flaky, but it wasn't tough either, which is how my crusts usually end up.  I got a crispy crust which stayed that way even a couple of days later.  It was very easy to roll, and transferred from the board to the pie pan without ripping.  I used the rolling pin method for that, where you dust the top of the rolled crust with a bit of flour, wrap it around the rolling pin, and unroll it over the plate.
The recipe did make a bit more crust than I ended up using, even for a double-crust pie.  I'm saving the rest to see how a re-rolled pie ends up.  Maybe I'll use it for mini tarts or something.  The beauty of the freezer is that you can take your time figuring out that part.

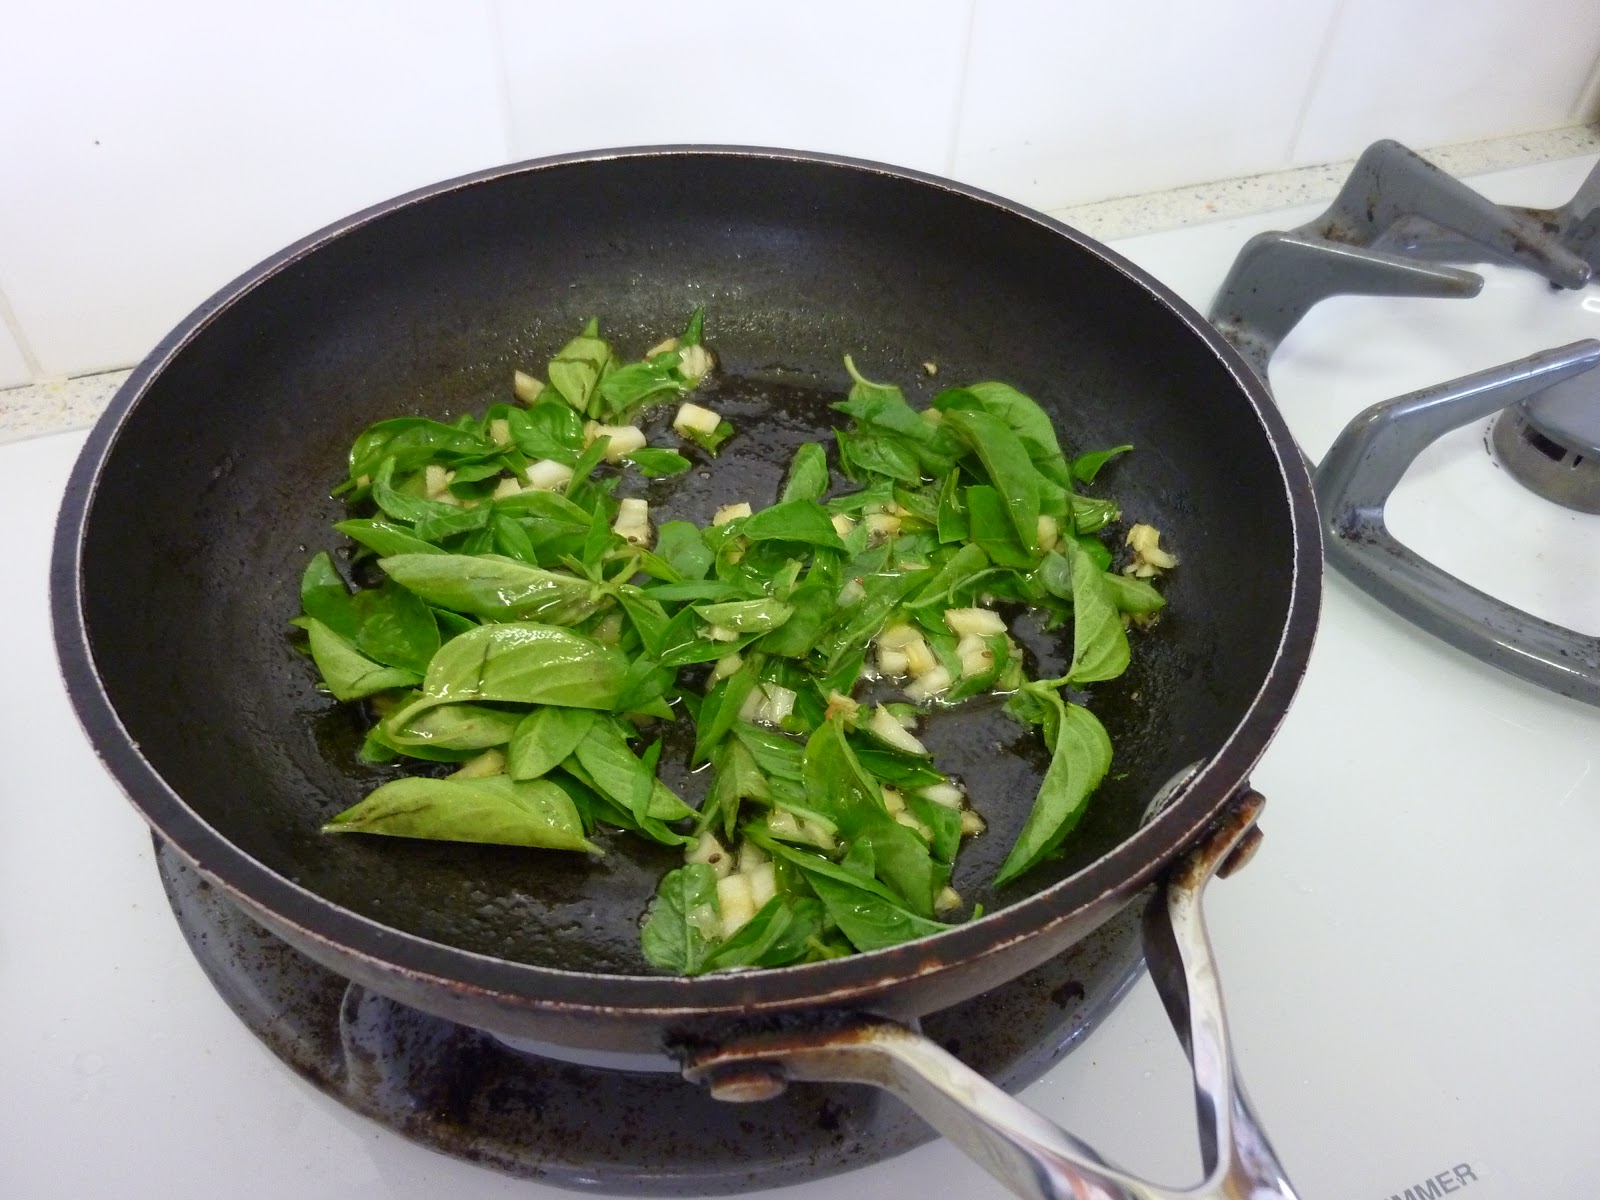
Speaking of the freezer, the best way to prep the fats for this is to cut them an hour ahead of time, then put them in the freezer.  You can stick the flour in there, too.  Especially when it's 100º out, only a week before Halloween.  So hot.  Not fair.

1 Tb sugar
1/4 C water
*2-1/4 tsp cider vinegar
2-1/4 C flour, chilled
1 tsp salt
*4 Tb (1/4 C) cold shortening or lard
1/2 C (1 stick) cold butter, cut into 1/2" cubes
ice water as needed
egg white if blind-baking

1.  In a small bowl, stir together water and sugar to make a simple syrup.  Stir in vinegar and chill until ready to use.

2.  In food processor, pulse together flour and salt.  Pulse in shortening until flour resembles moist sand.  Pulse in the butter until you get pea-sized pieces, maybe five pulses.
3.  Sprinkle the chilled syrup over the flour and pulse several times.  Transfer the crumbly mixture to a bowl and squeeze a handful together.  It will stick, but if it crumbles apart too quickly, knead in ice water a tablespoon at a time.  I needed two tablespoons on a low humidity day.
4.  Shape dough into a disk and wrap in plastic wrap.  Refrigerate for 1 hour.  This allows the glutens to rest and the moisture in the dough to permeate every bit of flour that might have been left out.

5.  When ready to bake, break dough into approximately 2/3 by 1/3 pieces and put the smaller one back in the fridge.  That's for the top crust.  Reshape dough into a disk, then roll out into a circle on a lightly floured surface, about 1/8" thick.  Always start from the middle and roll outwards.  You get a better shape, and when the crust inevitably shrinks back a bit, it's shrinking towards where you started the roll.

6.  Transfer dough to pie plate.  If blind-baking, make your decorative edge, trim off the excess, put it in the freezer for 20 minutes, and skip to the next step.  If baking filled, fill it now and roll out the top crust.  Make your decorative edge once the top is on, then trim off the excess.  The method I learned for that is to squeeze the pie plate between your hands.  Your hand makes a natural break on the edge of the plate as you turn it, until you lift the plate and all the scraps are left behind.  Bake according to your recipe.
7.  For blind-baking, preheat oven to 400º.  Either line with parchment and fill with baking beads (beans) or prick all over to prevent bubbles.  Bake for 20 minutes and check on it.  Either remove the beads and prick crust sparely or re-prick any bubbles if you didn't weigh it down.  Bake until as done as you need it for your recipe.  If you want to reduce the sogginess of the finished product, brush the hot crust with egg white to form a waterproof finish.  Cool and fill.

Makes 1 double crust pie

Difficulty rating  :)

Wednesday, October 25, 2017

Salmon with Basil Sauce

I was too lazy to get out the food processor to make pesto.  As a result, this turned into a presentation dish.  You can't really blame me; I was already going to have to wash a hell of a lot of dishes.  The processor was more than I wanted to clean.

This got started a few ways.  Salmon was on sale.  It was time to trim the basil again.  When I finally pulled that last bolted fennel, I had forgotten there would be an edible root attached.  And Vons was rotating their Kosher section, so the large container of Israeli couscous was half off.  So were Shabbos candles, which is ridiculous because a candle takes decades to deteriorate, but I bought some for half off anyway.

There were a few ways I could have assembled the finished product, but I opted for a round version to show you how to make cooked spinach look like more than it is.  A thin ring of it kept the couscous in place, topped with the baked salmon and a bit of fresh basil sauce on top.  It's so unfair how a full pound of spinach leaves cooks down to practically nothing.

Salmon
1 lb salmon fillet, deboned
salt and pepper to taste
Olive oil

1.  Preheat oven to 325º.  Lightly drizzle oil in a baking dish.

2.  Rub flesh side of fish in the oil, then flip it up and settle skin-side down in pan.  Sprinkle with salt and pepper.  Put in to bake while you make everything else, about 20 minutes.

3.  Cut into portions, making sure center isn't raw.

Couscous
1 C Israeli couscous (or rice, quinoa, or your favorite grain)
water
salt
olive oil

1.  Lightly salt 1-1/2 C water and bring to a boil.

2.  Stir in dry couscous and reduce heat to a simmer.  Cook until water is absorbed, about 8 minutes.  Remove from heat.  Stir in 1 tsp of olive oil, just enough to keep the pearls from sticking together.

Spinach
1 lb spinach, cleaned, stems removed.  Chopping it optional
*2 cloves garlic, minced
1 Tb margarine

1.  Melt margarine in 10" skillet over medium heat.  Add garlic and cook until fragrant, 1 minute.

2.  Add spinach and stir to coat with margarine.  Allow it to cook about halfway, then remove from heat.  The residual heat in the pan will cook it the rest of the way while you finish the dish.

Sauce
*1/2 C fresh basil leaves
*1/4 C diced onion
2 Tb pine nuts (this is where I subbed in the fennel root)
2 Tb butter or margarine

1.  Melt the butter in a small skillet.  Add onion and cook until soft.  Add in pine nuts until warm.

2.  Remove pan from heat and stir in basil leaves until wilted.  If you want more sauce, add some olive oil.

Assembly
This can be on a platter or individually plated.

1.  Make a ring of spinach slightly inside plate rim.
2.  Fill center with couscous.
3.  Place a salmon portion on top of the couscous.
4.  Spoon sauce on top.

Difficulty rating. :)

Sunday, October 22, 2017

Clearing out the Pond

I've had something growing in the pond garden constantly for about two years.  The contents rotated from warm to cool seasons, but there was always something in production.  As this summer comes to a close, I have decided to let everything run its course without planting anything new so I can clear it out.

That is easier said than done.  It's taking the watermelon a long time to die.  (The one in the front yard still has a 10-pound fruit on it and the vines are healthy.  It's postponing my lettuce planting.  I definitely have to pick it before Halloween, because someone will steal it that night.)  I finally remembered to use the last two beets in something.  And that stupid fennel that I let bolt has taken forever to get those seeds made.  I already bought all the planting seeds I need.  They're just sitting on the kitchen table, categorized by front yard, pond, and pots.
I did some starters, as long as I'm waiting for space to be available.  Some of the things I want to grow don't need to be direct sow.  It's just everything in the Pond that I can't transplant.  Sheesh.  Those should start to sprout within the next few days.
Once I finally get sick of waiting and rip out the watermelon and fennel, I'm going to rehab the soil with vegetable food, a lot of water, and another bag of garden soil.  I add about twenty pounds a year, to make up for tracking some out, what is lost when you pull out a plant, etc.  It's also a nice influx of nutrients.

This is such a tricky time of year in So Cal.  One week, it's too hot for winter greens, the next it's too cold for some varieties to germinate.  I'm hoping this is the last heat wave so I can put in the carrots, beets, and radishes next weekend.  Ah, the woes of a home farmer.  I'm just hoping to have a home-grown salad to serve for Christmas dinner.

Thursday, October 19, 2017

Bavarian Apple Fritters

I've been reading the Diary of a Mad Hausfrau blog.  Most of the recipes are German, but made familiar to an American audience.  She publishes about as often as I do, making it a reasonable rate of new ideas.  As much fun as it is to read a blog daily, the backlog of bookmarked recipes can get excessive, until you finally decide it isn't worth making any of them.

I have researched apple fritter recipes before, then decided not to make them for one reason or another.  Usually, that reason had to do with not having a deep fryer.  I think I'm going to break down this year and ask for one for the holidays.  A small one isn't expensive and ultimately saves oil because I'm not throwing it out after every use.

This recipe is not exactly like her ApfelKrapfen.  I tweaked it as I went along, mostly by simplifying the process, as well as cut it in half.  After the first four were frying, I decided that her idea of how big they should be was not what I had in mind.  The rest are half that size, meaning that my half recipe still makes 18.  Bear that in mind if you read both and can't figure out why they don't seem to match.

1-1/2 C flour
1/4 C milk
1 package (2-1/4 tsp) yeast
1/4 C sugar
3 Tb unsalted butter
1 egg
pinch of salt
1 Granny Smith apple
1/3 C golden raisins
3 Tb candied orange peel
oil for frying
1 tsp cinnamon stirred into 1/4 C sugar

1.  Warm milk to 100º.  Stir in sugar, butter, and yeast and allow to get foamy.  The butter does not need to melt.
2.  In a stand mixer, stir together 1 C flour and salt.  Add milk mixture and beat into a crumbly mess.  Beat in egg, and it will look more like a soft dough.  Add the other half cup of flour, and it's a real dough, but still on the soft side.  Allow to rest in the mixer while you start the next step.
3.  Core the apple and chop into itty bitty pieces.  I never peel apples unless truly necessary, but you can peel it first if you prefer.  I also chopped the raisins because they were big.  I couldn't find candied orange peel this early in the season, and substituted half the amount in candied ginger.  Stir all of that into the dough.  It's not going to look or feel like a bread dough, more like a yeast scone dough.  Allow to rise 45 minutes in a warm place.
4.  Heat 1/2" of oil to 375º.  I used a 6" skillet to make it easier to get them out.  You can use a deeper pot or, ideally, a deep fryer.  Set up a plate with paper towels to drain them.  The next plate is for the cinnamon sugar.  Then set up a rack over a sheet pan for the finished project.  It took up a bit of space, but each step made the process easier.

5.  Turn out dough onto a floured surface and lop off pieces about 1-1/2" to 2".  Make into balls and place in the oil.  Turn when the bottom is browned, about 2-3 minutes.  I got 4 of the large or 5 of the smaller fritters in the pan at once, which made the oil come up higher.  They do expand a bit as they fry.  When the other side is golden, remove with a slotted spoon to the paper towels to drip off most of the oil.  Then roll in the cinnamon sugar before placing on the rack to cool.  You may need to add more oil and/or let the temperature recover after each batch.

Makes 18

Difficulty rating  :)

Monday, October 16, 2017

Falafel Cups

For Sukkot's traditionally vegetarian/dairy meal, I made these variations of falafel pie.  Each one is filled with a dollop of baba gannouj  and topped with shreds of lettuce and diced tomatoes.  A little baguette and brie, plus a glass of wine, and you have an elegant picnic dinner under the sukkah.
These are also adorable appetizers or savory tea items.  You can make them with gluten-free flour if necessary.  The flour isn't for leavening, but for structure.

2/3 C dried chickpeas
*1/2 large onion, coarsely chopped
*1/4 C fresh parsley leaves
1 tsp salt
1/2 tsp paprika
1 tsp cumin
*3 cloves garlic
1 tsp baking powder
1/4 C flour
olive oil for greasing pan

1.  The day before, soak garbanzo beans (chickpeas) in 3 C water.  Working from dried really makes a difference in texture, so it's worth planning ahead.  Let sit 12-18 hours, then drain.

2.  Place all the ingredients through the baking powder in the food processor.  Pulse at first, then let run into a grainy paste, about 30 seconds.  Add flour and pulse into a stiff batter.

3.  While oven is preheating to 375º, make the cups.  First, get as much oil to stick to the muffin pan as possible.  I was out of pan spray, so I can't vouch for its effectiveness.  Press the batter into the muffin cups, working it up the edges.  As for yield, I ended up with ten cups because that was how many I needed.  You can probably coax between 8 and 12 out of this, depending on how full you make the cups.
4.  Bake for 20 minutes.  The upper edges should turn darker brown and pull away from the sides.  Allow to cool slightly, then carefully remove from pan with a thin spatula.  It isn't a disaster if a hole tears in the bottom unless you plan for folks to eat them by hand.  On a plate, it's fine.

5.  Fill with a tablespoon of baba gannouj, savory yogurt, or another dip, then top with fresh vegetables.  Serve room temperature.

Makes 8-12

Difficulty rating. :)

Friday, October 13, 2017

Spice-o-Rama

Omg, omg, omg, Vons had a giant pile of spices on the half-off rack!  I was very good and only got items I needed, plus saffron.  Half-off saffron, hell yes!  All of the dates were fine, seals good, product not caky.  Sometimes, the manufacturer redesigns the labels or changes the size, so markets clear out the old lot.

Oh, then the lady next to me pointed to another bin of spices behind me of a different brand that was 75% off.  Found all the pumpkin pie spice that wasn't there the time I gave up and mixed my own.  Never mind, I'm good.
And the reason I went rooting through there in the first place, cinnamon for the previous two posts, wasn't as good a deal as the It's Delish brand.  It may be local in California, but they make inexpensive spices, nuts, and candies that are kosher and often kosher for Passover.  You can also order online, but shipping generally negates the advantages of a discount brand.
A couple of days later, I realized I should have bought paprika, so I headed back to the now severely decimated pile of jars, this time with my camera to get these photos.  (My phone's camera stopped working a couple of months ago.)  No paprika, so I bought It's Delish again.  We go through paprika in my family; 8oz will not go bad.  Techie Smurf keeps his next to the stove with the salt and pepper.  What got me mad was that someone in the intervening two days had opened the saffron and vanilla bottles and stolen the spices in them, then put back the empty jars.  Just the two most expensive spices in the world, nothing else.  They knew what they were doing, making off with about $200 of spices out of only ten jars.  People can be gross.

Tuesday, October 10, 2017

Cinnamon Chip Muffins

One of our choir members throws an epic Break-the-Fast every year.  She doesn't provide dessert, though, so there's something for people to bring if they're not into bringing drinks.  I only drink water there.  For one thing, I'm driving home, and for another either alcohol or a sweet drink will hit the system very hard after a fast.

I also got to break out my new mini-muffin tin.  Two dozen cute, one-bite muffins on a single tray.  They're so poppable!  It also means that I have no idea what the yield on this recipe is for any other shape, except that The Bright Eyed Baker got 18 regular muffins out of her batch.  I got the two dozen minis and two mini loaves, because Yom Kippur morning services ran long and I only had enough time to throw in all of the batter at once, instead of the two bakes I had planned.

When you get down to the muffin ingredients, there's buttermilk listed.  Since there isn't any baking soda in this recipe, which requires an acid to activate, you can use regular milk.  To approximate the taste of buttermilk, add a teaspoon of apple cider vinegar to the milk and let it sit five minutes to sour up a bit.

Crumb Topping
3/4 C sugar
1 Tb cinnamon
1/8 tsp salt
6 Tb (3/4 C) melted unsalted butter
3/4 C whole wheat flour

1.  Stir together sugar, cinnamon, and salt.  Pour in melted butter and stir into a glop.  Add flour and it will become more crumbly.  If not using immediately, form into a ball and wrap in wax paper.  Refrigerate until half an hour before you need it, so it can soften a little.  Then you can break it into crumbs.  Also freezes for long-term storage.

Muffins
1-1/2 C All-purpose flour
1/2 C whole wheat flour
2-1/2 tsp baking powder
1 tsp cinnamon
1/2 tsp salt
1/2 C sugar
1/3 C oil
2 eggs
1-1/4 C buttermilk
1 tsp vanilla
1 C cinnamon chips

1.  Preheat oven to 375º.  Grease or pan-spray nonstick muffin pans for 18 muffins.  You could do liners, but these came out of the greased pan pretty well.  The mini-loaves put up more of a fight, so I'd hesitate to use a patterned cake pan.

2.  Combine both flours, baking powder, cinnamon, and salt.  That's the dry team.  The wet team is the buttermilk and vanilla.

3.  In mixer, beat together sugar and oil until smooth.  Add eggs one at a time until uniform and a little fluffy.

4.  Alternating dry/wet, add flour mix and milk, beating just until combined.  Stir in cinnamon chips.
5.  Fill greased muffin cups 2/3 full.  Top with crumb.  Bake 15 minutes, then lower oven to 350º and start checking for doneness at the 18 minute mark.  Allow to cool 10 minutes in the pan, then turn out onto a rack to finish cooling before storage.

Makes 18 muffins

Difficulty rating  :)

Saturday, October 7, 2017

Cinnamon Chips

I've had these from the Bright Eyed Baker bookmarked forever, but never got around to them.  Part of the problem was that my Vons apparently only buys one case of Karo syrup a year.  As early as March, they didn't have any.  Finally thought to check on a visit to Target, and here we are.

I didn't know that cinnamon chips existed until we started using them at work.  The grocery store didn't have them.  Same store that didn't have corn syrup, so maybe I shouldn't be surprised.  I could have bought them online, but it wasn't worth the shipping.  I went looking online for a recipe, and of course found one.  It's very rare not to find something online, but it does happen occasionally.

This is a very simple recipe, up to the point of cutting out thousands of chips.  It isn't difficult to cut through the slab, just time-consuming.  I was also in a rush to get to Kol Nidre, so there wasn't a lot of patience to be had.  A lazy day off, when you're looking for projects to keep you from watching yet another Hallmark movie, is a good time to do these.  They keep.

2/3 C sugar
3 Tb cinnamon
2 Tb shortening
2 Tb light corn syrup

1.  Preheat oven to 200º.  If you have a Silpat to place on your baking sheet, it works great.  If not, pan spray a piece of parchment.
2.  In a bowl, combine sugar and cinnamon.  Cinnamon tends to repel wet ingredients, but sugar absorbs them, so it's like tricking the cinnamon into softening.  Stir in shortening and corn syrup until everything becomes crumbly.
3.  Spread mix on prepared sheet.  I used an offset spatula to press it into a flat-ish, sort-of rectangle about 1/4" thick.  At some point, I realized I could use the rolling pin with thickness guides, but the mix stuck to the pin quite a bit and I almost had to start over.

4.  Bake for 35 minutes.  It isn't going to look hard, but it will firm up as it cools.  You're not making bark, where you crack it.  This has to be soft enough to cut.
5.  When cooled, transfer to a cutting board.  I tore mine into several pieces to make it easier to do straight lines.  Using a pizza cutter or sharp knife, cut into 1/4" cubes.  Thousands of them.  It's going to take about ten minutes.  If not using immediately, store in a sealed container.  They should keep for at least a month.  I used mine the next day, so I can't vouch for it.

Makes about 1 cup of chips

Difficulty rating. π

Wednesday, October 4, 2017

Seared Scallops with Mixed Vegetables

The scallops I wanted last week were finally a reasonable price, so I started looking for something to have with them.  There was the last fennel in the pond, which was starting to bolt, some celery, a bit of onion, and half a can of sauerkraut.  A serving size of kraut in someone's mind is a lot more than I put on a Reuben.  I had considered using cabbage in this anyway.  Having it pre-fermented just meant I didn't need to add any lemon juice or vinegar.  I picked up a carrot for color, and a meal was begun.

Slicing and shredding the veggies took the longest, even with the V-slicer.  Maybe ten minutes.  The veggies steamed for another ten while the scallops were cooking and the toast was toasting, and the whole thing was photographed and on the table a few minutes later.

You'll notice that this also has an appetizer tag.  Even with a bruschetta on the side, this was more like a spa lunch than a proper dinner.  There was pie an hour later.  On the other hand, if you're dieting, it's very nutritious and pretty fancy for a weeknight dinner.

1 lb scallops
1 large carrot
*1/2 cabbage or small can sauerkraut
*1/2 C diced onion
*1 small fennel
*2 ribs celery
salt and pepper to taste
1 Tb butter
2 Tb lemon juice if not using sauerkraut

1.  Shred, or at least very thinly slice, all veggies.  You can use a V-slicer with julienne attachments or the grater on a food processor to speed things up.  Place in a large pot with about 1/2" of water.  Cover, bring to a simmer, and allow to steam while you make the scallops.
2.  Heat a medium skillet over medium-high heat.  Melt butter and swirl to coat bottom of pan.  Before butter burns, drop in scallops.  cook until the bottoms get golden, about 4 minutes.  Flip and sear other side.  Season with salt and pepper to taste.

3.  If you used fresh cabbage, now is the time to add the lemon juice, plus a little salt and pepper for either ingredient.  I used tongs to put the veggies on the plate, so any excess water would drip off.  Top with several scallops and serve.

Difficulty rating  π

Sunday, October 1, 2017

Harvesting Fennel Seed

It took a few months, but the fennel bulb I let go to seed is finally finishing the process.  Santa Ana winds helped.  I hardly ever use fennel seed (anise) in cooking, but I believe that's because I wouldn't buy it for one recipe and would just substitute some other kind of seed.  Now that I have some, I'll put it in stocks, pickles, and stews.

The process for harvesting the seed from an herb is pretty similar for any herb.  You get the best results when you let them dry on the plant, then place the flower head in an open paper bag for a couple of weeks to dry even further.  At that point, the seeds fall off the stems and you can seal them in a container.
It is critically important that the seeds be completely dry before sealing the jar.  Any moisture will cause them to get moldy.  I left my coriander seed on the plant until the whole thing shattered when I pulled off the seeds.  This is the nose-to-tail version of growing herbs, since mine seem to keep bolting in region 11a.  A few more weeks, and it will be cool enough to start my winter herbs and greens, just when pretty much everyone else is planning for a first frost.