I've always loved Wedgwood's style. The simple white cameo designs over a pastel matte finish are an understated elegance. I was surprised to find the only piece I have is a clock that no longer works and really needs to be cleaned. When I googled this idea, all the cakes that came up were for weddings. I'm not the only one who thinks that way.
There are two or three ways to go about this idea. I'm going with the "buy a fondant mold" version, as it's the one absolutely any skill level can pull off, including a child who has mastered Play-Doh. For those skilled with a piping bag, royal icing designs are an option. One site I visited, the decorator made her own resin mold of an actual Wedgwood plate's design, then used it as a fondant mold.
One thing I found from scanning several dozen images of this concept is that you're pretty much stuck with using fondant for the base color if you want the matte look. Buttercream just won't hold up well enough and will look shiny. I put a decent coat of buttercream under it, since I had some sky blue left in the freezer from the
painted cake.
1. Bake a cake. Any size, shape, or number of tiers is acceptable. No limits on the flavors. I used the chocolate chip layer cake.
2. Fill, crumb coat, and frost in a frosting you actually like. Let's be honest: everyone peels off the fondant. I recommend a frosting roughly the color of the fondant coat, but the filling can be anything. I had just barely enough Oreo frosting left to fill a cake. Unlike most buttercream jobs, you don't want the top edge sharp. Keep the lines soft and slightly rounded. Chill the cake to harden the frosting while you work on the fondant.
3. Make your molded decals out of white fondant. Doing them first gives them a chance to firm up a bit so they're easier to handle. You don't have to make a lot. This design is more striking the simpler it is. Your mold or roller will come with instructions. I ended up making my own system of using a fondant roller to press it in tightly and make the edges so thin they simply tore off. Then I could pop out the pieces and trim any strays with a sharp knife.
4. Color your fondant with gel food coloring, not water-based. Wedgwood comes in nearly every pastel shade, but blue is the most common. There's a reason that cake videos don't show the decorator coloring fondant in real time. It takes a while. You're kneading, pulling, and twisting for at least five minutes.
I thought that three drops of Navy Blue was too much when I started, but the cake ended up lighter than my actual piece.
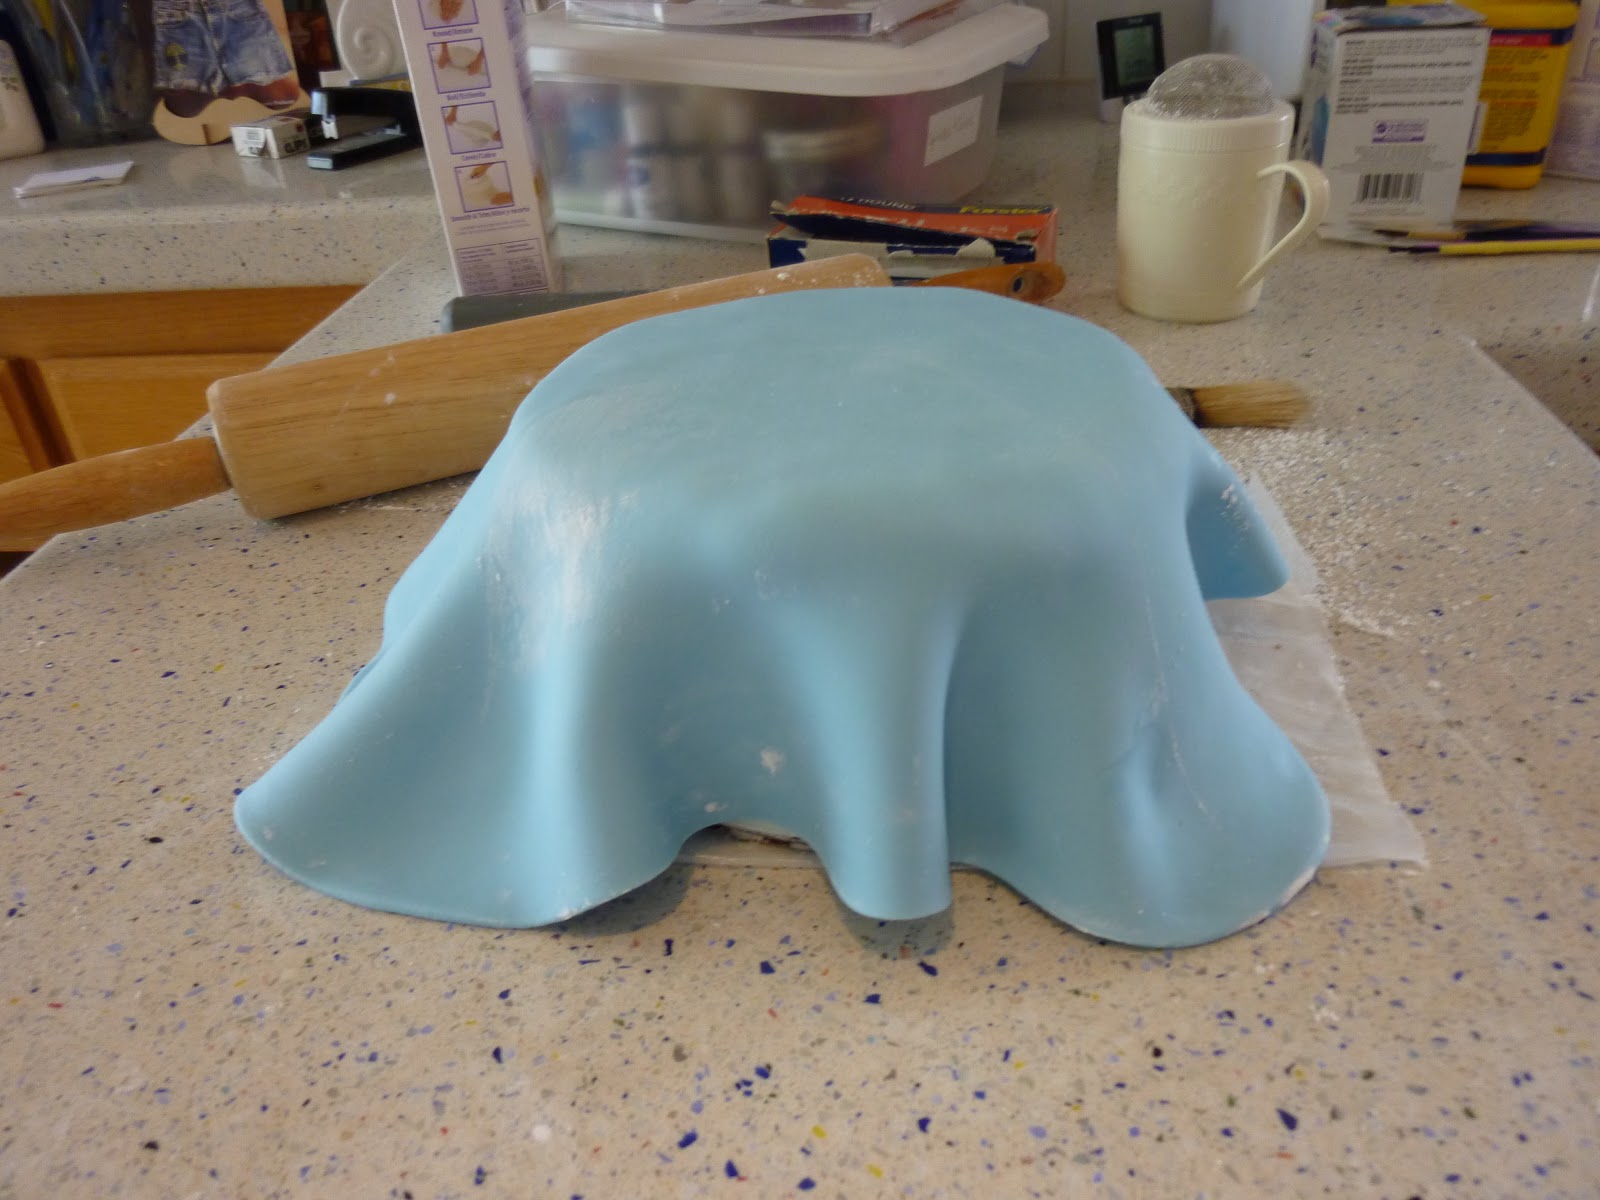
5. On a surface dusted with powdered sugar or cornstarch, roll out the fondant like you would a pie crust. Drape over the cake and coax down the sides until it drapes evenly. Something else they don't show you in real time. Don't expect it to take less than 5 minutes. You'll only tear the fondant.
6. "Glue" the fondant decals on with clear piping gel, royal icing, or pasteurized egg whites. I did this on a humid day, so the water beading up on the fondant from the frozen cake inside was enough to stick everything together. Once the fondant is on, do not freeze the cake again, but it can be refrigerated. Bring to room temperature to serve.
Difficulty rating :-0


No comments:
Post a Comment
I got tired of having to moderate all the spam comments and put back the verification. Sorry if it causes hassles.