Tuesday, November 21, 2023

Spaghetti Squash with Thyme

Somehow, I managed to grow a ton of thyme in the lettuce patch.  The herb pot I started inside and the plant I was trying to grow next to some celery both died.  The seeds I randomly chucked next to the failed pumpkins will be there forever.  I don't use that much thyme, but I guess I will now.

This recipe started as a vegetarian main.  It still can be, but it's closer to what you would call a cooked salad.  The dressing and chevre balance the natural sweetness of the squash.  There is an overall creaminess, with a bit of texture and contrast from the chickpeas.  The thyme is not overpowering.  For something adhering to Mediterranean diet guidelines, this was definitely comfort food.

1 small spaghetti squash (about 2-3 lbs)
1 can chickpeas, drained and rinsed
1/4 C olive oil
2 Tb white wine vinegar
*1 sprig fresh thyme or 1-1/2 tsp dried
1/2 tsp kosher salt
1/4 tsp white pepper
crumbled chevre or feta for garnish

1.  Preheat oven to 350º.  Wash squash and pierce in several places with a knife.  Set on a lined baking sheet and roast 90 minutes to 2 hours, turning halfway through, until easily pierced with a fork.

2.  Once cool enough to touch, slice squash open.  I always choose to do it across the equator, for the longest "spaghetti" strands.  If you prefer shorter fibers, cut the long ways.  Allow to cool until no longer steaming, then scoop out seeds and their strings.  I ended up cooking them with some pumpkin seeds into cinnamon pepitas.

3.  With a fork, pull the squash strands from the middle and place in a bowl.  Keep going until you reach the skin, then discard the skin.  At this point, all the hard part is done.  Everything else comes together super fast.

4.  Warm the oil, either on the stove or in the microwave, with the thyme in it.  Just to about 200º, so the thyme can infuse.  Whisk in the vinegar, salt, and white pepper and set aside.  You can also do this while the squash is cooking or cooling.

5.  Toss together the chickpeas and squash gently, so the squash doesn't mash.  Once evenly distributed, toss again with the dressing.  Either plate or place in a serving bowl, topped with crumbled cheese and perhaps more thyme for garnish.

Difficulty rating  π

Saturday, November 18, 2023

Minted Leg of Lamb

So, way back I bought a bone-in leg of lamb because it was only $5 per pound.  That never happens.  I did a terrible hack job to get four roughly one-pound sections, plus the bone on the last pound.  Because I wanted the bone for some roasted-bone broth, I decided to do something with that piece.

I need to remember never to buy a bone-in leg of lamb again.  Unlike fatty cuts of meat or chicken, the meat really doesn't want to come off the bone.  It's worth it to pay the extra for boneless, or even semi-boneless.  There is a reason I'm a baker and not a butcher.  It's a very good thing I wasn't serving this to guests, because I made a total mess of it when carving.

Anyway, back to the flavor profile.  There isn't a ton of mint in the seasoning rub.  A little dried mint goes a long way, and you don't want this to taste like ice cream.  It's just a brightness designed to take away any gamey undertones.  You could probably use this spice mix on duck or venison, to the same effect.

I'm going to scale the rub to a full leg of lamb, 4-5 pounds.  Or, you could make the smaller amount and use this on lamb chops.  Or just make up the rub and store it to use as needed.  It's just a spice blend.

1 leg of lamb
1 Tb kosher salt
1 tsp pepper
*2 tsp paprika
1 tsp cumin
*1/2 tsp ground sumac
*2 tsp dried parsley
*1 tsp dried mint
olive oil

1.  Line a roasting pan with foil for easing cleaning and preheat oven to 325º.  Set lamb, fatty side up, in roasting pan.  Rub all over with olive oil.

2.  In a bowl or mortar, combine seasonings.  Rub mix all over lamb, including the underside.  Cover pan with foil.

3.  Roast until internal temperature reaches 140º for rare/medium rare, about 2 to 2-1/2 hours.  Go to 145º if you prefer medium.  Allow to sit 15 minutes before carving. 


Serves 10-12

Difficulty rating  π

Wednesday, November 15, 2023

Whole Wheat Onion and Parmesan Rolls


I was clearing out a pot for planting winter items and pulled a massive green onion.  I had kind of been hanging onto it because it was the last mature one, but it was almost the size of a leek.  That's a lot of salads, so I decided to put some of it in rolls.

Ok, wow, for an impromptu side bread, these were really good rolls.  I did make them too big.  A standard dinner roll is one or two ounces.  Twelve ounces of dough should have been eight rolls, not four.  They were more like hamburger bun size, and I ended up cutting them in half.  And now that I'm saying that, using these as sandwich rolls isn't a bad idea.

I made these all by hand, since it was such a small batch.  It merely adds a few minutes to the kneading process.  I like kneading and feeling when the dough is right.  I find it much more effective than putting a specific volume or weight of flour in the mixer and hoping for the best.

1/2 C 100ºF water
1/2 tsp yeast
2 tsp olive oil
1/2 tsp honey
*1/2 C whole wheat flour
about 1 C all-purpose flour
1/2 tsp kosher salt
*1/4 C finely diced green onions
*1/4 C grated Parmesan cheese

1.  In a medium bowl, stir together water, yeast, oil, and honey.  Allow to sit until foamy, 5-10 minutes.


2.  Add 1/2 C whole wheat flour and stir into a thin dough.  Add 1/2 C all-purpose flour and the salt and stir into a wet, shaggy dough.  Stir in onions and cheese.  It's going to smell yeasty but look like biscuit/drop scone dough.


3.  Generously flour a work surface and scrape the dough onto it.  Knead until smooth and elastic, about 8-10 minutes, adding enough flour so the ball doesn't stick to everything, but not so much that it feels heavy. You should end up with roughly 12 oz by weight of dough.

4.  Rub the inside of a bowl with about a teaspoon of oil.  Turn dough in bowl to cover all sides.  Cover with plastic wrap and let sit in a warm place (100-110ºF) until doubled, about 1 hour.


5.  Punch down dough and let rest 10 minutes.  Divide into 1 or 2 oz portions by weight.  Shape into a sphere, then flatten slightly and place on a lined baking sheet.  Allow to rise again 30 minutes.

6.  Preheat oven to 350º.  If desired, brush rolls with oil


or butter.  I sprayed them lightly with water and sprinkled them with a tiny bit of salt.  Bake until lightly browned and sound hollow when tapped, about 20 minutes.  Cool on sheet 5 minutes, then remove to a rack for at least 10 before putting them in a serving basket.  Can also be frozen once completely cooled.

Makes about 8

Difficulty rating  :)

Sunday, November 12, 2023

Salmon with Tzatziki Sauce


Despite it being the time of year that I tend to eat 19th-century British and American types of foods, I'm still trying to incorporate Mediterranean recipes into the meal plan.

This is a very simple two-part recipe.  While I happened to make the sauce first, you can multi-task and do it while the fish is in the oven.  Tzatziki goes with really any fish.  I happened to have salmon on hand.  Not the awesome kind I got at the kosher market for Passover, just the frozen, vacuum packed filets sold generically at the supermarket.  While not life altering, they were pretty good.

I did get out the grater to do the cucumber properly.  It wasn't the worst thing in the world.  As far as kitchen messes go, cucumber juice is pretty low on the cleaning up scale.  I didn't seed it, though.  Gotta draw the line somewhere.

*4 6oz salmon filets, checked for pin bones
olive oil
salt and white pepper
*dill as needed
*1 C Greek yogurt
1/2 cucumber or 2 Persian cucumbers
2 cloves garlic, grated or through a garlic press
1 Tb lemon juice
*dried mint to taste

1.  Preheat oven to 350º.  Line a roasting pan with parchment for easier cleanup.

2.  Lay filets skin side down in pan.  Drizzle lightly with olive oil, about 1 or 2 tablespoons.  Sprinkle as desired with salt, pepper, and dill.  Keep in mind there's more dill in the sauce.  Cover pan with foil and bake until fish is opaque and flaky, about 25 minutes.

3.  For the sauce, peel (and seed) cucumber, then grate on a box grater's large holes.  Place in a strainer over a bowl or the sink and sprinkle lightly with kosher salt.  Allow to sit 10 minutes, for the salt to draw moisture out of the shreds.  Rinse lightly, then squeeze to remove as much water as possible.

4.  Stir together yogurt, cucumber, garlic, lemon juice, and half a teaspoon each salt and dill to start.  Taste, then add more of those, white pepper, and dried mint until you like the result.  I probably ended up with two teaspoons of dill in mine, but just enough mint to brighten it up.  Chill until ready to use.

5.  Serve salmon with a generous 1/4 C of tzatziki on the side or in a little cup.  It's really more of a condiment than a sauce.

Difficulty rating  :)

Thursday, November 9, 2023

I Grew a Sunflower!


One of the volunteer sunflower seeds bloomed!  There are a few others scattered around.  Some of them might make it to flower.

There are many varieties of sunflowers.  Not all of them are the 8-foot high giant sunflowers that some people grow for the bragging rights.  Not all of them even produce edible seeds.  What was in the bird feed grew about two feet high, which is fine with me.

I do not plan to harvest seeds from the flower.  That would just be inviting more critters into the yard.  It was a fun experiment.

In other gardening news, I was finally able to plant my seedlings.  I got a new roof, and the amount of tar and dust out there was incredible.  I'm really hoping it didn't settle too badly into the soil of pots I couldn't move.

I broke out two new bowl pots I forgot I had because they were behind the gate I don't use.  One bowl is now sage and oregano, and the other is arugula and hybrid romaine.  Well, that's what seeds I put in them.  We'll see if anything actually grows.  I had to be careful to leave room in the garden for more seedlings.  One transplanted broccoli might die, but I have another inside still.  I put more arugula and romaine out in the front yard lettuce patch, where it can battle it out with the thyme.  Honestly,  I might just pull the thyme and dry it, which will fill the jar for a couple of years.

I also put in the garlic, partially to keep the eggplant company and ward off bugs.  There's no actual over-wintering of garlic here, but it's still going to take 6-8 months to grow.  I should know which cloves are viable within a month, giving me plenty of time to try again if some fail.  I only did seven, which doesn't seem like nearly enough.  The problem is they won't be harvested until June, so I can't put them anywhere I might want to plant something in April/May.  I'll have to wait for some of the other young plants to fill out a little.  That will give me some idea what kind of space I still have.

Monday, November 6, 2023

Black Bean Chili (Vegan, GF)

My tomatoes finally ripened...all at once.  Not really, but it sure felt like it.  I oven-dried some of them, made the sweet and sour sauce with others, and put fresh ones in a lot of salads.  They were quite juicy and fantastic.  This is the first time gardening that I understood the value of a pressure canner.  If I find one at a garage sale, maybe.  The last pile of tomatoes was staring at me, and I decided to put them in chili.

My poor black bean burgers.  This is the second month in a row I've put them on the meal plan, only to make something else that day.  Perhaps I should meal-prep and freeze them, like I did the meatballs.  Once there's a bit more room in the freezer.

Some of the seasoning amounts in this recipe may be off.  I had the worst non-Covid head cold I've had in years and couldn't taste a whole lot.  I was erring on the side of not enough, so you might prefer to increase amounts.  If I make it again when I'm well, I'll update the recipe.

1 15 oz can black beans, rinsed
1 15 oz can diced tomatoes, or *1-1/2 lb fresh
1/2 onion, diced
1 Tb olive oil
1 C vegetable broth
*2 Tb tomato paste
*2 cloves garlic
*1/2 tsp fenugreek or 1 tsp sugar
*1/2 tsp cumin seed
1 Tb chili powder
Salt to taste
garnishes such as avocado, lime, cilantro, shredded cheese, sour cream, etc

1.  Heat oil in a 2 qt saucepan over medium and cook onion until it softens, about 5 minutes.  Add garlic and tomatoes.  If desired, pan-toast fenugreek and cumin seed before adding to the pot.  Add in chili powder, tomato paste, and a generous pinch of salt.  Bring to a low boil and cook on low.  If you're starting with fresh tomatoes, a really weird salsa is going to turn into a beautiful, chunky sauce in 20 minutes.

2.  Stir in beans.  Add broth for desired consistency.  For a thickened texture, mash or purée a cup of the chili, then stir it into the pot.  Taste and adjust seasonings.  Bring back up to a simmer for 10 minutes, then portion into bowls with plenty of garnishes and a side of corn tortilla chips.  Yes, I had it with a bagel.  I was sick, from a cold I got at the dentist while having some work done.  Give me a break.

Difficulty rating  π

Friday, November 3, 2023

Thyme and Lemon Chicken

I used to braise chicken all the time when I was in college.  I was scared that I would under-cook it in the oven, but stovetop braises are faster and tend to cook more evenly.  I usually used those sauce packets, like Knorr, that you just add water or milk and simmer for half an hour.

Since getting the Crockpot, I've really started to appreciate braised meat.  This recipe is stovetop because the chicken didn't fit in the slow cooker.  Just means it cooked faster.

I picked thyme as the herb for this recipe because I managed to grow a lot of it.  Not in the herb pot I started almost a year ago, but some random seeds I put in the lettuce patch just to see what happened.  Lemon goes with most herbs.  You could try this with sage, tarragon, cilantro, parsley, or even basil.  If using dried instead of fresh, only use 1 tsp.  The flavor of dried herbs is concentrated.

2 skin-on chicken breasts (or 4 small)
white pepper & salt to taste
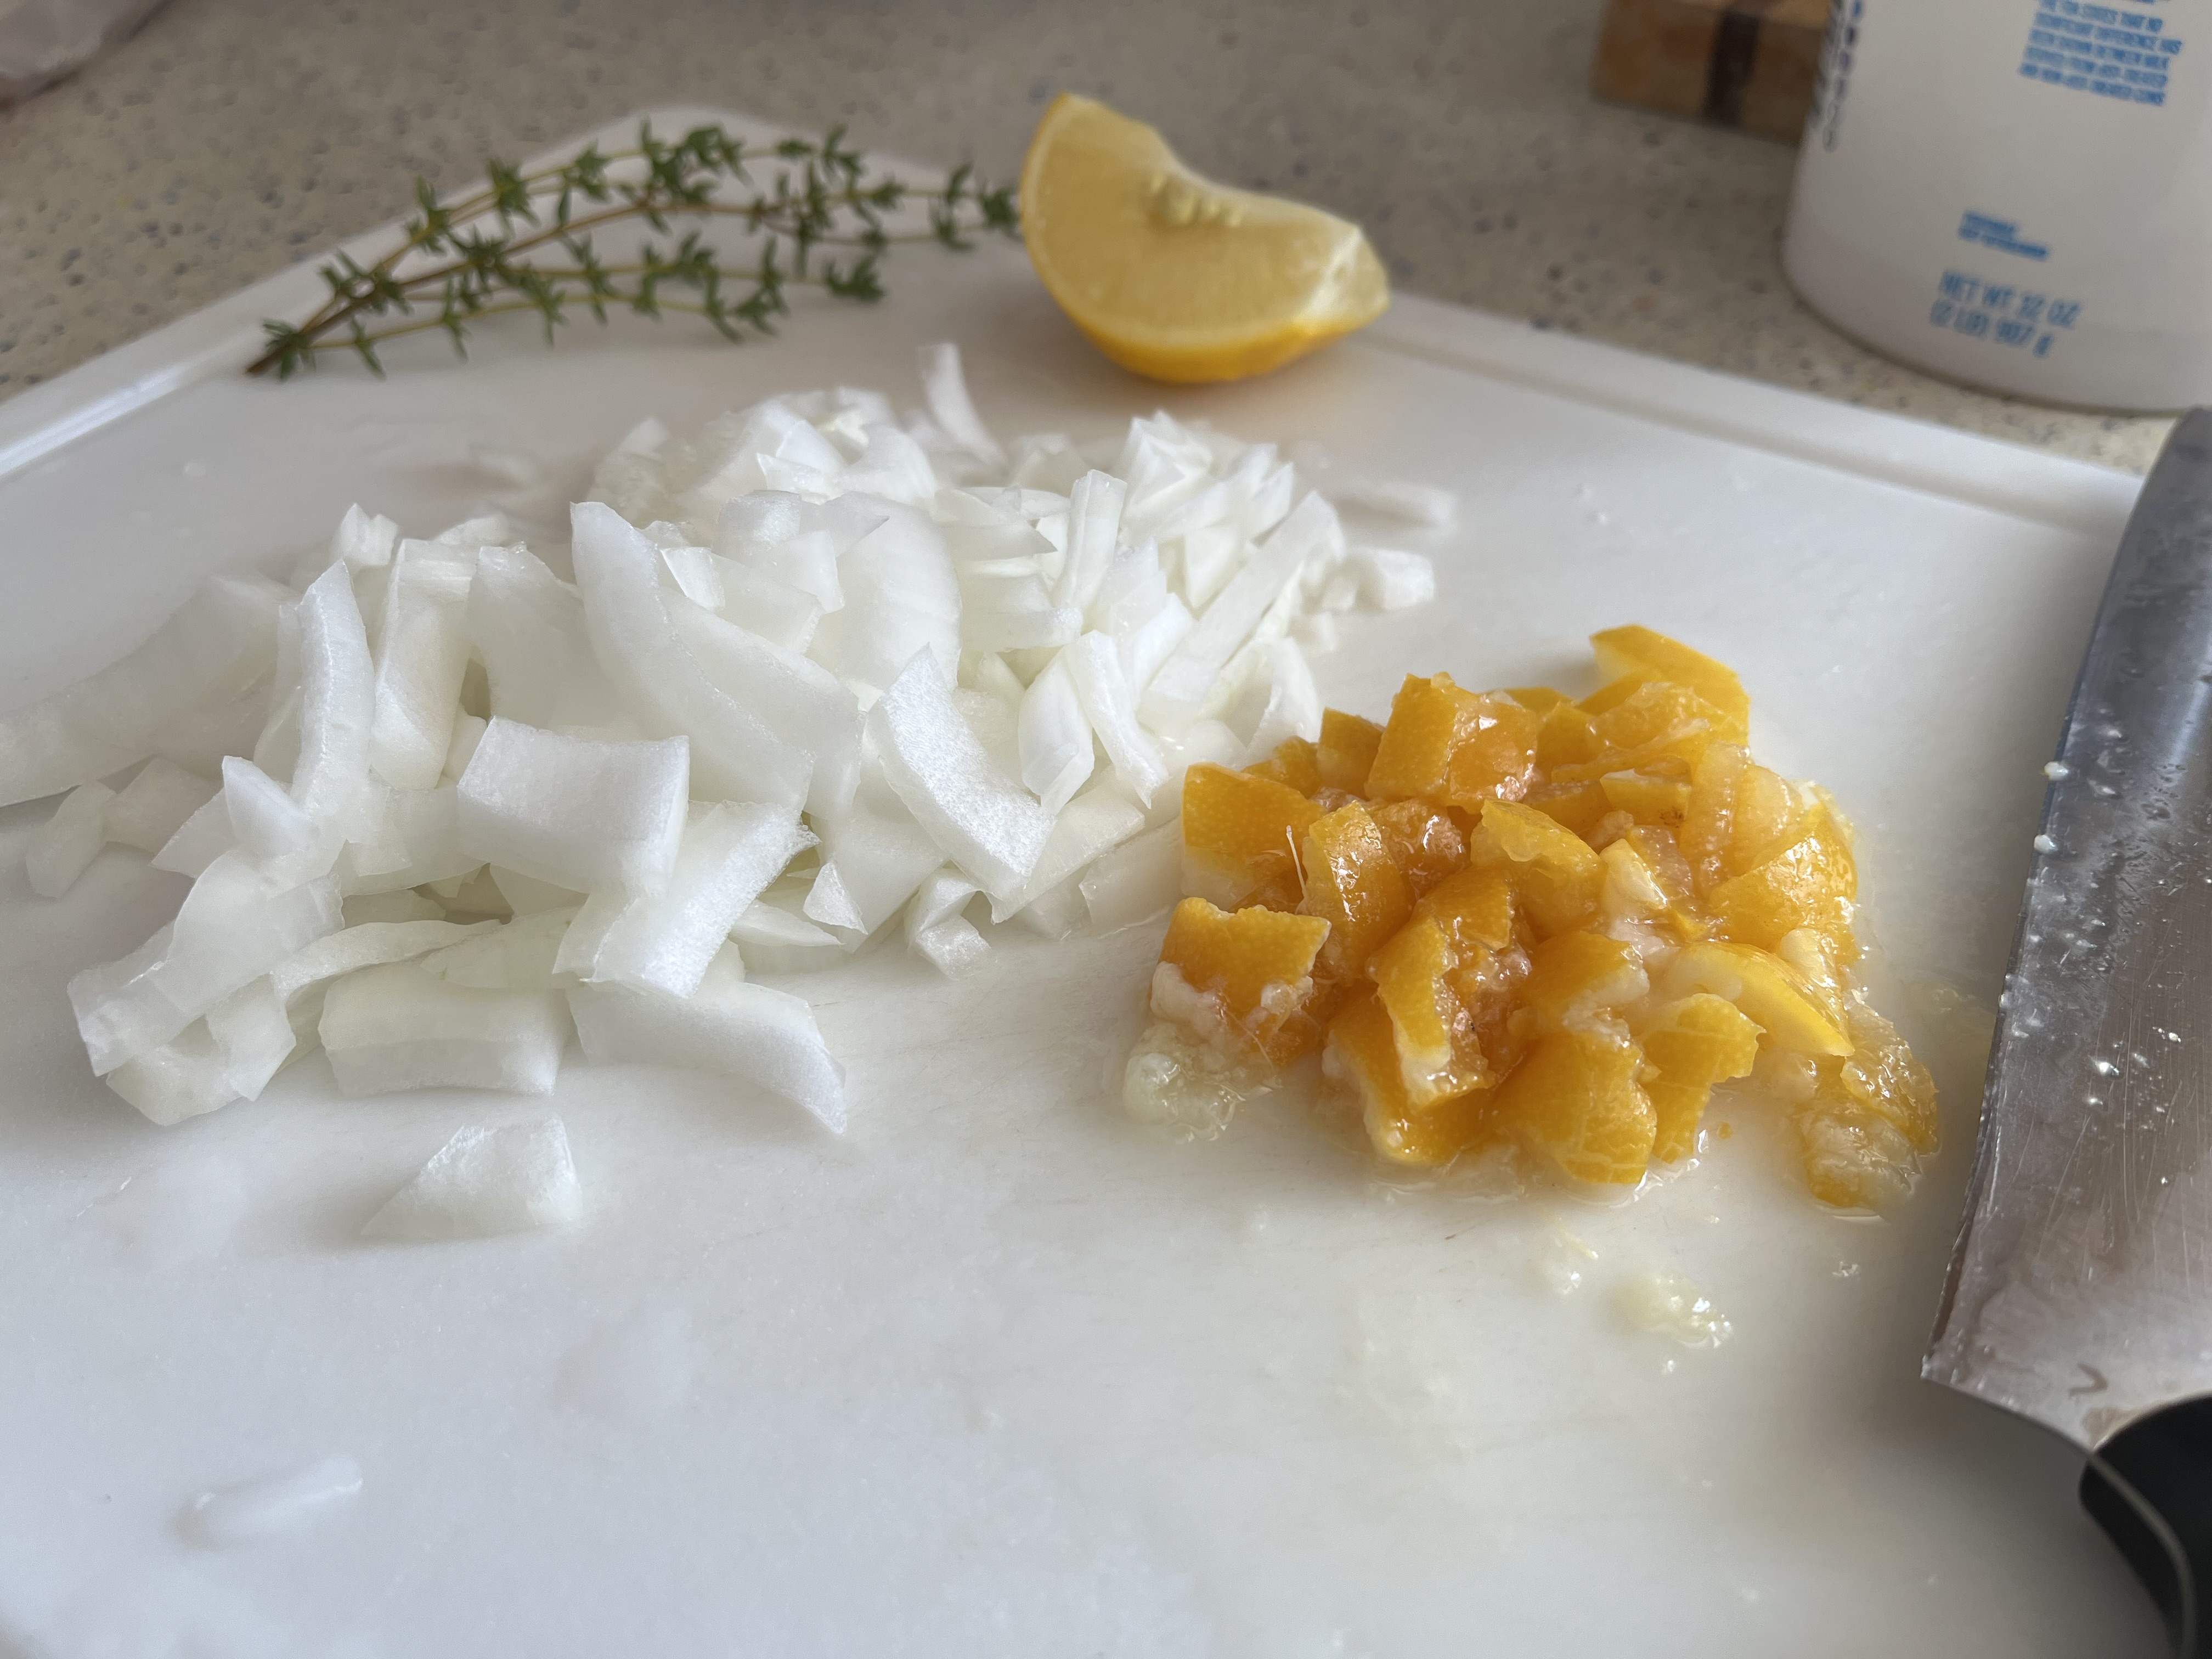
1 fresh or *preserved lemon
*1 sprig of fresh thyme or 1 tsp dried
*1/2 onion, diced
2 Tb olive oil
water or chicken broth as needed
2 Tb cream (optional)

1.  If using preserved lemon, rinse and soak to reduce salt.  Set aside.

2.  Heat oil on medium in a lidded skillet or saucepan large enough to snugly fit the chicken.  Add onion and cook until softened, about 5 minutes.

3.  Add chicken to skillet skin-side down.  Lightly season underside with salt and white pepper.  Cook until skin is browned, about 8 minutes.  Flip chicken and brown bottoms, about 5 minutes.

4.  While the chicken is browning, prepare the lemon.  For preserved, drain, scrape away the pulp, and dice the skin.  For fresh, thinly slice.  Add to pan with the thyme.

5.  Add water or broth to pan halfway up the sides of the chicken.  Bring to a low boil.  Cover, reduce heat to a simmer, and cook 20 minutes.  Turn chicken over and cook until thermometer reaches 165º in the deepest part of the breast.  This will vary based on size, anywhere from 10-25 minutes.

6.  Remove chicken to a plate and keep warm.  Turn up the heat and reduce the stock into a sauce.  This could take 20 minutes or more, depending how much water you used.  Once there is about 1 cup of liquid, add cream and remove from heat.  If you want a thick cream sauce, add 1 tsp flour before the cream and stir until it thickens.  The flour will bind with the oil to make it more gravy-like.

7.  If using thyme sprigs, remove the stems before serving.  Spoon sauce over chicken and serve.

Difficulty rating  :)

Tuesday, October 31, 2023

Pumpkin Cream Pie

It was so not-hot this summer in my area that I never grew a pumpkin.  It was massively disappointing, especially after all the allergies I endured off the male flowers.  I had even bought new pumpkin patch signage last year on clearance, in anticipation.

All that, to say I have to crack open some cans for this fall's pumpkin creations, and no pumpkin martini jam.

It's too early for the pumpkin chiffon pie, but that doesn't use a whole can anyway.  I decided to scoop out what I was going to need for that and freeze it, then use the remainder in a recipe now.  But what to make?  What I really wanted was something like the peanut butter cream pie, but with pumpkin.  Took all of five minutes to find a recipe for it online, and yeah, it's a thing.

I'm altering the recipe on Lauren's Latest, mainly replacing some of the cream cheese with whipped cream.  A few of the other amounts are tweaked.  I happen to be using a chocolate nut crust I had in the pantry, but a graham cracker, cookie, or pre-baked flour crust are all fine.  I looked for pumpkin Oreos, because that would have been amazing.

Like the peanut butter pie, this will taste and feel like flavored whipped cream.  For something sturdier, either put back the other brick of cream cheese or use one of the recipes I saw that stirs vanilla pudding mix into the pumpkin.

*1 9" prebaked pie crust
1 8oz brick cream cheese, softened
1/2 C pumpkin purée
1/2 C granulated sugar
1/4 C lightly packed brown sugar
1 tsp vanilla
1 tsp cinnamon
1/2 tsp ginger
1/2 tsp nutmeg
1/4 tsp cloves
1-1/2 C whipping cream
2 Tb powdered sugar

1.  In a stand mixer with the paddle, cream together cream cheese, pumpkin, granulated sugar, brown sugar, vanilla, and spices.  To lower the sugar content, I subbed in erythritol for the white sugar, because I'm still trying not to eat a ton of refined sugar.

2.  Separately, beat whipping cream to soft peaks.  Add powdered sugar and beat to firm peaks.  If desired, set aside 1/2 C of the whipped cream for garnish.

3.  Stir together pumpkin mixture and whipped cream.  Pour into prepared pie crust and refrigerate, covered, until firm, about 4 hours.  If desired, garnish with reserved whipped cream.


Makes one pie, 8 servings

Difficulty rating  π

Saturday, October 28, 2023

Oven-Baked Tortilla Chips

I was going to make tostadas with some leftover corn tortillas, then remembered that I don't like corn tostada shells.  Rather than pick up some flour tortillas, I morphed the menu into nachos.  Still prefer flour tortillas for that, but corn isn't bad.

Originally, I was going to do a typical deep-fried nacho chip.  But diet guilt got to me and I researched how to bake them, which generally allows for olive oil.  Olive oil isn't good for deep frying, as it has a lower smoke point.  So, making chips in the oven is a real thing and I got a general idea of how it works.

I'm following the method on Healthy Nibbles, which is pretty much the same as all the other recipes I read.  Oil, lime juice, salt, bake until crispy.  You can add other spices to the topping if desired, but I kept it simple this time.  And I'm totally making them again, rather than buying a bag that will go stale before I can finish it.

6" corn tortillas
Olive oil
*Lime juice
table salt

1.  Prepare a baking sheet by lightly greasing, either with olive oil or pan spray.  A darker sheet will cook these better.  You can use parchment, but it might increase baking time.  It wasn't that hard to clean the pan.  Preheat oven to 375º, or 350º with the convection fan.

2.  In a small bowl, combine 2 Tb olive oil (to start) and a teaspoon of lime juice.

3.  On a work surface, lay the first tortilla.  Brush on olive oil mixture.  Set another tortilla on top and brush again.  Keep stacking up to about 6 high.

4.  Cut tortilla stack down the middle, then into wedges.  Six is more traditional, but I wasn't feeling coordinated and went for 8.  Arrange in a single layer on baking sheet.  If you run out of room, you can either grease another baking sheet or do them in batches.  I decided on batches in case I got the baking time wrong and burned the first tray.  Sprinkle lightly with salt.

5.  Bake until golden and crispy, about 12-16 minutes.  Every oven is different.  If you use the fan, it will happen sooner than without.  Start checking at 12 minutes and every few until you get the color you want. While they're in the oven, you can start another batch if desired, mixing up a new bowl of oil and lime.

6.  Remove chips to a serving bowl.  Alternately, cooled chips can keep in a sealed container roughly one week.

Roughly 2 tortillas per serving

Difficulty rating  π

Wednesday, October 25, 2023

Meal-Prepping Meatballs

I'm going to do a coupon brag.  I had an insanely good store offer for a 3 pound chub of ground turkey for 98¢ per pound, or $2.97.  What I forgot at checkout was that I also had a manufacturer coupon on the app, which stacked.  Net result, $1.88 for three pounds of ground turkey.

Next up was what to do with it.  I had originally planned to do some turkey sausage, but faced with that actual amount of meat, I decided to do another recipe, too.  I wanted to do something with the sweet and sour sauce I had just made, and thought meatballs would be great.

So, coupon brag #2, I had a pound of ground pork in the freezer that had been on clearance for 99¢.  I decided to cut the dryness of ground turkey by combining the meats.  Which is a thing, anyway.

What I did not want in my meatballs was any seasoning that tied them directly to a specific cuisine.  These were not going to be Italian, or Asian, or any other ethnic-leaning flavor.  I wanted them to be as at-home with the sweet and sour as with marinara, peanut sauce, mole, or curry.  Therefore, this recipe is very simply seasoned.

It also makes two pounds of meatballs, which is far more than my usual recipe.  The intention was to freeze half of them as pre-cooked meal prep.  Batch cooking just means making multiple recipes and preserving whatever you don't intend to use at the moment.  I can pull out the vacuum bag of meatballs whenever I want and use whatever sauce sounds good at the time.

*1 lb ground turkey
*1 lb lean ground pork
*1/4 C almond flour
*1/4 C matzoh meal or breadcrumbs
2 tsp kosher salt
1 tsp pepper
1/2 tsp paprika
1 tsp parsley flakes
1 egg
olive oil

1.  Line two baking sheets with foil or parchment.  Brush lightly with olive oil or use cooking spray.  Preheat oven to 375º.

2.  In a large bowl, combine turkey, pork, almond flour, matzoh meal, and spices until evenly distributed.  Lightly beat egg and add to the mix until everything is gooey.

3.  Make meatballs about 1-1/2" across, or a heaping tablespoon.  I used the smallest cookie scoop, which got me just short of 4 dozen meatballs.  With poultry, you don't want a huge meatball.  There isn't enough fat in them to avoid becoming solid rocks.  Arrange on prepared baking sheets.

4.  Brush tops of meatballs lightly with more olive oil.  Because, lean meats.  Bake until centers reach 165º, about 20-25 minutes.  Serve hot with sauce and go-with of choice, or freeze for up to 3 months.


Makes about 4 dozen, 6-8 servings

Difficulty rating  :)