Showing posts with label Breads-Quick. Show all posts

Monday, February 2, 2026

Sweet Potato Cornbread

Starring, the last jar of sweet potatoes!  I was going to make arepas to go with some sort of "Mexican" black beans, then saw this concept.  The beans became a version of Caribbean Black Bean Curry, to use some condiments and freezer seasonings.

I found a cornbread recipe I liked on Butter Be Ready.  Basically, it used the quantities of ingredients I wanted to put in it.  Only downside of this recipe is it makes three times what I needed.  Knowing that going in, I made it in three mini loaf pans (plus 3 muffins) and froze the other two.  I could have made a dozen muffins instead.  I was in the mood for less crust, so sliceable won.  If I don't have this as a starch for dinner, it could be toasted with butter for breakfast, with a side of cheese for lunch, or as a tea snack.

Like most quick breads, it takes longer to assemble the ingredients than to mix it.  I did a few workarounds to use powdered buttermilk and egg replacer for one of the eggs.  I need to use that stuff more often.  All that liquid vs powder math made it take a wee bit longer than if I had just followed the recipe.  If you're using canned or pre-cooked sweet potatoes, you should be able to mix it in the time it takes for the oven to preheat.

*1 C cornmeal
1 C flour
1/4 C brown sugar
4 tsp baking powder
1 tsp baking soda
1 tsp kosher salt
1/2 tsp cinnamon
1/4 tsp nutmeg
2 eggs, room temperature 
*2 C buttermilk
*1 C mashed sweet potato (or 1 15 oz can, drained and mashed)
6 Tb unsalted butter, melted

1.  Preheat oven to 400º.  Spray or line a 9x9 baking dish, 12 muffin tray, or one loaf pan.  I may have over-sprayed my loaf pans.  The muffins popped right out of the silicone tray.

2.  In a medium bowl, sift together the cornmeal, flour, brown sugar, baking powder, baking soda, salt, cinnamon, and nutmeg.  I don't always sift, but in this case it made it easier to get rid of the clumps in the brown sugar and baking powder.

3.  In a separate bowl, whisk together the eggs, buttermilk, and mashed or puréed sweet potato.  Make sure your melted butter is somewhat cooled, but still pourable.

4.  Add liquid mixture to dry and stir gently until about half combined.  Add butter and finish mixing.  A few small lumps are ok and will bake out.  Just get the big ones.

5.  Pour batter into prepared pan.  This will not rise as much as you think, with so much leavening.  You can fill 3/4 full.  Bake time will depend on choice of pan, so use the toothpick test to be sure.  Muffins, 18-20 minutes, 9x9 35-40 minutes, and loaf pan start checking at 40 minutes.

6.  Let rest in pan 5 minutes, then turn out onto a rack to cool completely.  Quick breads often taste better after a day in the fridge.  Wrap before storing.  Can also be frozen once cooled for up to 3 months.

Serves 8-12

Difficulty rating  π

Monday, November 10, 2025

Sweet Potato Muffins

I got this recipe from Suttons Daze on YouTube.  She used freeze-dried sweet potatoes, which I don't buy.  I wanted to use a jar of what I had canned. That involved tweaking her recipe a tiny bit to account for the added moisture.  I also messed with the pecan topping.  She didn't say how many it made, so I cut it in half.  I suspected it was a dozen.  Didn't want to find out it was two dozen.  I did, in fact, get six from my new version.

This isn't going to use a full 15 oz can of sweet potatoes.  I froze the leftover purée to add the next time I make a casserole or soup with some.  The 15 oz would come up short for the original recipe.  I would rather have leftovers than not enough.

Muffins

1 C flour
1 tsp baking powder
1/4 tsp baking soda
1/4 tsp salt
6 Tb (1/4 C + 2 Tb) packed brown sugar
1 tsp cinnamon 
1/2 tsp nutmeg
*2/3 C mashed sweet potato, either canned and well drained or roasted
1/4 C unsalted butter, melted and cooled
1 egg, room temperature 
2 Tb sour cream or Greek yogurt

Streusel

1/4 C pecans, lightly toasted and chopped
2 Tb brown sugar
1/2 tsp cinnamon 
dash of salt
1 Tb softened butter
1 Tb rolled or quick oats
1 Tb flour

1.  Preheat oven to 400º.  If not using silicone muffin cups, pan spray or line a muffin tin for a yield of 6.

2.  In a bowl, combine flour, baking powder, baking soda, salt, brown sugar, cinnamon, and nutmeg.  In a separate container, beat together sweet potato, butter, egg, and sour cream.  In a third small bowl, mash together streusel ingredients into a chunky paste.

3.  Stir together wet and dry muffin ingredients.  Combine only until no large patches of flour remain.  Do not overmix.  The batter will be thick.

4.  Fill muffin cups 2/3 full.  Top with pecan goo.

5.  Bake 5 minutes at 400º, then turn down oven to 350º and bake an additional 18 minutes, or until a toothpick comes up clean.  The high temperature to start is so they puff up, but the middle won't bake properly before the outside burns unless you reduce the heat.  It's important not to forget to turn down the oven.

6.  Once cool enough to handle, turn out onto a cooling rack.  Stores room temperature for 3 days, fridge up to 7, and in the freezer for longer storage.

Makes 6

Difficulty rating  :)

Thursday, October 2, 2025

Quinoa and Sweet Potato Tortillas

Another instance of me "inventing" something that exists.  I had to search a few times with different phrasing to find examples of this idea, but it wasn't an original idea.

I canned far too much sweet potato.  Remember, I didn't think I was getting this many jars out of the pounds I bought.  They smell amazing when I open one, and taste great.  Still, it's coming up close to a year and I need to finish what I made.  Here I used them as the liquid and "fat" in a flatbread.

These are not gluten free.  I never planned to make them that way.  They use a lot more flour than I expected.  They also have a high fiber content.  Found that out the hard way when I had two the first night.  Cut back to one after that.  Means a can of sweet potatoes makes eight servings.  They are very filling, so you never notice you're only eating one soft taco.

*1/2 C dry quinoa
*1 15 oz can sweet potatoes
1/4 tsp salt
1-1/2 C whole wheat flour, plus about a cup more for rolling

1.  Early in the day, prepare the quinoa according to package directions.  This will probably include rinsing it well, to remove the saponins.  Drain and refrigerate until ready to use.

2.  Drain the sweet potatoes and mash in a bowl until smooth.  Add the cooked quinoa and stir until well combined.  Sprinkle in the salt.

3.  A quarter cup at a time, stir in the flour until you get a soft dough.  Allow to sit ten minutes to finish hydrating.

4.  Generously dust a work surface with flour and preheat a medium skillet over medium heat.  I used wax paper on top of my wooden board, and that worked pretty well.  Pull a quarter-cup ball of dough from the bowl and press into a disc.  Flour that, then roll into a thin tortilla.  Flipping it periodically as you go helps to keep it from sticking.

5.  Gently transfer the tortilla to the hot skillet.  This is when I got flour everywhere.  There's probably a way to flip it off the wax paper without making a mess, but I never figured it out.  Had to clean the stove after.  Somehow, the flour even made it clear across to the other side of the stove, on the floor, and in crevices I didn't know existed.  Cook for about 4 minutes per side, until lightly browned and firm to the touch.  Transfer to a plate, cover with a towel, and repeat with remaining dough.  You can roll out the next one while it's cooking.

6.  Serve warm with fillings of choice.  I did salad.  I don't recommend beans or anything with significant fiber.  Shredded meat would be a good filling.

Makes about 8

Difficulty rating  :)

Tuesday, September 2, 2025

Tattie Scones

I had never heard of these Scottish favorites until they came up on my YouTube feed.  I made a double batch of mashed potatoes for a cottage pie just so I would have leftovers to try the recipe.

They're super basic.  Potatoes, butter, salt, and flour.  If you don't use self-rising flour, then baking powder.  The recipe I'm using from Christina's Cucina has it as a simple ratio.  I ended up with 3/4 pound of mash, which made 12 scones the size I cut them.  Maybe they're supposed to be smaller.  Dimensions were not given.  I'm calling a pound of potatoes 8 servings.  So, cut this in half if you want four servings.  I put the rest in the freezer.

As for the taste, they're a lot like pan-fried gnocchi, or very soft naan.  The limited gluten keeps them from being too much like a biscuit.  You can definitely taste the potato.  I wouldn't call them scones in the traditional sense.  They're more like a great way to turn leftover mashed potatoes into a breakfast bread.

1 lb russet or Yukon potato
1/2 C self-rising flour, or A.P. flour + 2 tsp baking powder, plus more for the board
2 Tb unsalted butter, room temperature, cut in cubes
1/2 tsp kosher salt 

1.  Peel the potatoes.  I don't peel anything unless I have to, but this really does help the consistency.  Cut into 1/2" cubes and place in a saucepan with water to cover.  Bring to a low boil, lower heat to just over a simmer, and cook until potatoes are easily pierced with a fork, about 20 minutes.  Drain.

2.  You can rice the potatoes if you want, but I always mash as whipped potatoes in the stand mixer with the paddle.  This can even be done by hand, if the potatoes are done enough.  Add the salt and butter and mix until smooth.  If you want to add any seasonings or herbs, this is the point you would do it.  I made this first attempt plain.

3.  Once the potatoes are cool enough to handle, stir in the flour (and baking powder) until incorporated.  Knead slightly to create a smooth dough.  Divide into 4 portions and start heating a dry skillet over medium-high.

4.  Lightly flour a work surface.  Roll each portion out into a disc 1/4" thick, sprinkling with flour as needed to keep the rolling pin from sticking.  Cut each round into 4 or 6 pieces, according to your preference.  Carefully move the wedges to the skillet and cook in batches, about five minutes on each side, until golden.

5.  You can serve the tatties as is, but it is traditional to reheat them in the grease from your breakfast meat.  I put a dab of bacon grease in the pan in the morning and reheated them that way.  Simply toasting is fine.

Serves about 8

Difficulty rating  :)

Tuesday, July 1, 2025

Lentil Bread

I was looking for something new to do with red lentils.  I've had this recipe from A Treat Life Bakery bookmarked for a while.  I haven't made it because the author admits the product needs a little help.  So I cut it down to 2/3 (to use four servings of lentils), exchanged the flax for egg replacer so the fiber wouldn't kill me, and twiddled with the flavorings to make this part of the protein for a tapas meal.  I added minced garlic and dried basil because it worked with how I was going to use it.

Calling this "bread" is like calling banana bread "bread".  It's a vegan, gluten-free quick bread that is dense by definition and savory, not sweet.  Although, toasted and topped with peanut butter and maple syrup would make a great vegan breakfast.  I topped it with pesto, fresh tomato, and mozzarella.

When I measured my 200 grams of red lentils by volume, they came out to slightly less than a cup.  If you use common brown lentils, they will equal a different volume.  I'm going to assume the recipe should be followed by weight unless you don't have a scale.

Now, if I had thought about it, red lentil flour exists.  It's used in Indian cooking, and I'm pretty sure I've seen it in some ethnic market or Whole Foods.  If you own a home grain mill, you can make it easily.  There are probably easier recipes out there that use it instead of going through the whole soaking process.  Since this is a more accessible version, we're sticking with it.

This doesn't rise much, being gluten-free.  I should have gone with my original instinct and done mini-loaf pans.  I would have gotten square-ish slices that were canapé sized.  The full loaf looked like a ciabatta.  It's still thick enough to top, but I had to cut the tomato slices in half.

200 g red lentils (about 14 Tb)
3 Tb water
1 tsp olive oil
1/2 tsp kosher salt
3 Tb cornstarch
*1 Tb ground flax or egg replacer
2 tsp baking powder 
Up to 1 Tb herbs and spices of choice

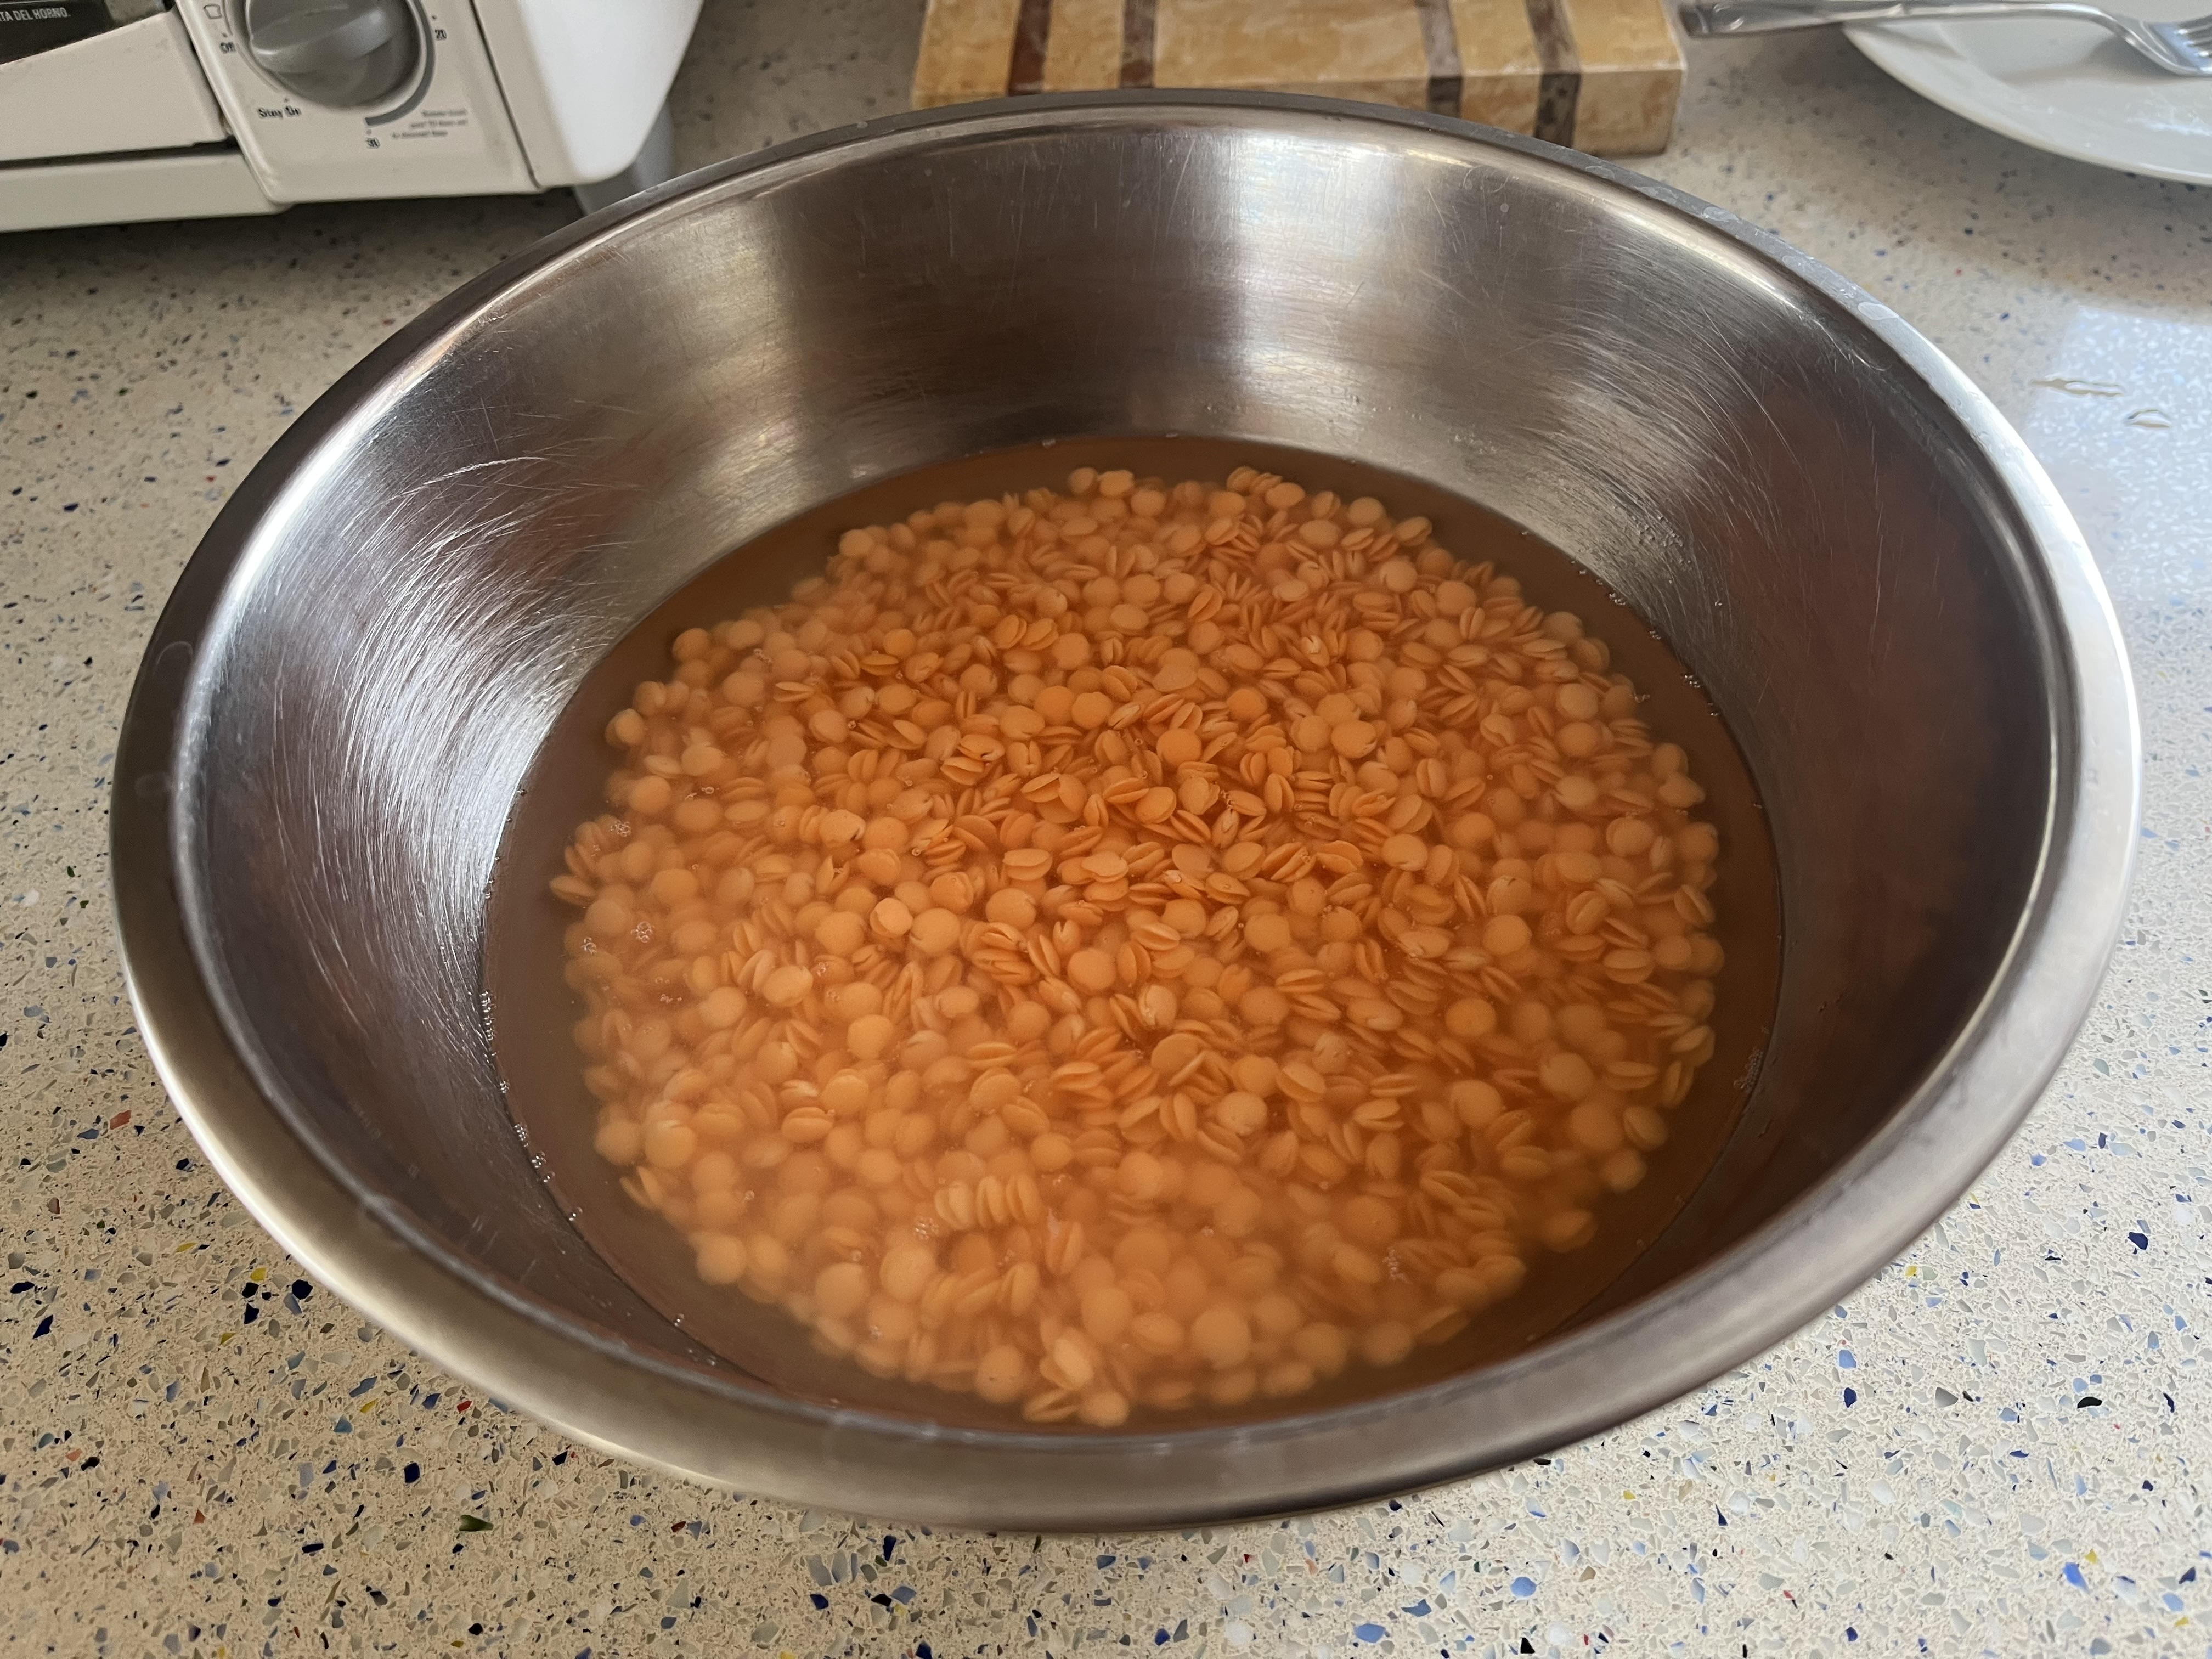
1.  Rinse lentils to remove the milling powder and soak in water to cover at room temperature for a minimum of six hours and up to 24.  I did about 10, and they processed well.

2.  Drain lentils.  Place in a good blender with the water, oil, and salt.  Process until smooth, which is going to take a few minutes.  Stop and scrape it down periodically.

3.  Preheat oven to 400º.  Prepare a loaf pan (or two minis, or even muffin cups) with pan spray.  Parchment will make removal easier.

4.  Transfer the purée to a bowl.  Stir in the cornstarch, flax, baking powder, and any seasonings.

5.  Pour batter into prepared pan and smooth it out until even.  Bake 30 minutes, then start checking for doneness.  As muffins, they should be done.  Loaves may take a bit longer.  The toothpick test works, as well as touching for spring.

6.  Cool a few minutes in the pan, then remove to a rack to cool completely.  Keeps up to two days at room temperature, a week in the fridge, or in the freezer for a month.

Difficulty rating  :)

Wednesday, April 2, 2025

Sweet Potato Biscuits

I'm always glad when I Google an idea and find a recipe from a familiar source.  Preppy Kitchen made these, and the recipe looked like what I wanted to make.

Yes, it's awfully close to Passover to be making a dozen biscuits.  In a few days, I'm going to move the turkey to the fridge and defrost the chest freezer.  The biscuits I don't have with the steak are going to be breakfast with some Lil' Smokies as the protein.  Passover eggs are going to be the most precious ingredient this holiday.

This is the first jar of home-canned sweet potatoes I've opened.  I still have a few par-steamed ones in the freezer, but I wanted to try the recipe with these.  Drained, they mashed into a cup of purée in seconds.  It was fantastic!  I'm going to be looking for recipes to use sweet potato purée now.  Because I was using powdered buttermilk, I saved the water from the jar and topped it off to be what the recipe called for.  Taking into account the extra water in the canned potatoes, I just made 1-3/4 cup total for the two ingredients.

The only issue I'm having with the original recipe is the yield.  These were 12 huge biscuits.  I usually make a biscuit or scone recipe with 2 C flour for 12, so I'm going to say you should get 18 out of a 3-cup batch.  I could have made sandwiches on these.

3 C flour
2 Tb sugar
1 Tb baking powder
1 tsp salt
3/4 C cold butter, cut into cubes
*1 C sweet potato purée (about 1 15 oz can potatoes, drained)
3/4 C buttermilk

1.  Preheat oven to 425º.  Line a baking sheet with parchment paper or a silicone mat.

2.  In a medium bowl, stir together the flour, sugar, baking powder, and salt.  Cut in the butter to make flakes.  You can use a pastry cutter, two forks, or your fingers.  I like the finger option.  It's soothing to squish the butter into the flakes, and you can catch any hiding chunks.  Just don't work it too long, or the warmth of your hands will melt the butter.

3.  Stir together sweet potato and buttermilk, then add to the flour.  Stir just until it comes together into a shaggy dough and picks up all the dry flour from the bottom of the bowl.

4.  Transfer dough to a floured surface and knead lightly until uniform, maybe 10 strokes.  Don't overwork, or the biscuits will be tough.

5.  Pat into a sheet 1" thick.  You can use a 2" round cookie cutter, or do what I did and pat it into a rectangle on the baking sheet and score it into squares.  If using a cookie cutter, assemble the scraps and keep cutting out biscuits until all the dough is used.  For scoring, separate the squares slightly, so they will barely touch once they expand in the oven.

6.  Bake about 20 minutes, until the bottoms are just starting to brown and the tops are firm.  I did think the recipe might be a little heavy on the butter, but once the biscuits cooled it was the right amount that I didn't need to add more at serving.  Maybe I'll cut back by 2 Tb next time.  Transfer to a wire rack to cool.  You can store these at room temperature for up to two days, in the fridge for about five, or freeze for longer storage.

Makes 18 biscuits 

Difficulty rating  π

Saturday, February 1, 2025

Black Bean and Cheese Masa Patties

These are sort of pupusas, but with way more beans than there should be in them.  I made a half batch of masa and added twice as many beans as usual, so they barely held together.  That's what the cheese is for.  As far as I know, this is not an authenic dish in any country south of the U.S., but I'm calling it international anyway.

My power was off for less than 8 hours during the recent fires, a preventive measure that I approve of because my neighborhood did not catch fire.  I'm always ready for a power outage of up to 24 hours, and was glad that my fridge did not get above 45º so I didn't have to toss anything.  If it was that temperature after 12 hours, I would have had to purge the eggs, dairy, any leftover cooked food, most open containers, and nearly all of the condiments.  I didn't bother to check the chest freezer because there's a turkey in the bottom acting as a twelve pound block of ice.  The ice in the kitchen freezer was barely stuck together, meaning the frozen veggies in there probably didn't defrost.

I was definitely thinking of recipes I could make without electricity.  These could be done on an outdoor grill in a foil pan.  Which you wouldn't do during a wildfire, but you get the point.  My stove is gas, which still worked, and I would have lit it with a match if necessary.  The outage was only overnight, so I didn't care until I got cold around 1am.  The power came on at 2am, and the heater about 10 seconds later.

I know I said I wasn't going to make tomatillo salsa anytime soon, but these could definitely have benefitted from some kind of vinegary accompaniment.  Maybe a slaw, curtido, or any kind of salsa.  They were yummy, but I wanted something more piquant than just a salad.  Next canning day, I'll make some.

1 C masa harina or *masarepa
1/2 tsp salt
1/4 tsp cumin
1/4 tsp chili powder
1 C water, more if necessary
1 15 oz can black beans, drained and rinsed
*1 C shredded cheese of choice
oil for frying

1.  In a bowl, stir together masa flour, salt, cumin, and chili powder.  Stir in water to make a paste.

2.  Stir in beans and cheese until evenly combined.  Squeeze a handful of the mixture.  If it crumbles instantly, add more water until you can get it to stick together.  I'm not sure if mine was crumbly because the weather was so dry.  It also depends on how wet the beans are when you add them.

3.  Start heating a griddle or large skillet over medium-high.  Portion dough into eight balls.  Once griddle is warm, add a couple of tablespoons of oil to it, just enough to coat the bottom, and let that heat.

4.  Shape the masa balls into patties about half an inch thick.  Cook on oiled griddle until browned and crispy, about five minutes.  Flip and cook until the other side browns.  If doing batches, re-oil the skillet between them.

5.  Serve hot, with salsa, curtido, or a salad on the side.

Difficulty rating  π

Wednesday, January 29, 2025

New Ingredient: Egg Replacer


Assuming you can get eggs at all right now, they're twice as much as I'm willing to pay.  I'm investigating my options, as I eat a lot of them.  Looking into different breakfast proteins as well, and not ruling out tofu or other vegan options.  For baking, I decided to try a bag of Bob's Red Mill egg replacer.

I read the ingredients before buying it, because if it was mostly chia it would do crazy things to my stomach.  There's a reason I don't do chia "eggs" or pudding.  It's the binders tapioca flour, potato starch, and psyllium husk, with some baking soda to mimic the leavening of eggs.  It's gluten free, egg free, and vegan.

It's also a nutritional black hole.  I consider eggs a protein and fat, even in baked goods.  This is a couple of carbs without fiber, and that's about it.  Ok, fine, I'll consider it for its binding properties and not use it in challah, where eggs are for flavor and fat.

The first thing I tried with it was waffles, since they're fairly forgiving.  I feel like they could have risen better, but the taste was right.  They weren't tough, like they would be if there was no egg and the gluten was the only thing holding them together.

Next up was subbing for the egg in lasagna.  Granted, the egg doesn't really do much except keep the ricotta from running everywhere, and I don't think that's a problem.  I definitely noticed the thickening effect in the ricotta.  I had put in a lot of water, to make it easier to spread, and by the time I got to it the mixture had thickened up almost to where I started.  Also, I made way too much filling, so I made a second 8x8 for the freezer.  That's going to come in handy some day I don't want to cook.

I haven't tried it yet, but a good off-label use would be to make stabilized whipped cream.  I've struggled with ways to make it work.  The package does not say it requires cooking before consumption.  Adding it directly to the cream before whipping might do the trick.

Will I buy this again?  Hard to say.  I do like the idea of shelf-stable options for commonly used ingredients.  It reduces the odds of going to the market for one thing, which never turns into only one thing.  And if this saves an egg that's only there to hold something like crepes together, it's worth $5 for a three dozen equivalent package.

Wednesday, January 8, 2025

Gingerbread Loaf

I know, it's past the holidays, but it's still winter.  And as long as the conspiracy to not sell glacé fruits so people can't bake fruitcake persists, I will come up with alternatives.

I made only tiny changes to I Am Baker's recipe.  First, I cut it in half and made it in two mini loaf pans, after deciding not to use the 6" round cake pan.  I felt like slicing it, rather than cutting wedges.  You can also use it to make muffins.  It's a quick bread/muffin recipe.  Next, I opted for low-fat plain yogurt instead of buying sour cream.  I already had the yogurt.  And I added some crystallized ginger that was supposed to go into fruitcake or stollen, decreasing the brown sugar in the recipe a tiny bit to compensate by not packing it.

I made this on a somewhat cold day, so it took longer for the refrigerated ingredients to come up to "room temperature" than to make it after that.  With a low-moisture recipe, you definitely want to start with everything the same temperature.  Otherwise, the batter will break.  I'm not sure if it was the butter or yogurt that stayed a little lumpy, but it did melt in the oven.

1/4 C unsalted butter, room temperature
1/4 C + 2 Tb light brown sugar, lightly packed
*1/4 C + 2 Tb molasses
1 egg, room temp
*1/2 C sour cream or yogurt, room temp
1/2 tsp vanilla
1 C flour
1/2 Tablespoon ginger
1 tsp cinnamon
1/2 tsp baking powder
1/4 tsp kosher salt
*1/4 C chopped crystallized ginger, optional

1.  Prepare one 6" cake pan, 2 mini loaf pans, or about 8 muffin cups with pan spray.  Preheat oven to 350º.

2.  Cream together butter and brown sugar until fluffy.  Add molasses, egg, sour cream, and vanilla and beat until smooth.

3.  Separately, sift together flour, ginger, cinnamon, baking powder, and salt.  Toss crystallized ginger in 1 Tb of the flour mixture and set aside.

4.  Once the liquid ingredients are smooth, add the flour and stir until just combined.  Add ginger pieces and the reserved flour and stir again to distribute.  Do not overmix.

5.  Portion batter into pan or muffin cups.  Bake 20 minutes for muffins, 30 for loaves.  Start checking with a toothpick at that time.  Center should not be wet.  Wait about 2 minutes, then turn out onto a rack to cool thoroughly.

6.  If desired, dust cooled loaf with powdered sguar or drizzle with a glaze.  Keeps room temperature 2 days, in the fridge for a week, or in the freezer for at least a month.

Serves about 6

Difficulty rating  π

Wednesday, December 18, 2024

Arepas

I finally found a 2 lb bag of masarepa, the cooked corn flour you're supposed to use for tamales and arepas.  Get it: masa arepa.  I've been trying to avoid buying a bag five pounds or even larger, since I don't make recipes with it often.  Smart & Final actually had it in both white and yellow varieties.  I chose the slightly less sweet white corn, but it's a personal choice.  Some recipes mix the two to balance the sweetness.

Arepas are common in Venezuela and Colombia.  They are a lot like pupusas, except you don't normally fold the filling into the dough.  You slice them open like pitas or hamburger buns and fill them to eat as sandwiches.  I found a version on Minimalist Baker that's a lot like the recipe on the bag, but with better instructions.

For a filling, I took a can of beef roast and heated it up with taco seasoning and probably more cilantro than is reasonable.  I topped that with some pickled red onion and had it alongside roasted green beans.

Serving-size wise, you could probably double this and have two per person.  I was looking at the carb count and chose a single one for myself as a serving.  They are so amazingly easy to make that doubling the recipe isn't a big deal.

1 C masarepa
1/2 tsp salt
1 C warm water
oil for the pan

1.  Stir together water and salt in a bowl until the salt dissolves.

2.  Gradually work in the flour with a whisk, spoon, or your hands into a wet paste.  Allow to sit 5 minutes while you line a baking sheet with parchment, start preheating the oven to 350º, and preheat a griddle or skillet over medium-high heat with a tablespoon or two of oil on it.

3.  Divide dough into 4 pieces and shape each into a ball.  Flatten each ball to 1/2".  If there's a lot of cracking around the edges, wet your hands and that should be enough water to soften the dough so it doesn't crack as much.

4.  Pan fry the discs on the griddle until the outside is crispy and lightly browned, about 5 minutes per side.

5.  Transfer arepas to the baking sheet and bake until cooked through, about 20-25 minutes, depending on thickness.

6.  Slice open and fill as desired.

Difficulty rating  π