This is the real reason I was looking for masarepa. Learning how to make arepas was a happy accident.
My Colombian Recipes has an excellent post that breaks the daunting task of tamales down into easy segments.
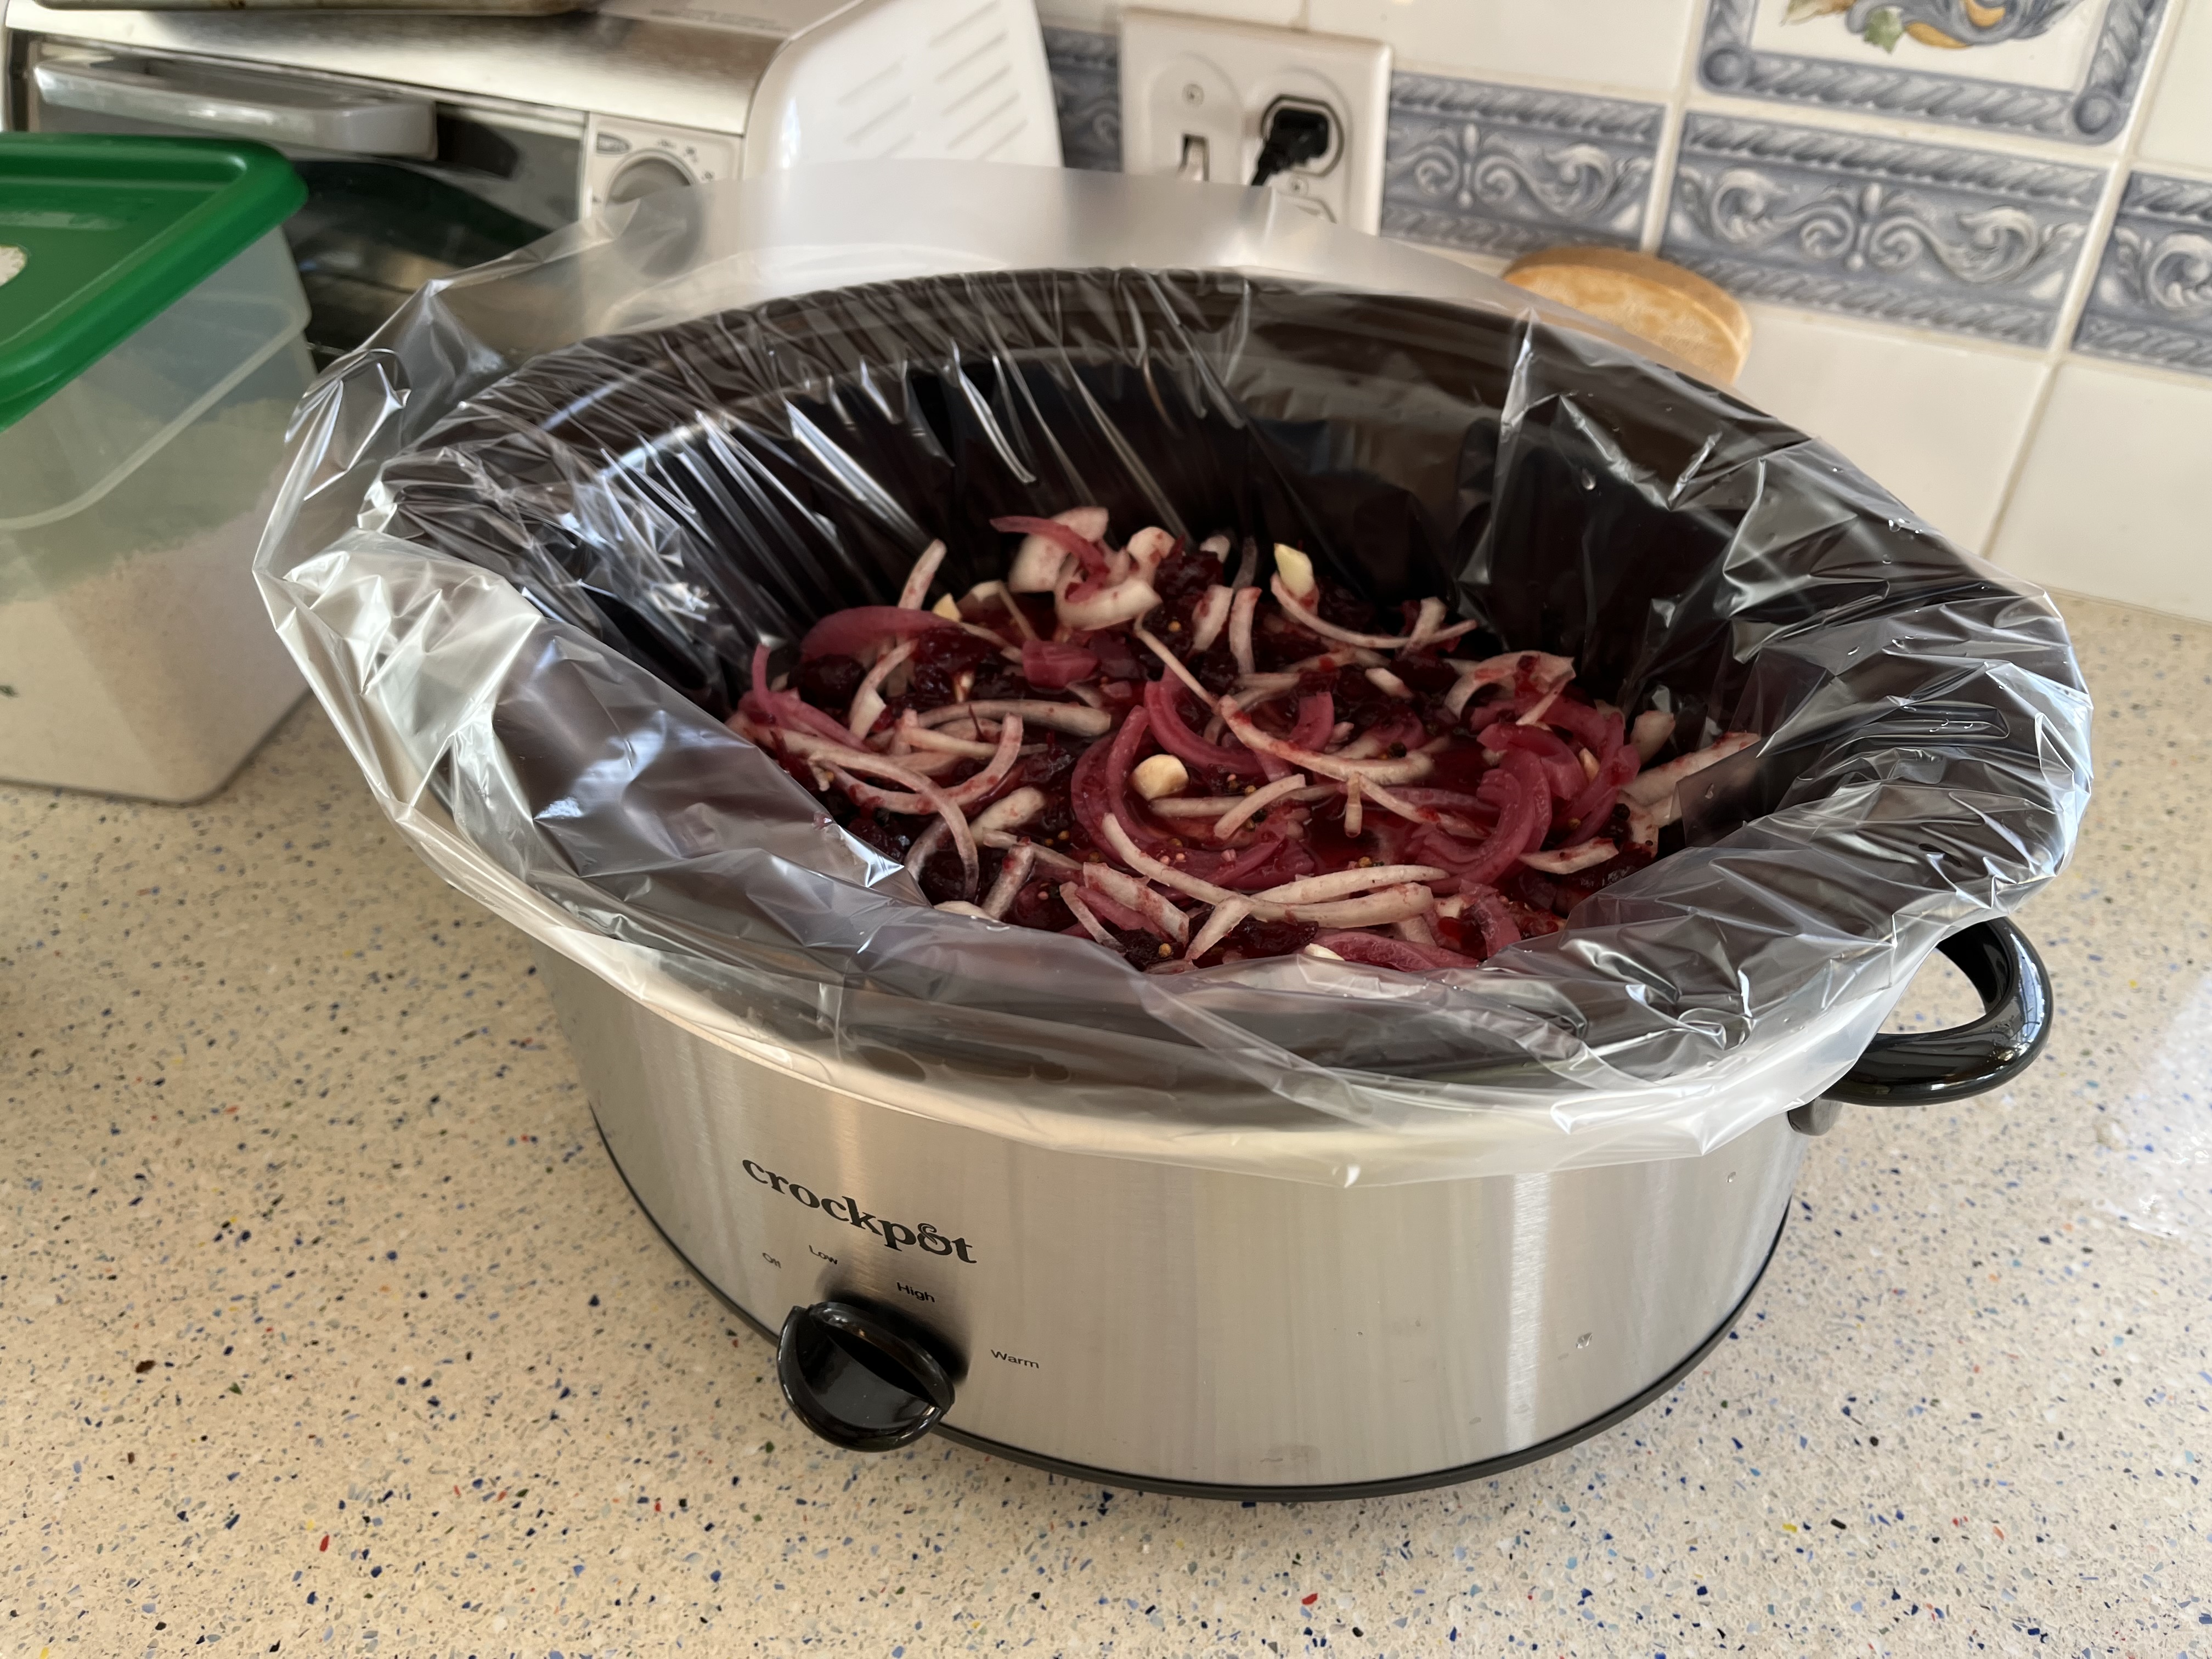
These aren't 100% Colombian the way I'm making them. I'm using leftover grape leaves instead of banana leaves, which I've been trying to find off and on for years. The advantage to that is they're edible wrappers. I'm using canned shredded pork instead of making it from scratch with several cuts of meat, and just adding the marinade to the unseasoned shreds. And I'm creating my own marinade instead of using the traditional one, which contains too many ingredients I can't eat. Heads up on the Goya, it contains MSG. I get weird headaches off the stuff that make it feel like my brain is imploding for a couple of minutes, so I mixed my own.
Oh yeah, and cutting it down from a whole party to my traditional four servings. The recipe post has one of those cool slider widgets that does all the calculations for you. The math on 1/3 shouldn't be as hard as it sometimes is. It was the 5 cups of water that made me look for an easy out.
Marinade
*1/3 onion, roughly chopped
1 large or 2 small cloves garlic, peeled
1/2 each green and red bell peppers (which I skipped)
*1 green onion
1 Tb cumin (not a typo)
1 Tb sazon Goya: or a mix of paprika, ground coriander, granulated garlic, cumin, and turmeric for color
salt to taste
2/3 C water
1. Place all ingredients in a blender or food processor. Run until basically smooth.
2. Place meat in a plastic baggie or glass dish, as the turmeric will stain plastic. If starting with raw meat, cut into cubes so the marinade can permeate evenly. Pour in marinade, reserving 2 Tb to flavor the masa later. Since I was using pre-cooked meat, I poured it all in the bag.
3. Refrigerate 4 hours, or overnight.
Filling
*1 lb raw pork shoulder or 2 C cooked and shredded
*1 small potato, peeled and cut in chunks, about half a can
*1/3 C carrots, peeled and sliced or large dice, frozen or canned ok
*1/3 C peas, fresh or frozen
banana leaves for wrapping, or a steamable alternative. It won't taste the same.
1. If cooking the meat, either roast or simmer pre-marinated pork until fork-tender, probably 2 hours. Cook potatoes and carrots until about halfway done if using fresh. Peas can go in straight from frozen.
2. Have all filling ingredients ready when you start to prepare the masa.
Masa
1 C + 2 Tb masarepa
1-2/3 C warm water
salt to taste
2 Tb marinade
2 tsp Goya seasoning
1. Stir salt, marinade, and seasoning into warm water. Traditionally, you use your hands at this part to achieve an even batter.
2. Gradually sprinkle in masarepa, stirring constantly, until you get a polenta-like texture. Because that's basically what this is. That last 2 tablespoons of masarepa will actually make a difference. Let sit about 5 minutes to thicken. Fill the tamales while the masa is still warm.
Assembly
1. Set up a stockpot with a steamer or some kind of tray at the bottom. Add one or two inches of water, whatever the basket can clear, and start warming it.
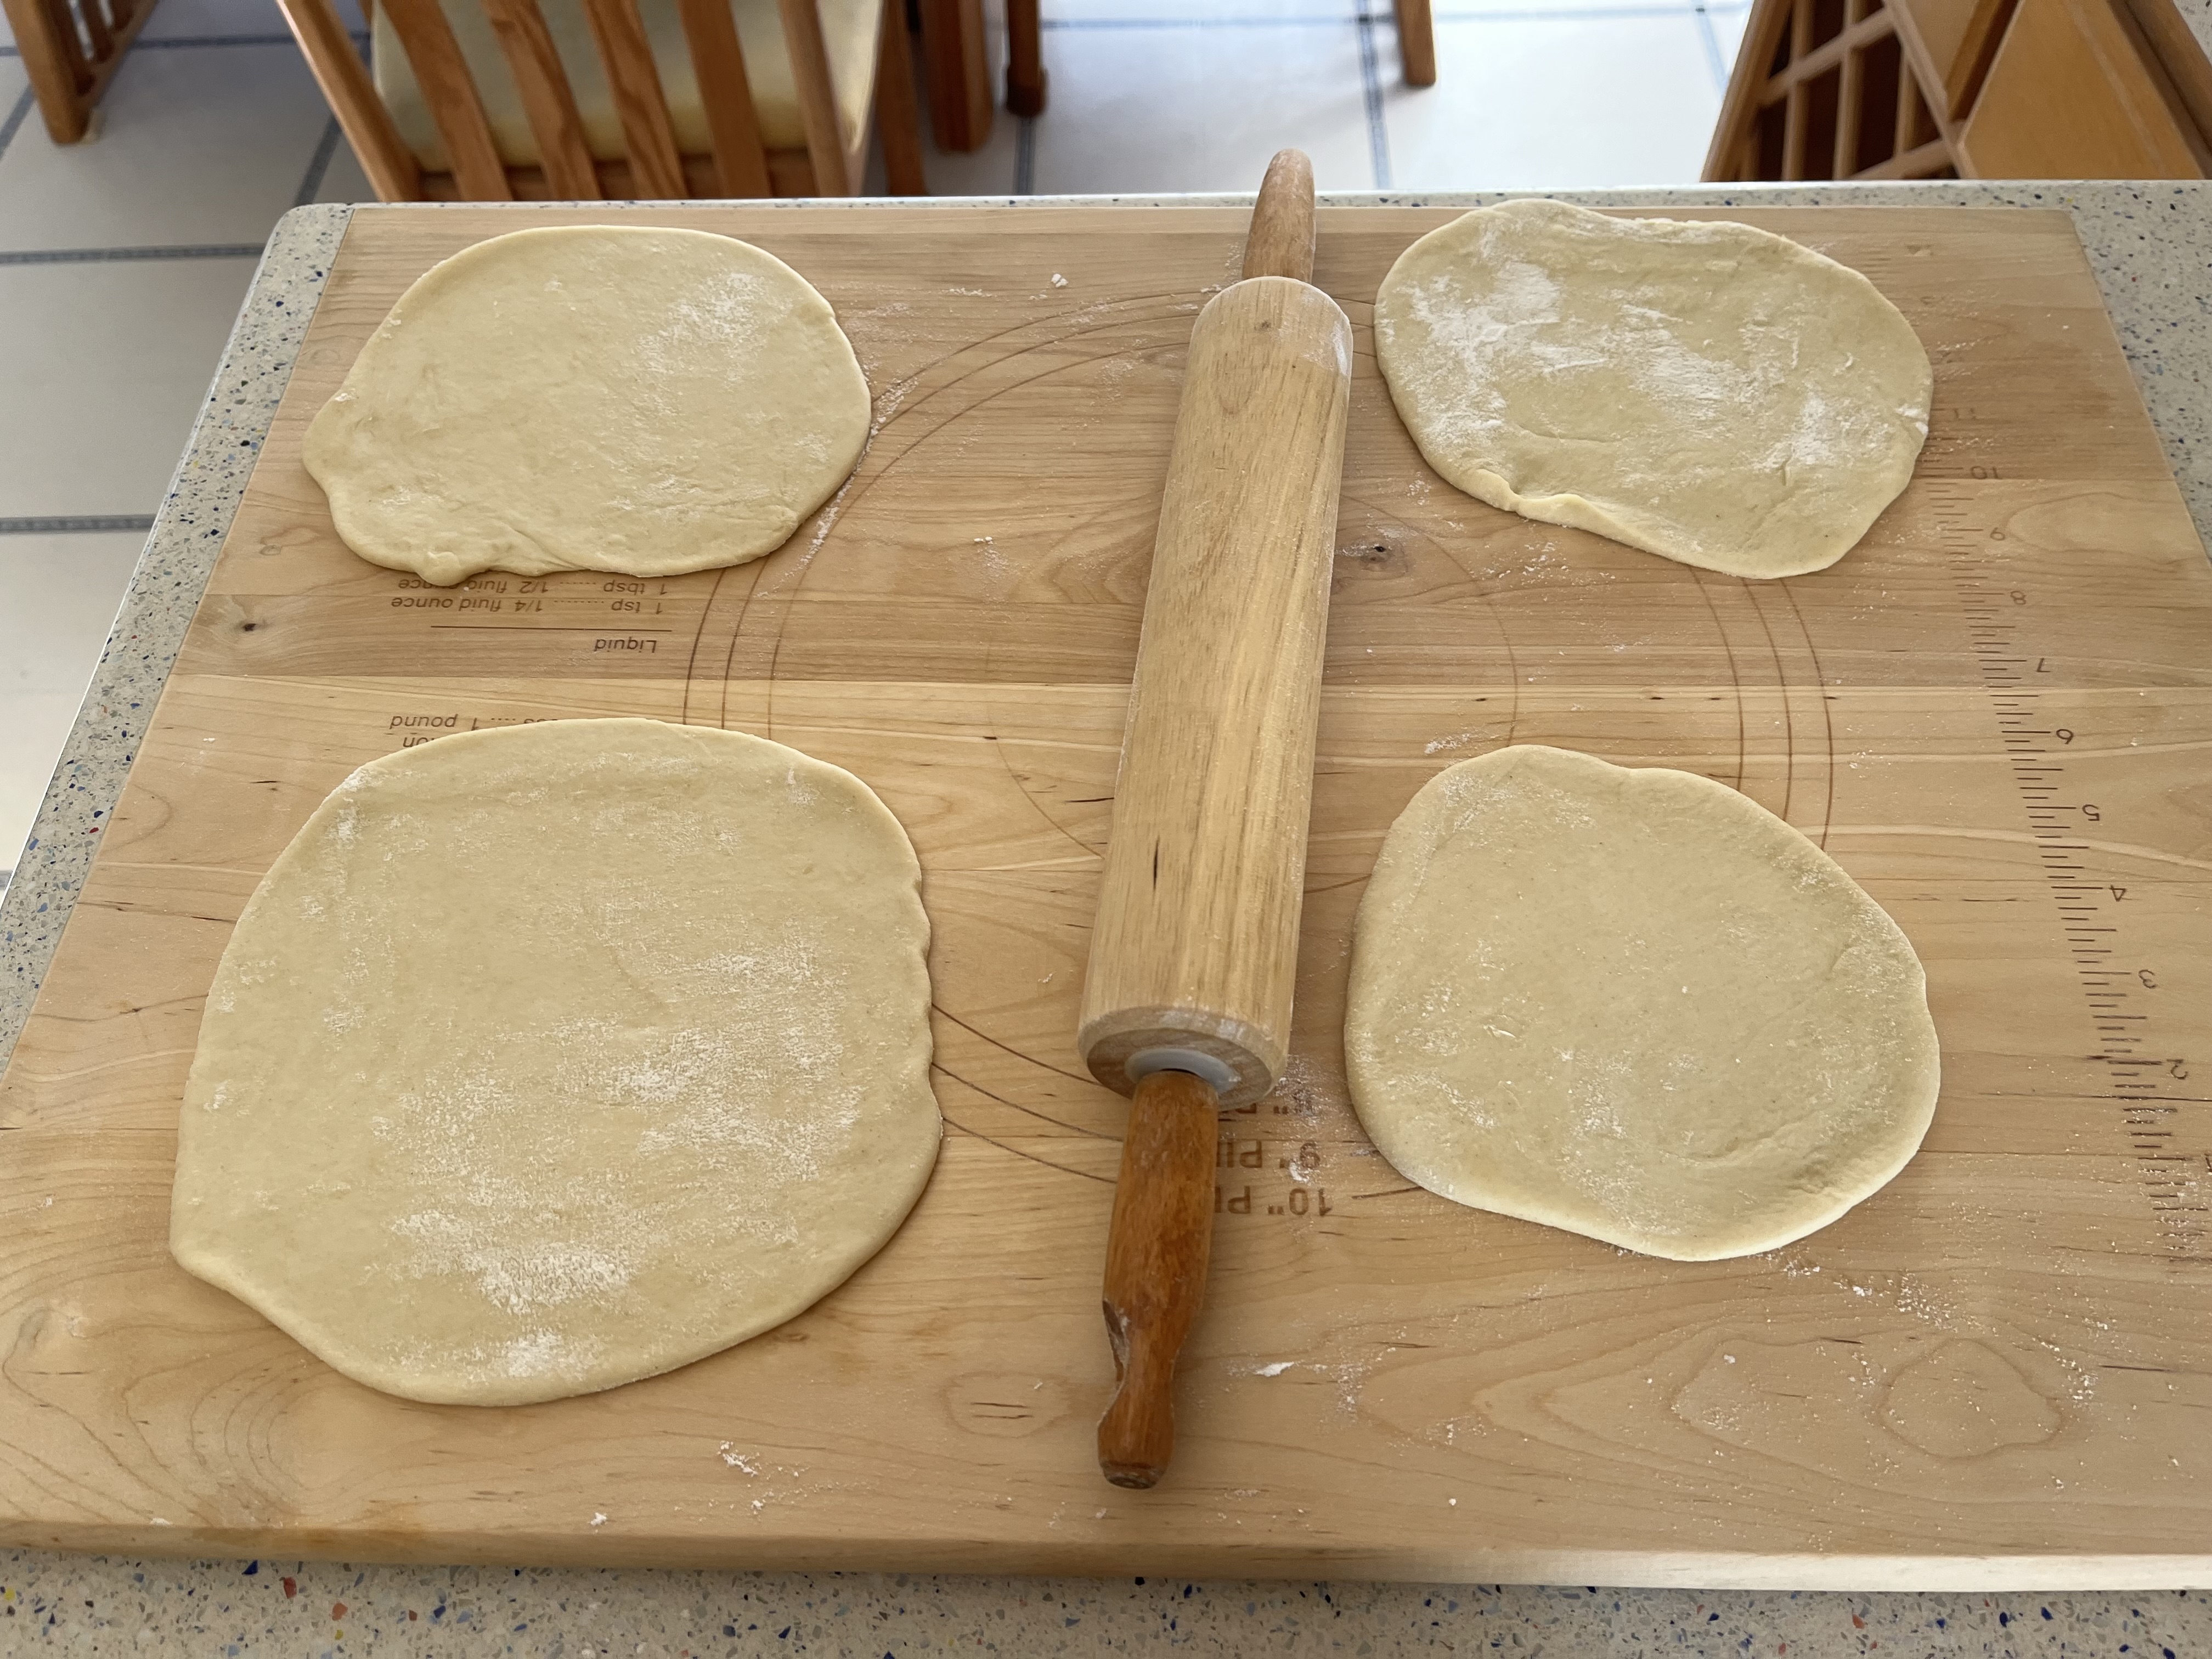
2. Lay out two strips of cleaned banana leaves, overlapping in a cross pattern. Or, in my case, two grape leaves with plenty on the side ready to go.
3. At this point, how much you fill them is up to you. The original recipe says 3/4 C of masa to start with, and I've seen some with entire chicken legs nestled between the pork. I made mine small enough to total eight, or two per serving. Also, because that was pushing the limits of the grape leaves.
4. Once you spread the masa, arrange the meat, potato, carrot, and peas. For a more pickle-y flavor, you can add capers or sliced green olives. I don't like either and skipped them.
5. Fold up the leaves to encase the filling. Use kitchen twine to tie the tamales shut. I haven't trussed anything in a while, and probably should have practiced first. It would be easier with banana leaves. I have also seen it done with parchment-lined foil. Anything that won't disintegrate when steamed.
6. Carefully arrange the tamales in the steamer. Turn up the heat to a boil and steam them for 90 minutes. Allow to cool for about 15 minutes, to firm up, before cutting the string and unwrapping.
Difficulty rating :-0